I’ve been slowly hacking away at my digger project. Knowing I wanted rearsets complicated matters even more. I spent ALOT of time on Ergonomics when I build a bike. A cool looking bike is worthless if it isn’t comfortable.
We spent a few nights tacking up some round stock, mocking in possible peg locations, until the bike felt just right.
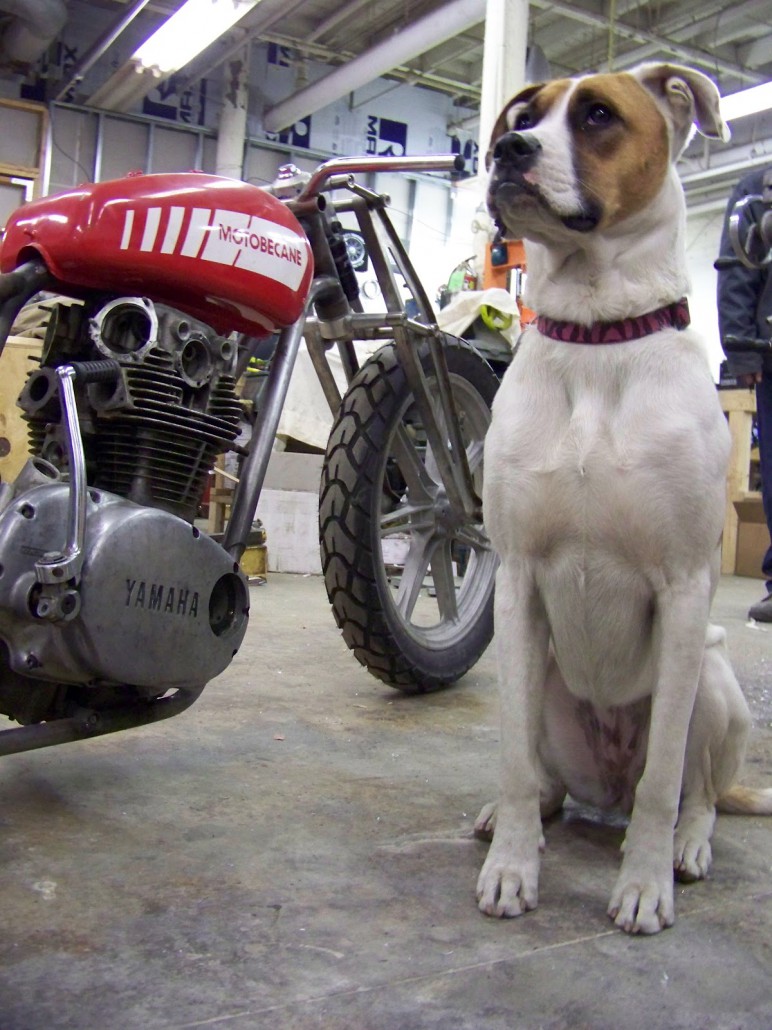
Tevan helped out a bit, so I snuck in a pic.
Once we had the location, then I had to figure out my rearset controls. Most people run forwards controls, or even mid controls now, but I’ve always liked my speed chops to feel like a sportbike when I am on it. This limits the available aftermarket controls drastically, and seeing the price of aftermarket rearsets, I decided to tackle a set myself. This way, I could control the appearance and function 100%, without any compromise. Something about repetition of form, while keeping function – designer words to make me sound smart…
So I came up with a sketch or 2, and started machining out some parts.
Countersunk mounts will fit nicely on the frame, avoiding issue with chain clearance, and allow for flush fit hardware. Slick huh?
Some layout fluid, and a quick couple of lines gave me an idea of how my control levers would work. These will go nicely with my wheels and girder. Off to the milling machine.
Making blue chips! *Note, this is a good time to make sure your pant cuffs come over your boot/shoe ankles. That, or you might end up looking like you are trying to Dubstep (whatever that is) in the shop, and people will stare at you .
One lever down, then you get the fun of duplicating it. Nice to take measurements, and make drawings before going straight to the materials when you have to duplicate a part. So keep that in mind when you are out there in your garage making cool parts for your scoot. A little bit of cleaning up with a file, and you are good to go on this lever.
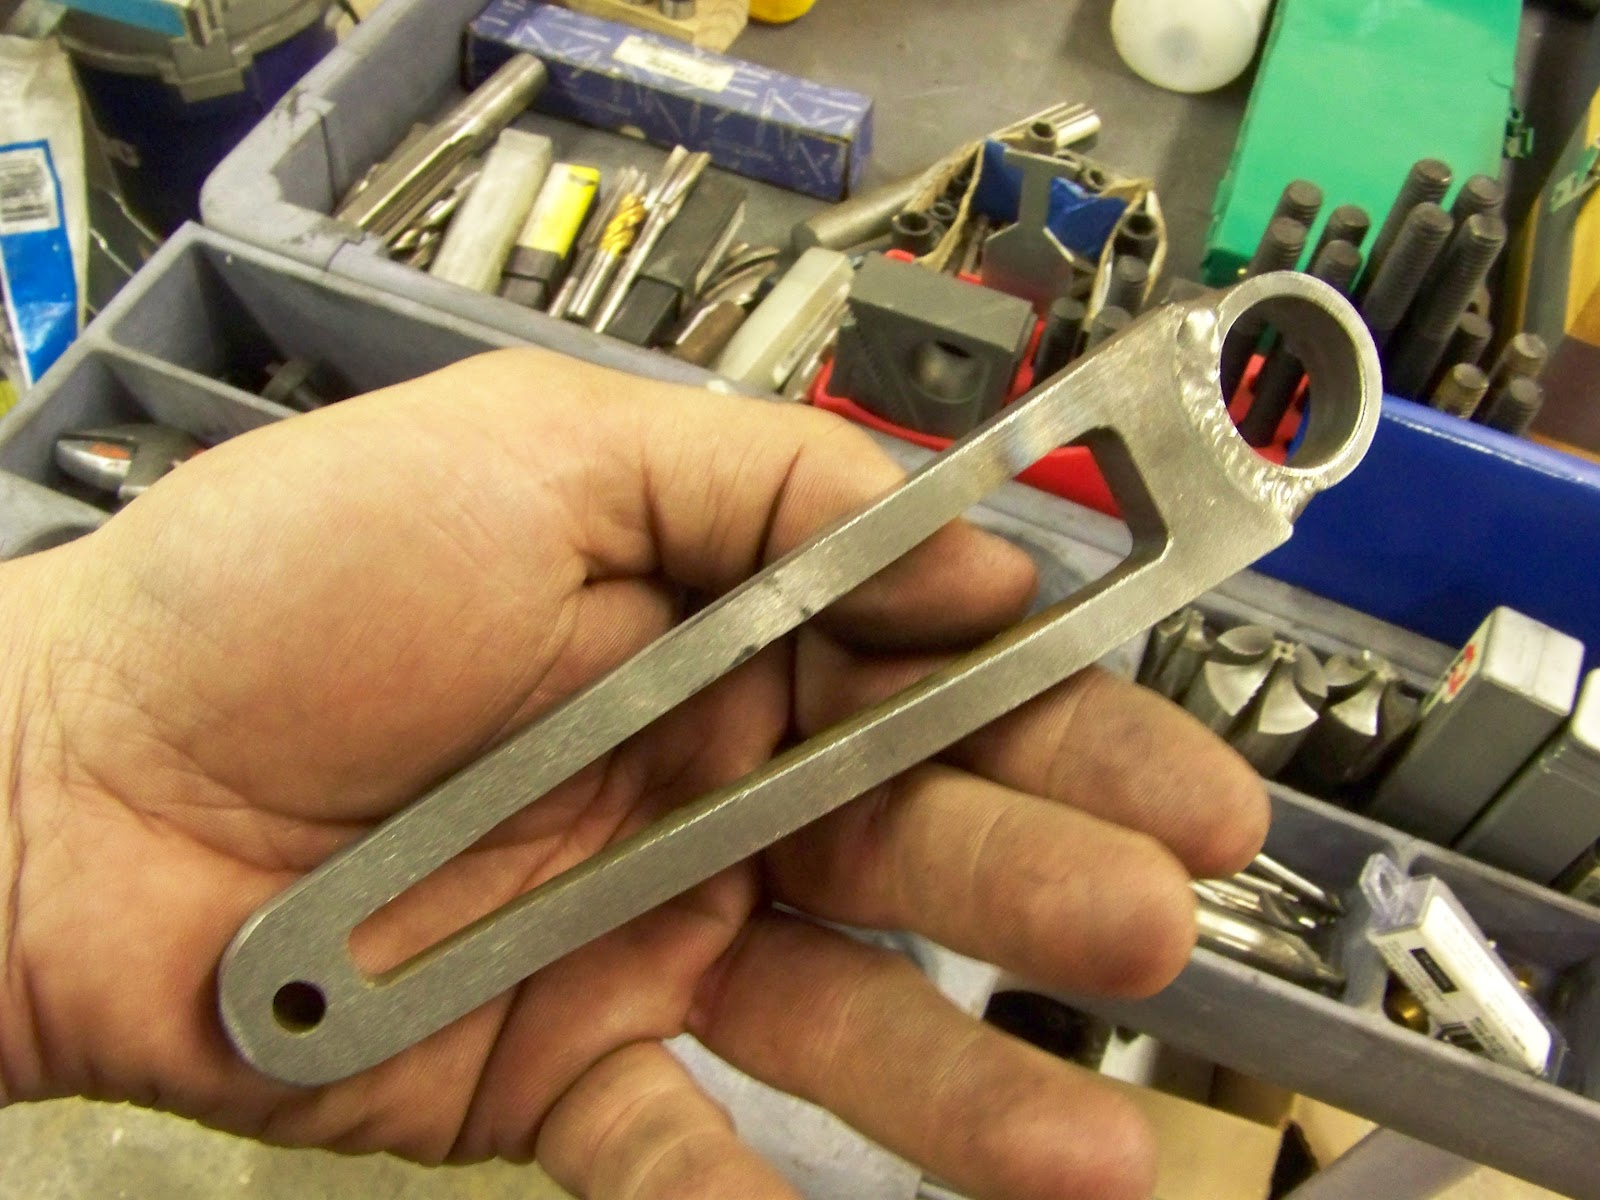
I had never made a set of folding peg mounts before, resorting to using random parts off of stock bikes, but this bike required a bit more effort from me apparently, and wanted to torture my brain. Doesn’t look like much, but figuring this piece out on a napkin, and making it work properly (in theory) is a whole lot different than actually making it.
A few lathe operations, some drilling and tapping, and then a few Milling Operations, just to make a simple little folding peg mount! I might just be a glutton for punishment, and then I remembered I would have to make 2 of them! 3 Actually if you count the one I ruined on the final milling operation, but that’s another story.
Those with sharp eyes will notice that this is 2 pieces. You’ll see why in a bit.
So how does it go together? Well first, take a crappy picture so people understand – sorry bout that folks.
I had to make a set of pegs to work with my folding mounts, just as challenging, and requiring several operations on the lathe/mill as well. And yes, I had to make 3 of these too! Don’t be afraid to make mistakes, you’ll learn from them – that’s the fun of building bikes if’n you ask me.
I came up with a simple design for the pegs that I thought would compliment the bike. Remember the KISS principle, Keep It Simple Stupid. Less is more, or something like that.
Remember that little piece above, that’s the pivot for the lever. Here it is welded up.
Now you are getting the idea right? All fitted up.
Once I had the rearsets fabbed, I used a universal linkage kit, and made my shifter linkage.
How it fits, from inside the chassis. Nice and clean.
When making your linkage, don’t forget to make sure your feet and legs will clear. I only had to make this once – what a relief!
In your planning stages, you’ll want to make sure EVERYTHING clears, including the kickstart lever. That poses a real problem for most folks running rearsets. I tucked mine in nice and tight to the frame, allowing an OEM kickstart lever to clear just fine. This bike will be Kick-Only, so I couldn’t take any chances on this detail.
Close, but this will work just fine.
About that time, my best shop helper ever came over to check on things.
After a brief discussion, and some chasing each other around the shop, Roxxy gave me the nod of approval.
I still need to make the short sections for the toe nubbs (that’s the technical term, in case you didn’t know), and I won’t make the other linkage until I know what master cylinder I will run for the rear brake. All in all, a very good day in the shop, tinkering and making cool stuff.
I get emails all the time from people who read the blog, and appreciate the information we share. My goal is to share in the things that we do here, and to provide you with enough information that you might try to do some of these things yourself. I know not everyone has access to the machining equipment that we have here in the shop. But, if you are creative, you can use various sizes of DOM tubing to achieve the pivot, a threaded bung for the mounts, and a set of off the shelf pegs to create a very similar setup. Take your time, be creative and have fun.