Top Dead Center – something most XS650 folks are probably taking for granted. But there are times when it’s good to know EXACTLY where TDC is… Like when you swap on a PMA and need to make a new timing mark, or if you are rebuilding the engine and need to degree the camshaft…
I’m gonna show you how to make your own piston stop tool, AND how to find TDC in this little tutorial. Yes, I know Piston Stops are commercially available, but I always enjoy showing someone how to make their own tools, and sometimes you just don’t have a choice…
Pull one of your old spark plugs, or get one out of the engine itself… It’s probably a good time to change them anyhow…
Now smash that sucker with a hammer!!! *Use some safety glasses – it’s the cool kid thing to do.
You are basically trying to remove as much porcelain as possible from the plug. Grind off the end of the plug (the part you normally gap to the electrode) and use a chisel/punch to knock out some of that porcelain…
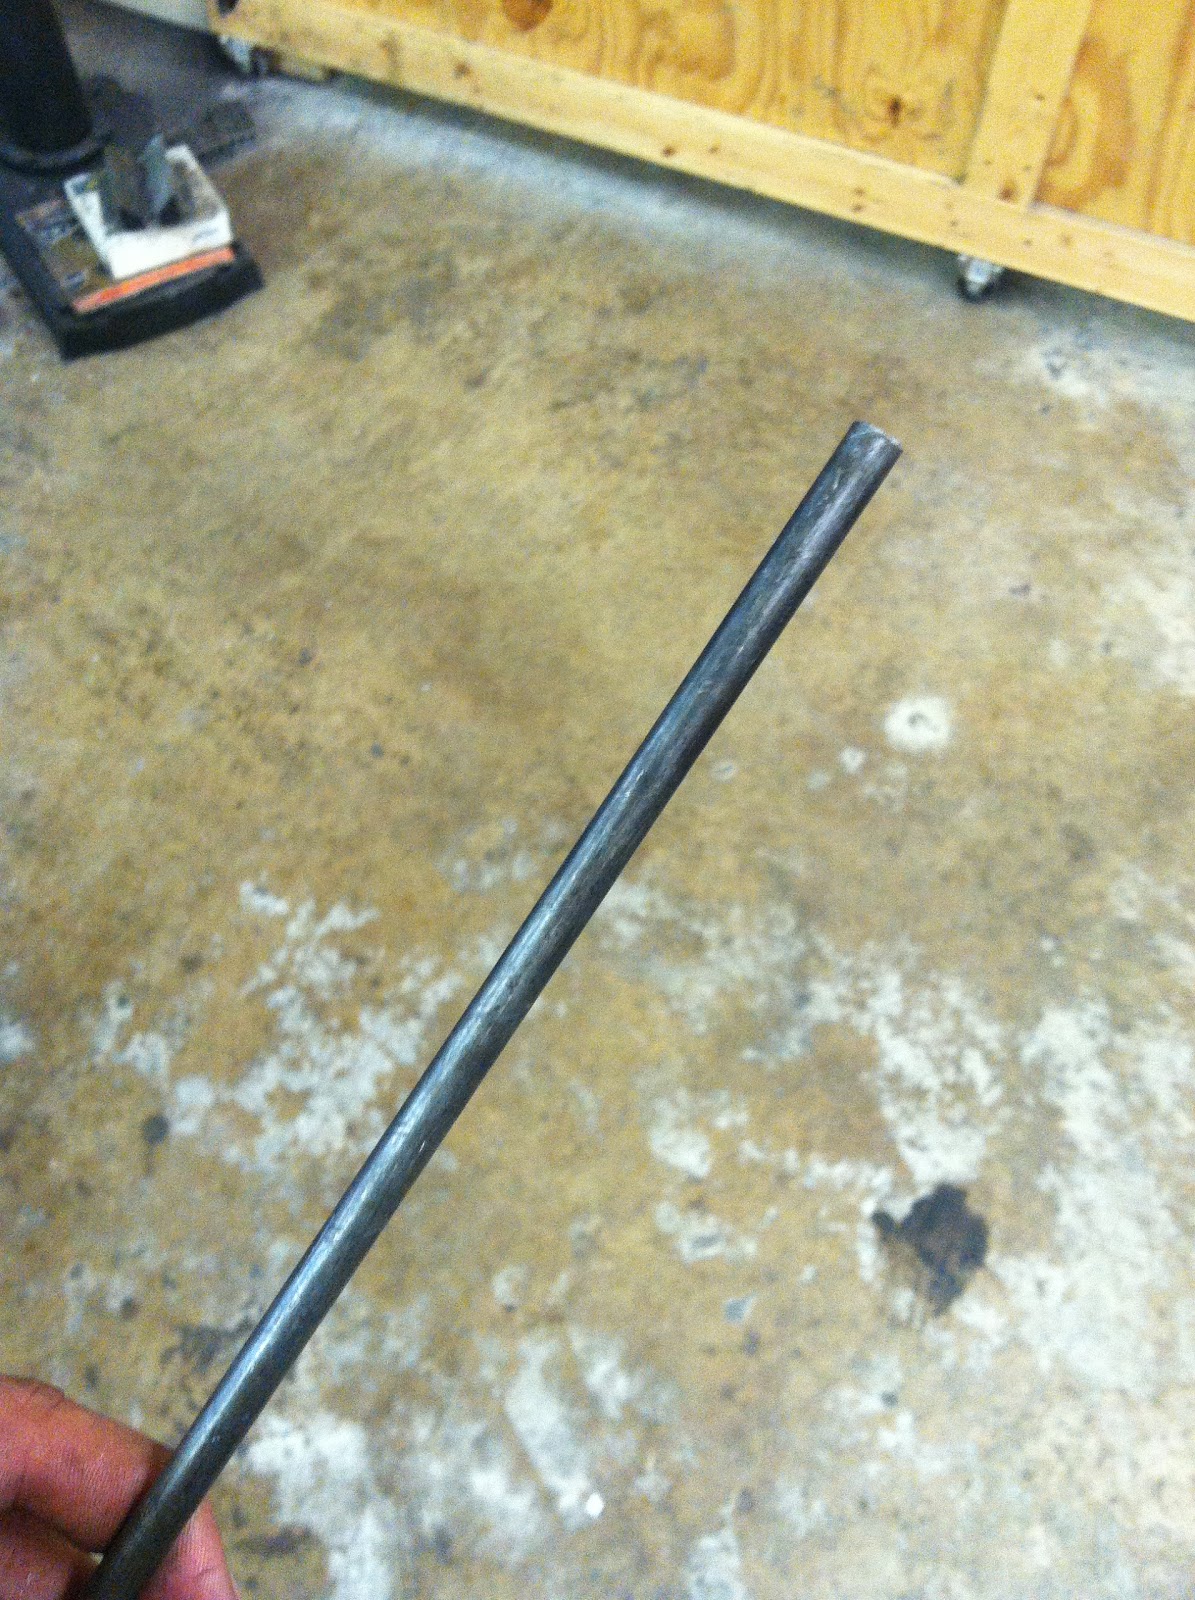
Now go get a scrap of round rod from the corner, or something round like a bolt… I had some 5/16″ round stock laying around, so I used that (Don’t go any larger, smaller is ok, but larger may not work out so well – something about the valves getting in the way or whatnot – rocket science maybe??)
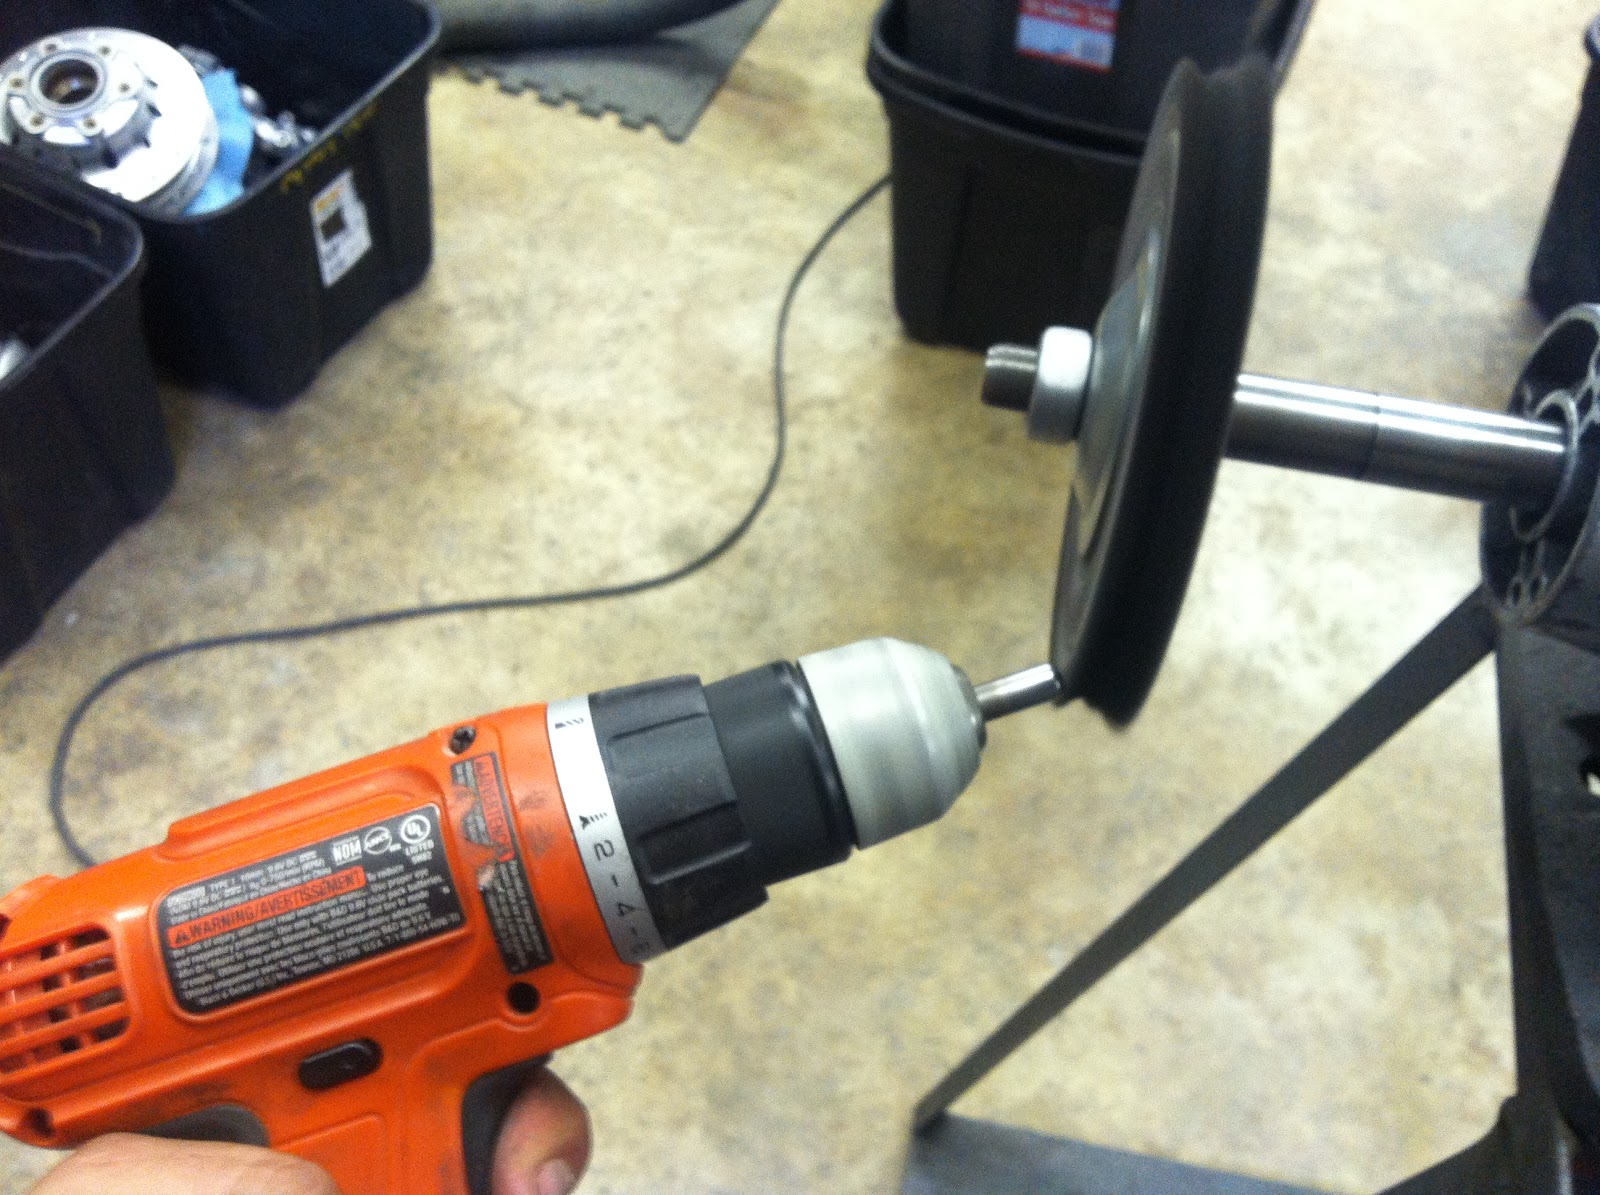
Cut off a short section and chuck it up in your favorite drill… This particular drill SUCKS, and is not my favorite… Do yourself a favor and work with tools that make your job easier…
I cut off about 1.25″ or so and chucked it up…
This is a cool trick – and you can use it to round of almost anything that you can chuck into a drill… With the drill spinning full speed, you can work the round stock with your belt sander… It’ll make a nice concentric ball on the end of your material – and it only takes a few seconds to get the swing of it…
Works really well, you can use it for all kinds of stuff – bar ends, sissybars, frame bungs, etc.. I like this trick…
The faster your drill spins, and finer grit you have on your belt sander, the nicer the finish will be on the end of your material. In this case, my drill is a giant chunk of garbage, but hey – at least my belt on the sander was nearly worn out!
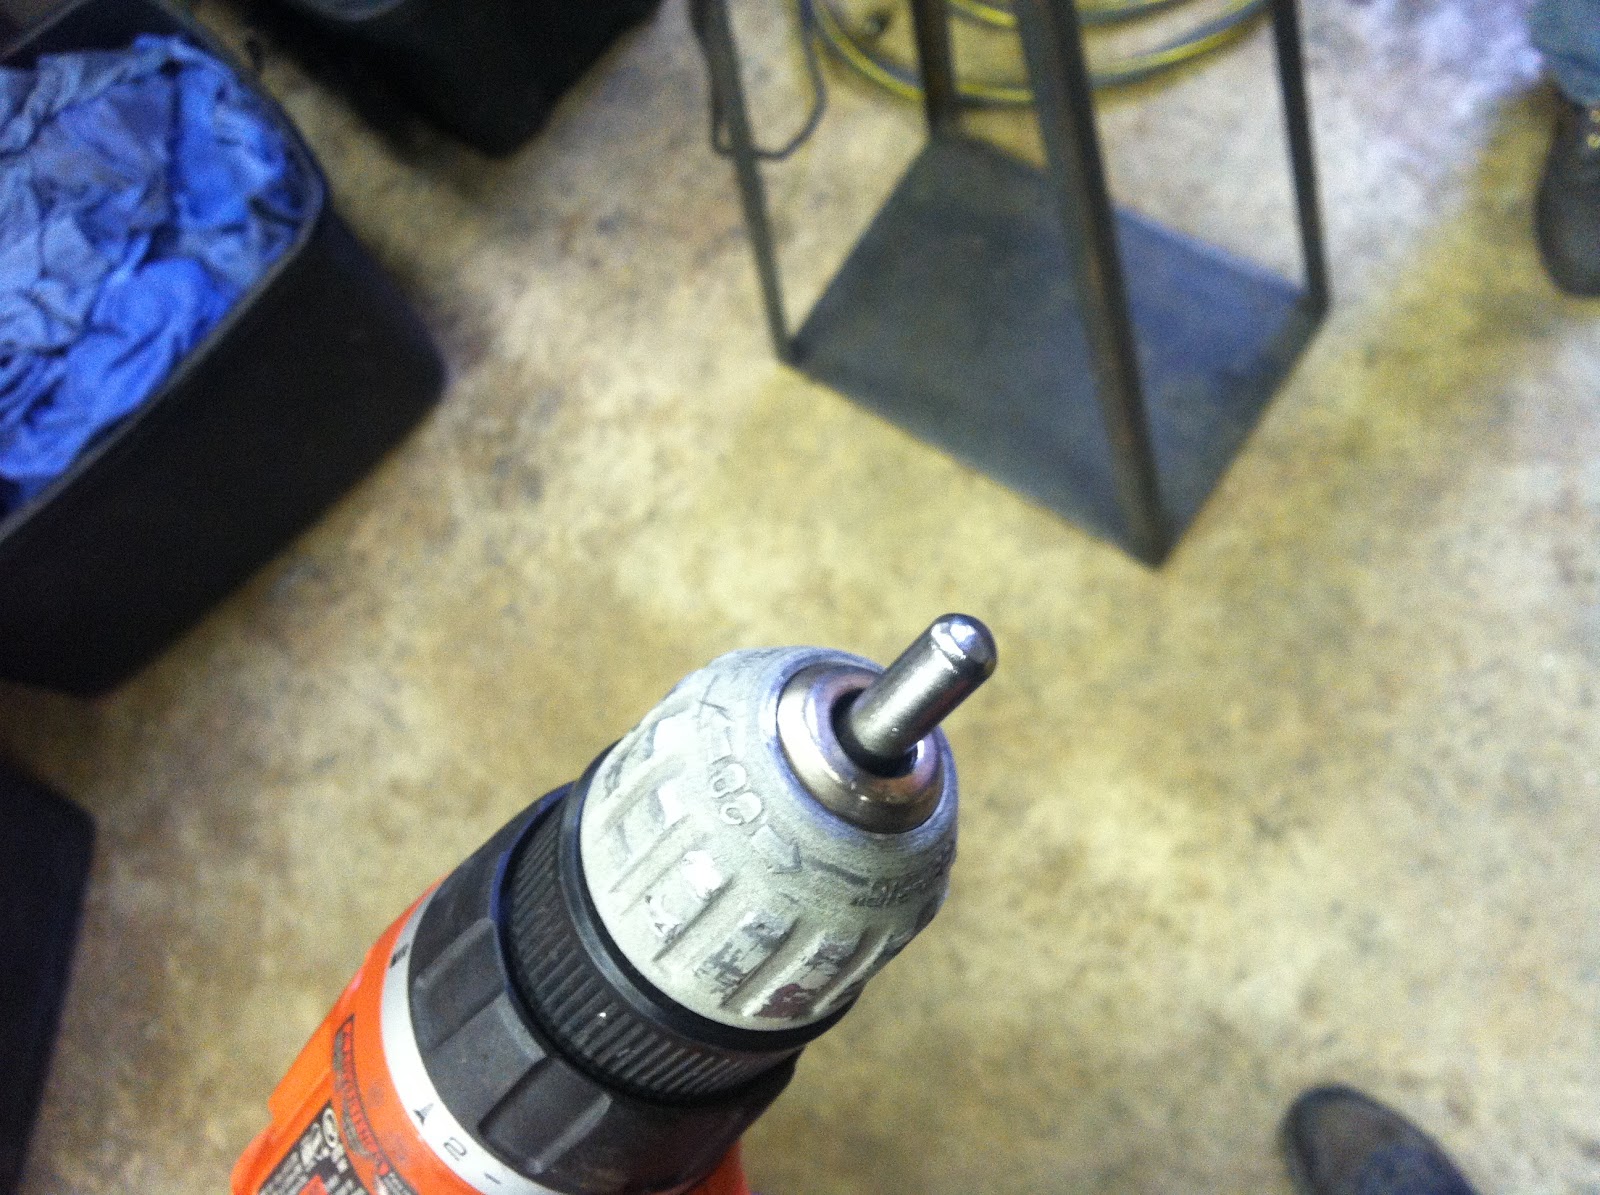
Either way, since we are going to be using this inside the engine, take the time to polish the end of the round stock – you don’t want any burrs or sharp edges… I used my polishing wheel and some black compound..
Polished and nice…
Now you wanna figure out a way to center up the rod into the threaded part of the spark plug. This isn’t super critical, but the closer the better. I’m a big fan of using what you have… I happen to have a lathe, so I used that to center up everything..
I didn’t get an action shot of me welding it, kinda hard to do all that and take a picture at the same time.. But I welded it, being careful not to damage the threads..
So there, you now have a really inexpensive piston stop. Making this literally took me less than 10 minutes, and when you need a tool, it’s always nice to be able to make one. Ordering a tool can usually take 3-5 days or more for it to show up… Winter is here – I’d rather be wrenching than be sitting by the mailbox waiting on a simple tool. Plus, it’s always good to get in the habit of problem solving when in the shop – it’ll make problem solving on the side of the road that much easier… And I don’t recall Macgyver mail ordering his stuff… Be cool, make a tool!
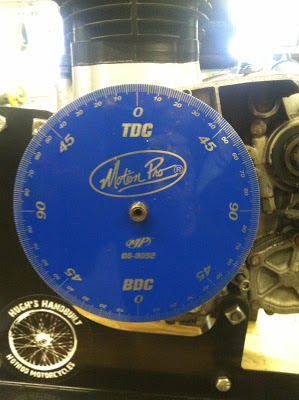
Now that you have your piston stop, you’ll want a degree wheel.
Wait just a minute!!! This dude really just told us how to make a piston stop, but he has a store bought degree wheel??? LAME!!! Ok, you win… I use a degree wheel so often, a store bought one is nice… But here’s a good way to make one yourself – go to
http://www.tavia.com/free_degree_wheel.html and print one off. Then glue it onto a good piece of cardstock or thin aluminum, and you now have a free and easy to make degree wheel… Cool
So yeah, basically you can do all of this for FREE- and free is just the right price!
So now pull the spark plug, shine a flashlight in there and turn the crank until the piston is at the top of the stroke… Don’t overthink this, get it close and go from there…
Turn the crank on the clutch side, I like to use my Crescent/Hammer/Bolt-Rounder-Off’r in a situation like this…
When you think you are close to TDC (Top Dead Center in gearhead speak) – then you’ll wanna see about mounting up the degree wheel to the crank. I had to drill out the center of my degree wheel, get it close to the right size and on center, and this job will be alot easier…
On the crank side, I usually have the Charging System Removed. If it’s not removed, you’ll have to get a bit more creative in mounting the degree wheel – but it’s not impossible…
Put a nut all the way down on the threads of the crankshaft. (the OEM nut from the charging system will work just fine)
Fit the degree wheel to the crankshaft…
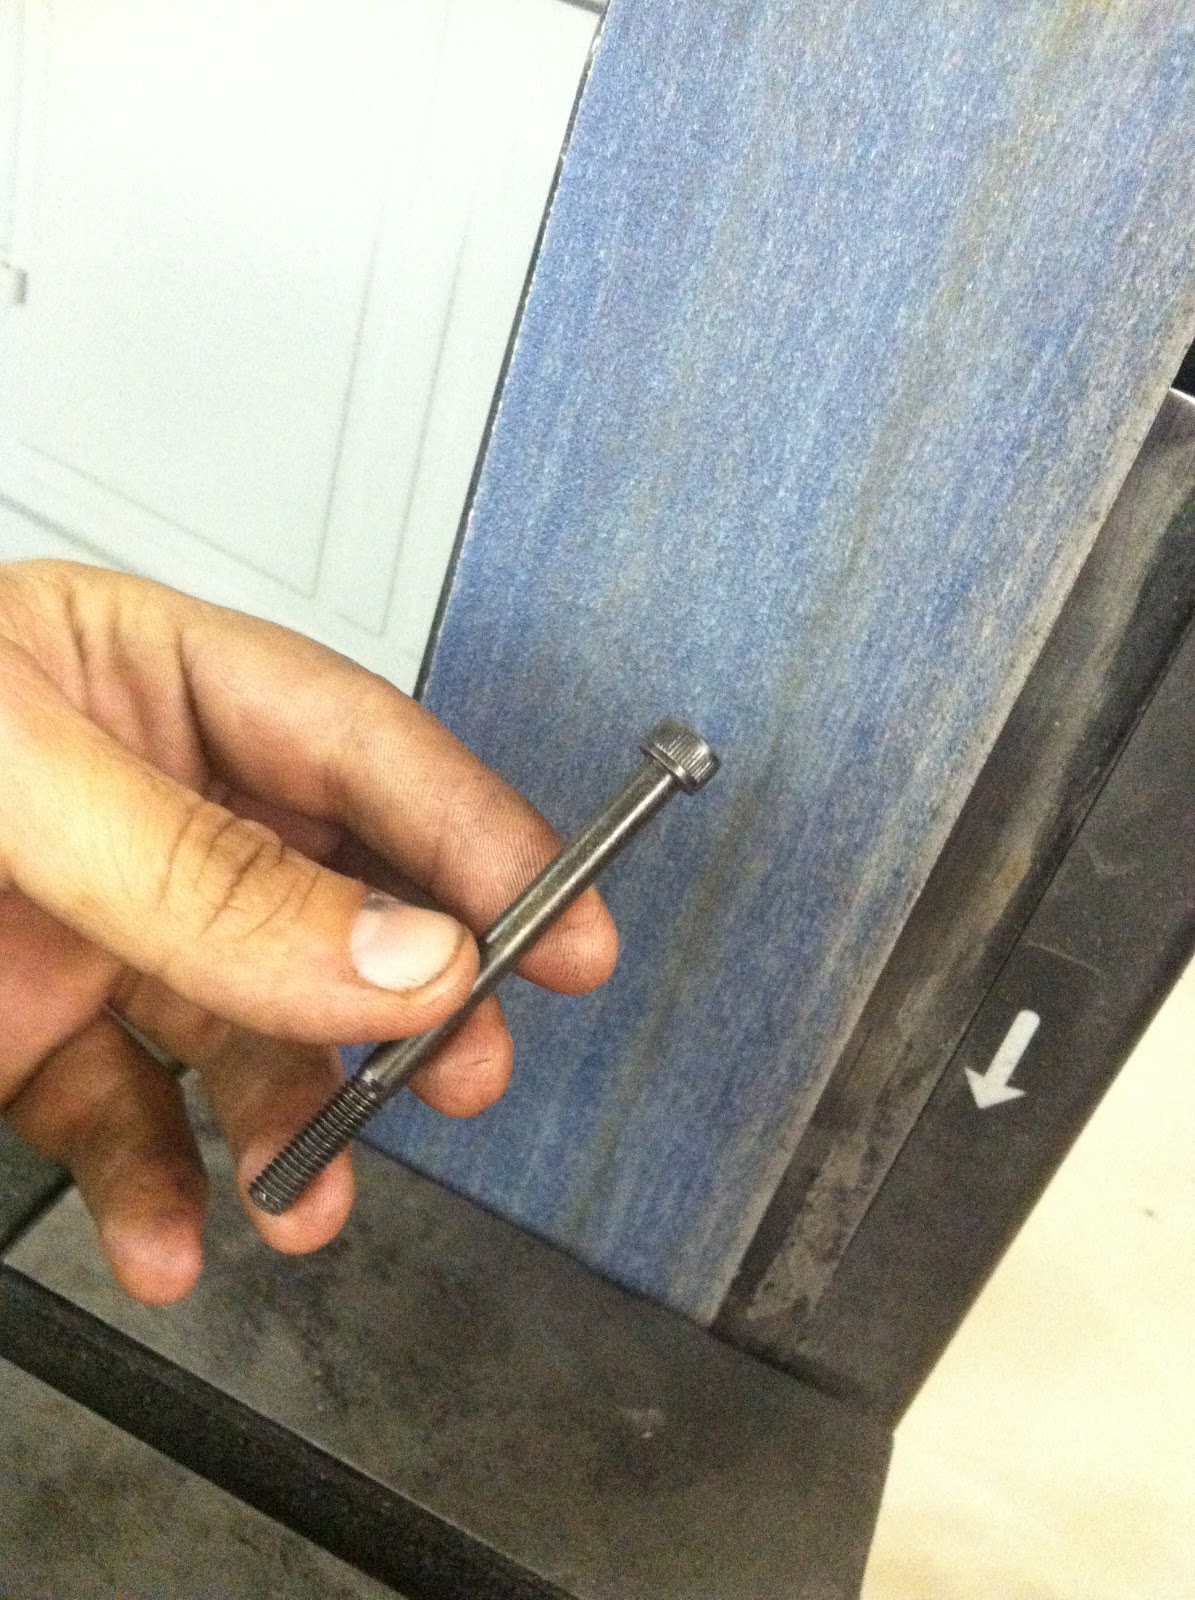
Now before you bolt the degree wheel down, you’ll wanna rig up a pointer. I’ve used sharpened TIG rod and vice grips before to hold it to the cases.. Really, you just want a good firm pointer that won’t bounce around – you want to be accurate with this part. My degree wheel happened to be the perfect size that i could use a bolt from the junk drawer to make a pointer with…
I made my pointer on the belt sander using an old socket head bolt…
Took that sucker to the belt sander and made it all sharp and pointy… I could go hunting with this thing…
All sharp, so I slapped some yellow paint on it so it will stand out against the blue degree wheel – you don’t have to do this… I do this stuff so that folks can get a clearer idea of what’s going on in the pics.. You also won’t have to wait around for the paint to dry – like I did… Doh!
I threaded my new pointy bolt into one of the holes in the cases… Perfect alignment for this job!
Don’t worry what degree it points at just yet, because you still haven’t tightened up the degree wheel right?
So now you’ll wanna use another nut, and a washer to lock down the degree wheel. The washer is important, it will keep the degree wheel from spinning while you lock down the 2 nuts against each other on the crank…
Set the dial to “0” TDC and gently lock it down…
Go ahead and turn the crank to BDC and thread the piston stop into the spark plug hole. You’ll want the piston at the bottom of it’s travel so that you don’t take a chance to damage the piston when installing the piston stop. If you feel any resistance at all when installing the piston stop – STOP! It should not hit valves or pistons…
Thread the piston stop into the spark plug hole… No need to get crazy torquing this thing down, just lightly snug it up…
Stupid blog – can’t flip this pic – Oh Well, you get the idea…
With the piston stop installed, gently rotate the crank (using the clutch side of the crank to do so! Do not rotate using the degree wheel side) until you feel the piston come to a stop against the – yes you guessed it – the piston stop. It doesn’t matter which way you rotate it…
Then look at the degree on the pointer and make a note of it…
I was right at 34 Degrees, took a note of it, then turned the crank the opposite direction until the piston stopped again, and checked the measurement.
I was at 26 degrees on this measurement. So I took 26 from 34 and the difference was 8. Divide the difference by 2, and that is the amount of degrees you need to change your degree wheel to the pointer. In my case, I was off by 4 degrees. So I rotated the degree wheel on the crank (being careful not to turn the crank) and locked it back down.
Repeat turning the crank back and forth until the degree wheel reads the same measurement on both sides of “0” at the pointer. You may have to readjust the degree wheel on the crank a few times. When you have both sides of “0” at the same measurement, you will know your degree wheel is in perfect timing with your crank and pointer. You can now use “TDC” and can then use that reference point for other things (like cam timing, making new timing marks, valve adjustment timing, etc.. )
I’ll hopefully do another “How-To” on cam timing and how to degree if perfectly to your crankshaft. Until then, thanks for checking in.
I hope you find this How-To useful – and as always, thanks or your support of Hugh’s HandBuilt
Hugh