How-To: Properly Crimp Wires and Terminals
I posted the below pic to our Instagram and Facebook page earlier today…

The first comments pretty much nailed…
![IMG_5040[1]](https://www.hughshandbuilt.com/wp-content/uploads/2016/07/IMG_50401.png)
Can we really beat a dead horse? I mean, it’s just basic wiring right? Apparently that bad wiring horse still has some life left in him… Finish him off!
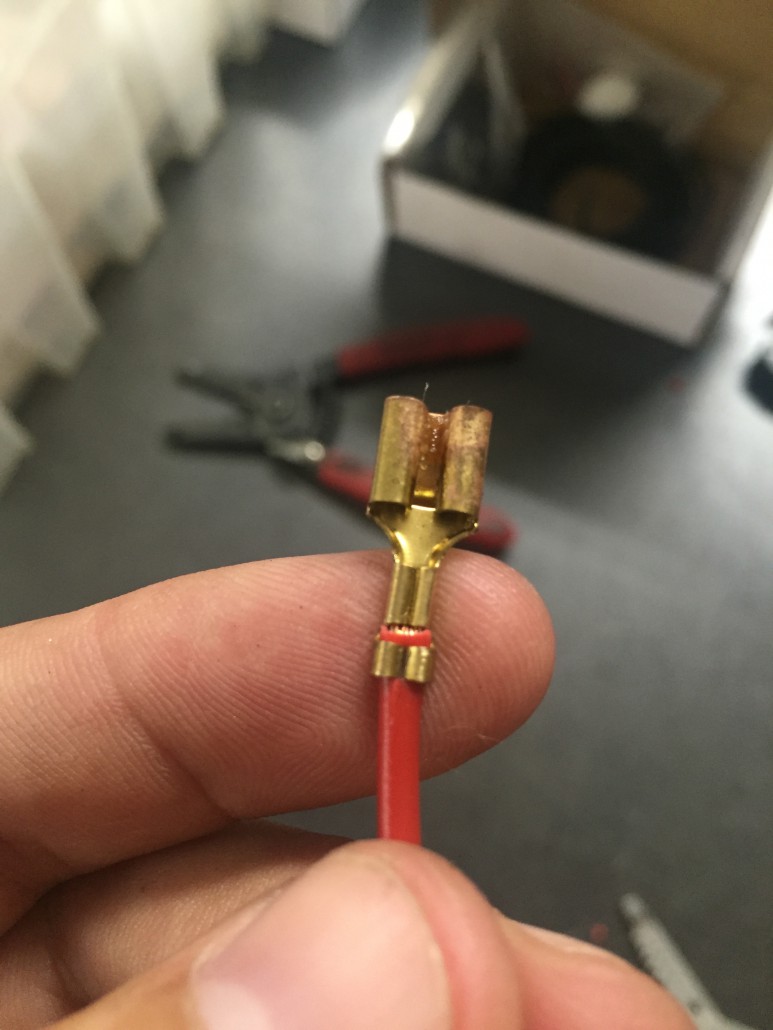
Do your wiring connections look like this? If so, keep on reading, we’ll fix ya right up!
 *Look at that mess. I mean, just look at it… Makes ya kinda wonder why it didn’t work eh? Solder all over the terminals, crimped using a cinder block and an old piece of wood, just awful… Dude ruined his $600 Ignition System – don’t let that happen to you!
This one is going to be so simple, you’ll wonder why you had done it sooner.
Tools needed:
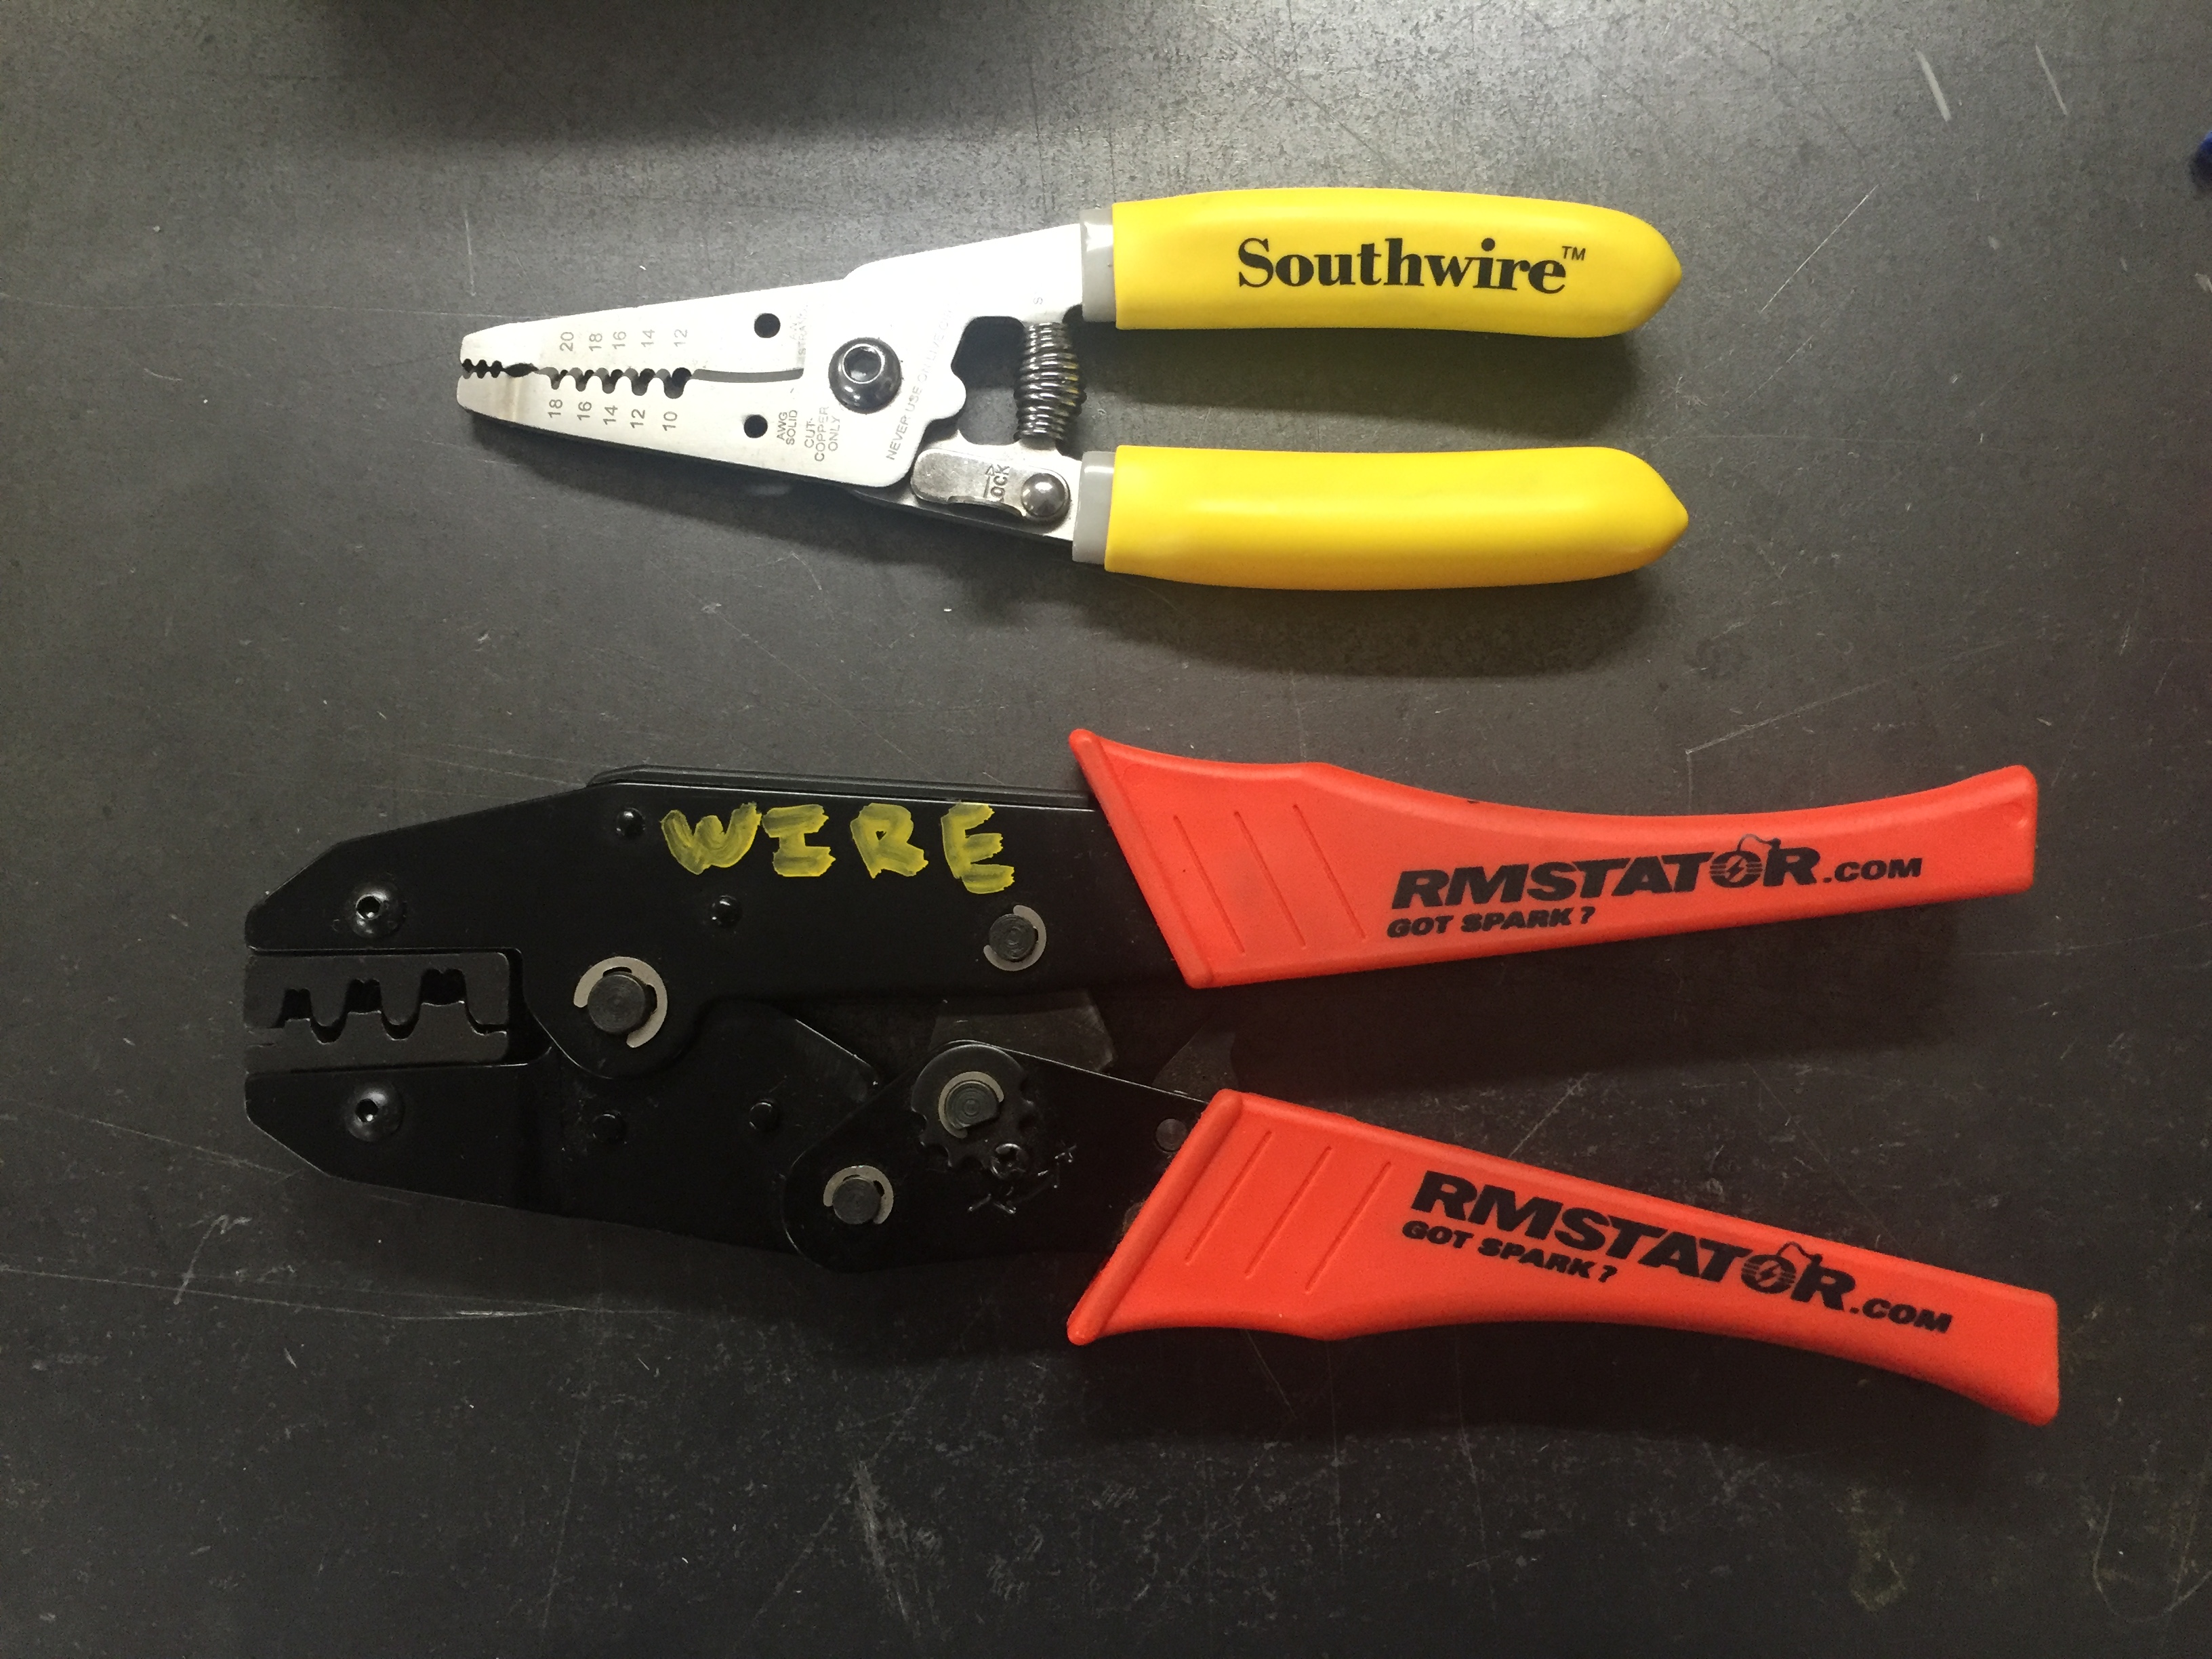
RMStator Ratcheting Crimping Pliers
GOOD Quality Wire Cutter/Strippers
Various Wire and Terminals
*NOW Available in our Store! Clicky Clickity Click Right Here:
Lets Rock!
Wiring is the biggest problem we see on these bikes, you’ve probably noticed it on your own machine, either from a Previous Owner, your own work, and sometimes (sadly) even professional shops. We aren’t going into all the pro’s and con’s of Solder Vs Crimp – you can research and get 200 opinions on that online. All I know, it’s dang near to get a proper solder job done on a crummy crimp…
I discovered these pliers a while back, RMStator actually sent us a set to test and use in our shop. They’ve been used by Pandemonium Customs as well, and should have a write-up in Cycle Source Magazine soon as well. These have upped my crimp game from “Meh, it should hold, maybe I’ll add some solder” to “Whoa, that looks like factory!” – they are THAT good…
I would strongly suggest using some scrap wire and terminals from around the garage, shop, etc… and getting used to these. They aren’t complex, but you don’t want the first crimp you mess up to be on your hard to find terminals supplied in our CDI or PMA systems. Practice makes perfect, and you can probably get this dialed in within just a few tries.
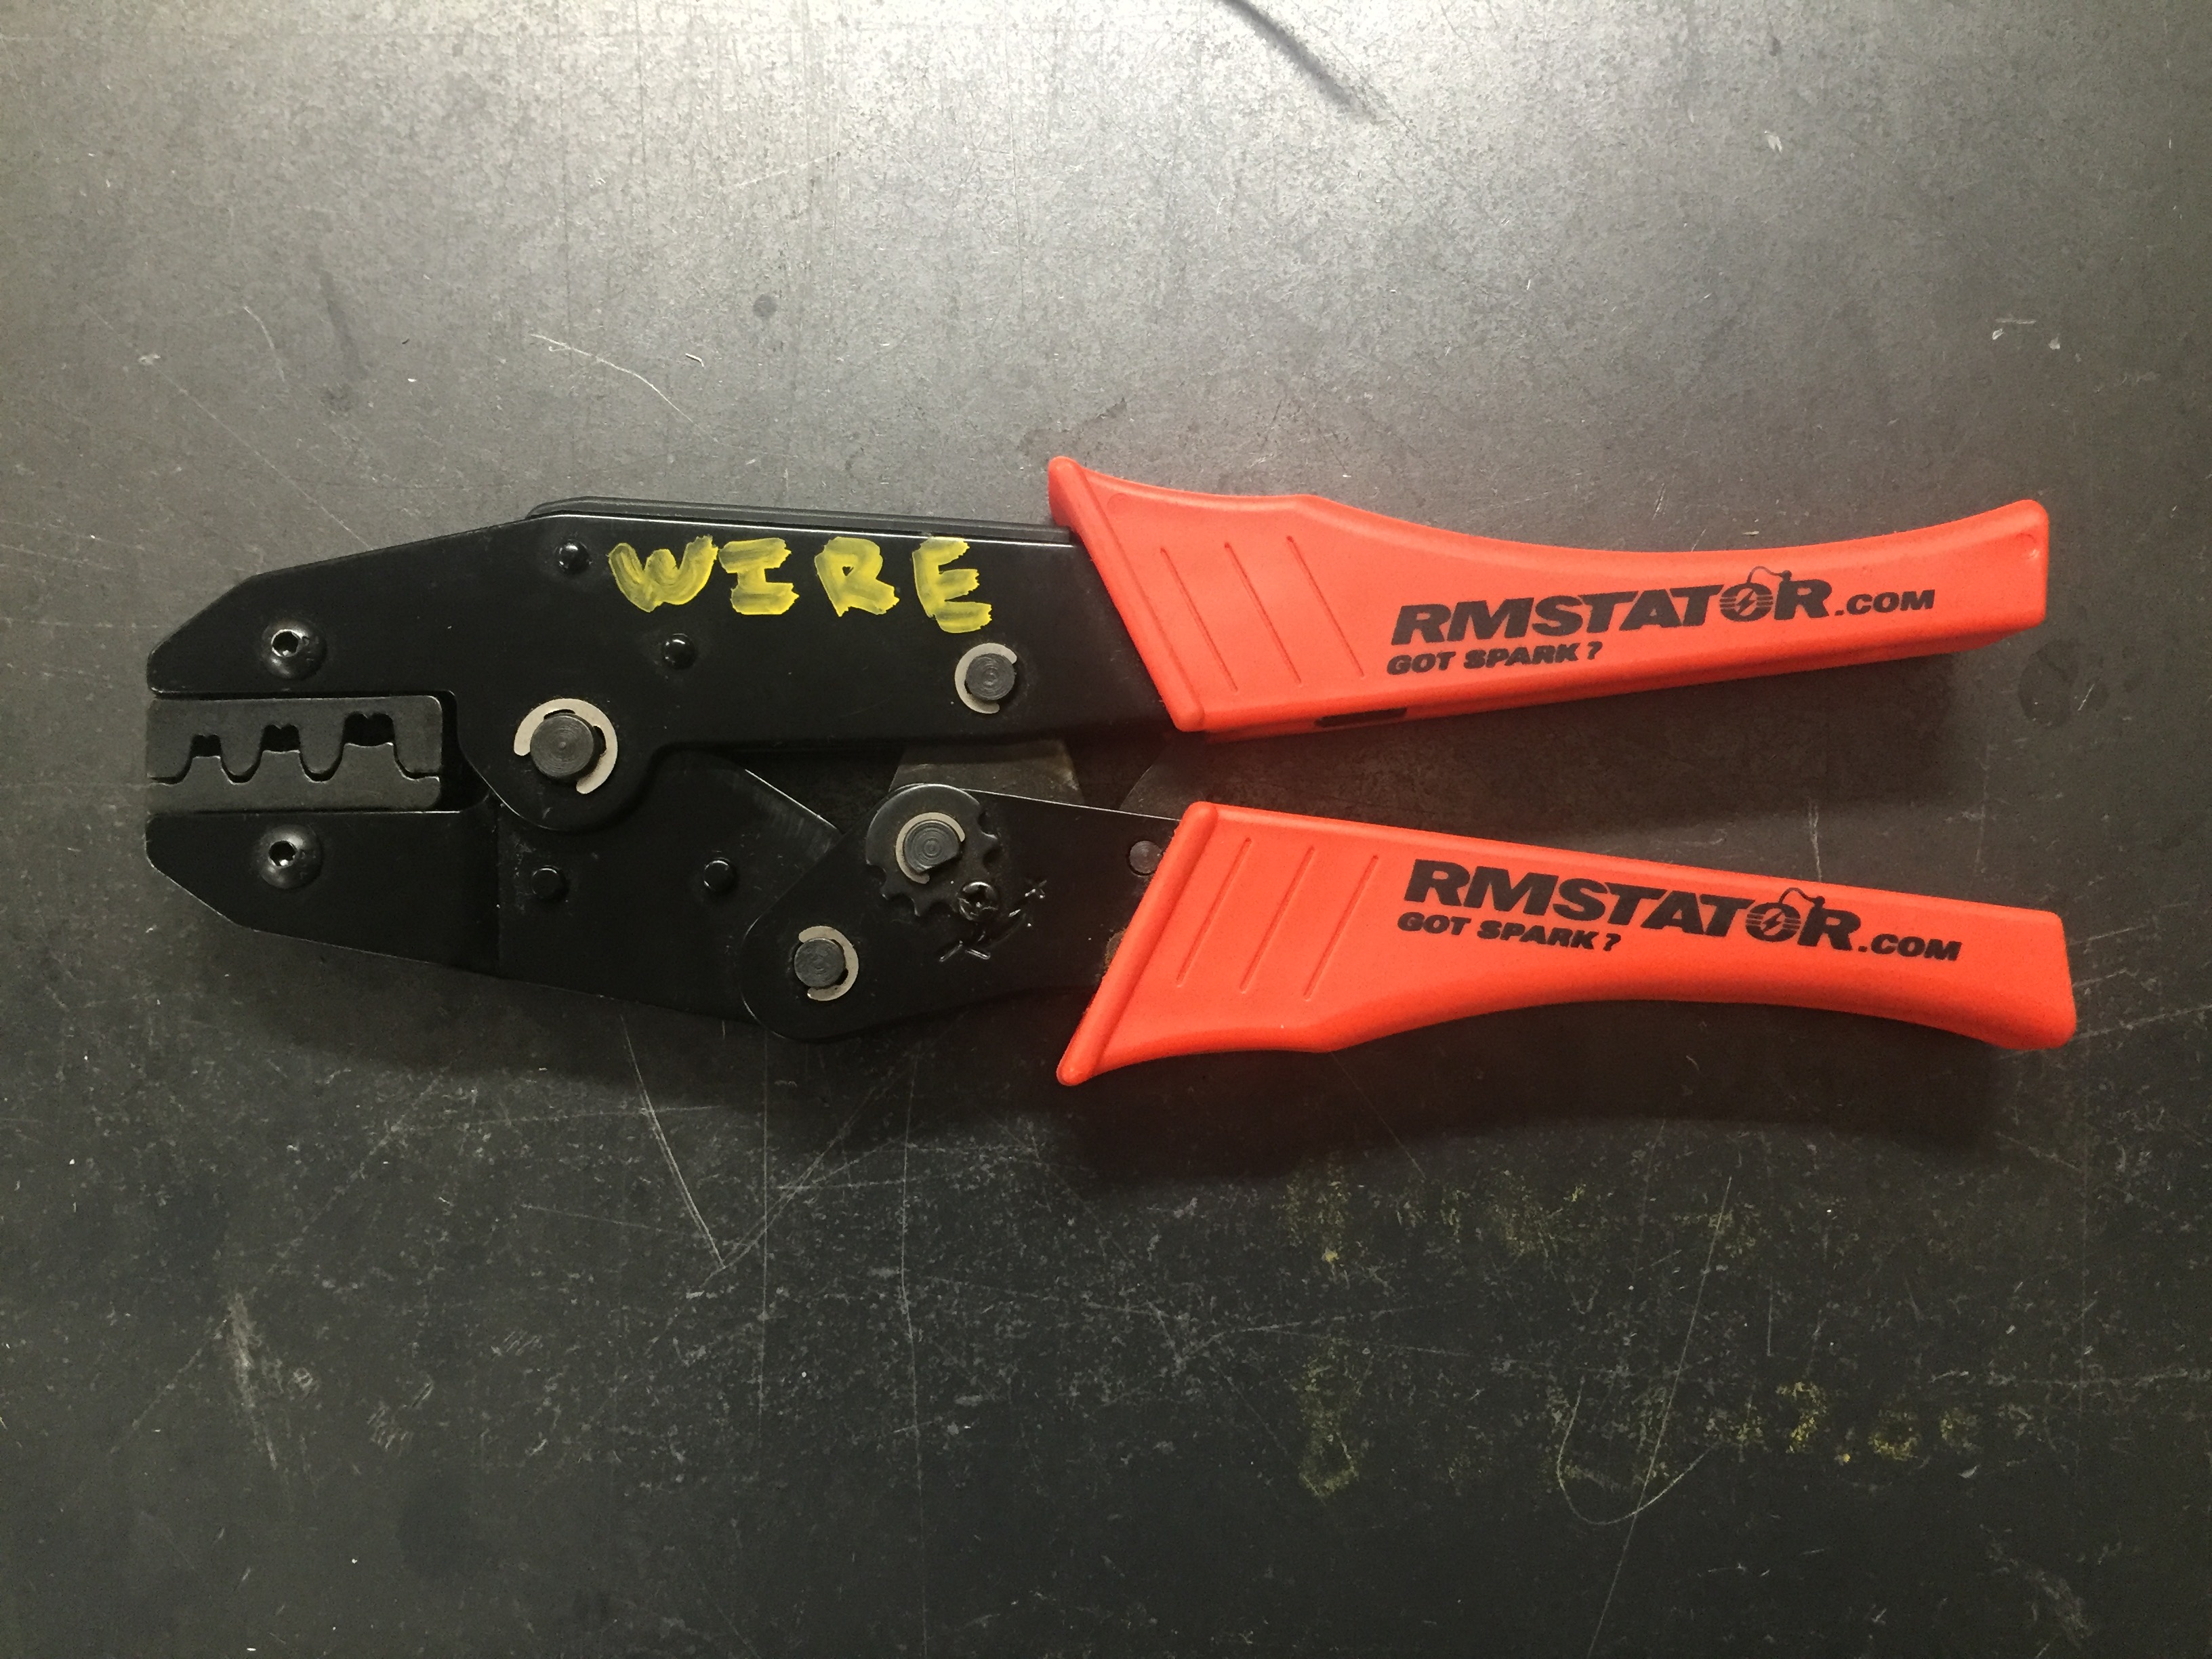
*You’ll note that I wrote which side is the “Wire” side in paint pen on my pliers. Makes things simple to remember, as the other side is for the terminals
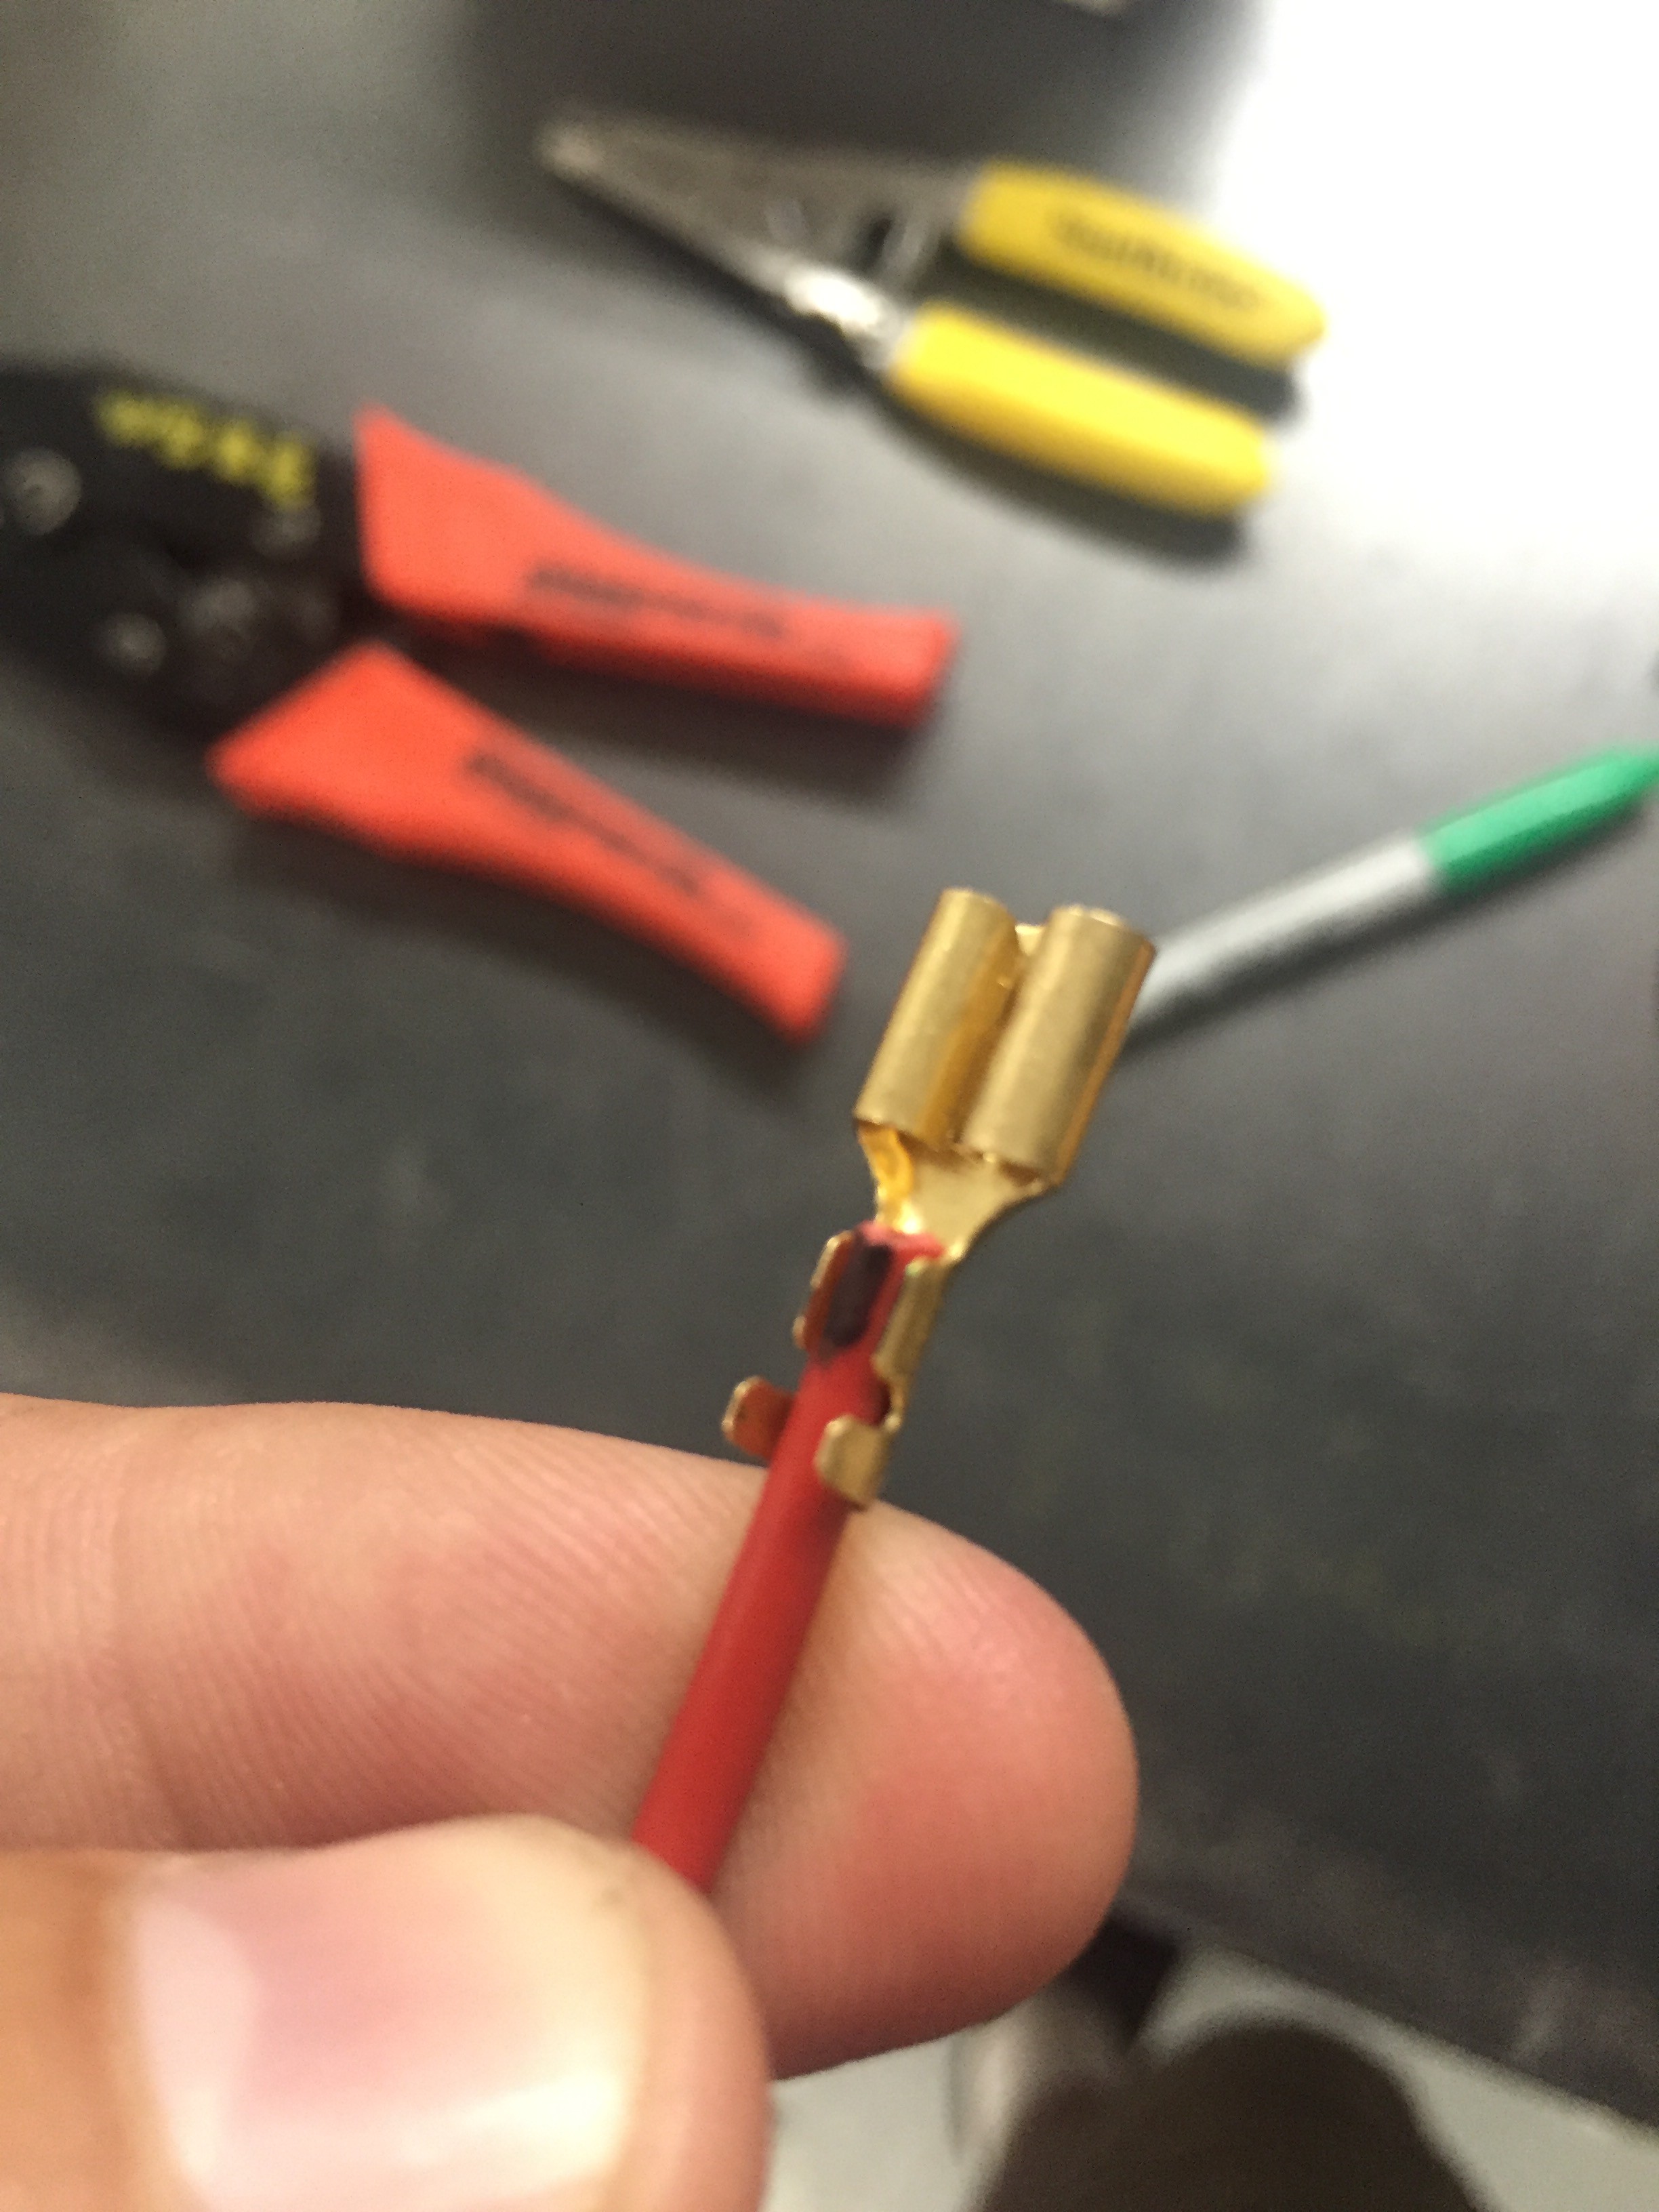
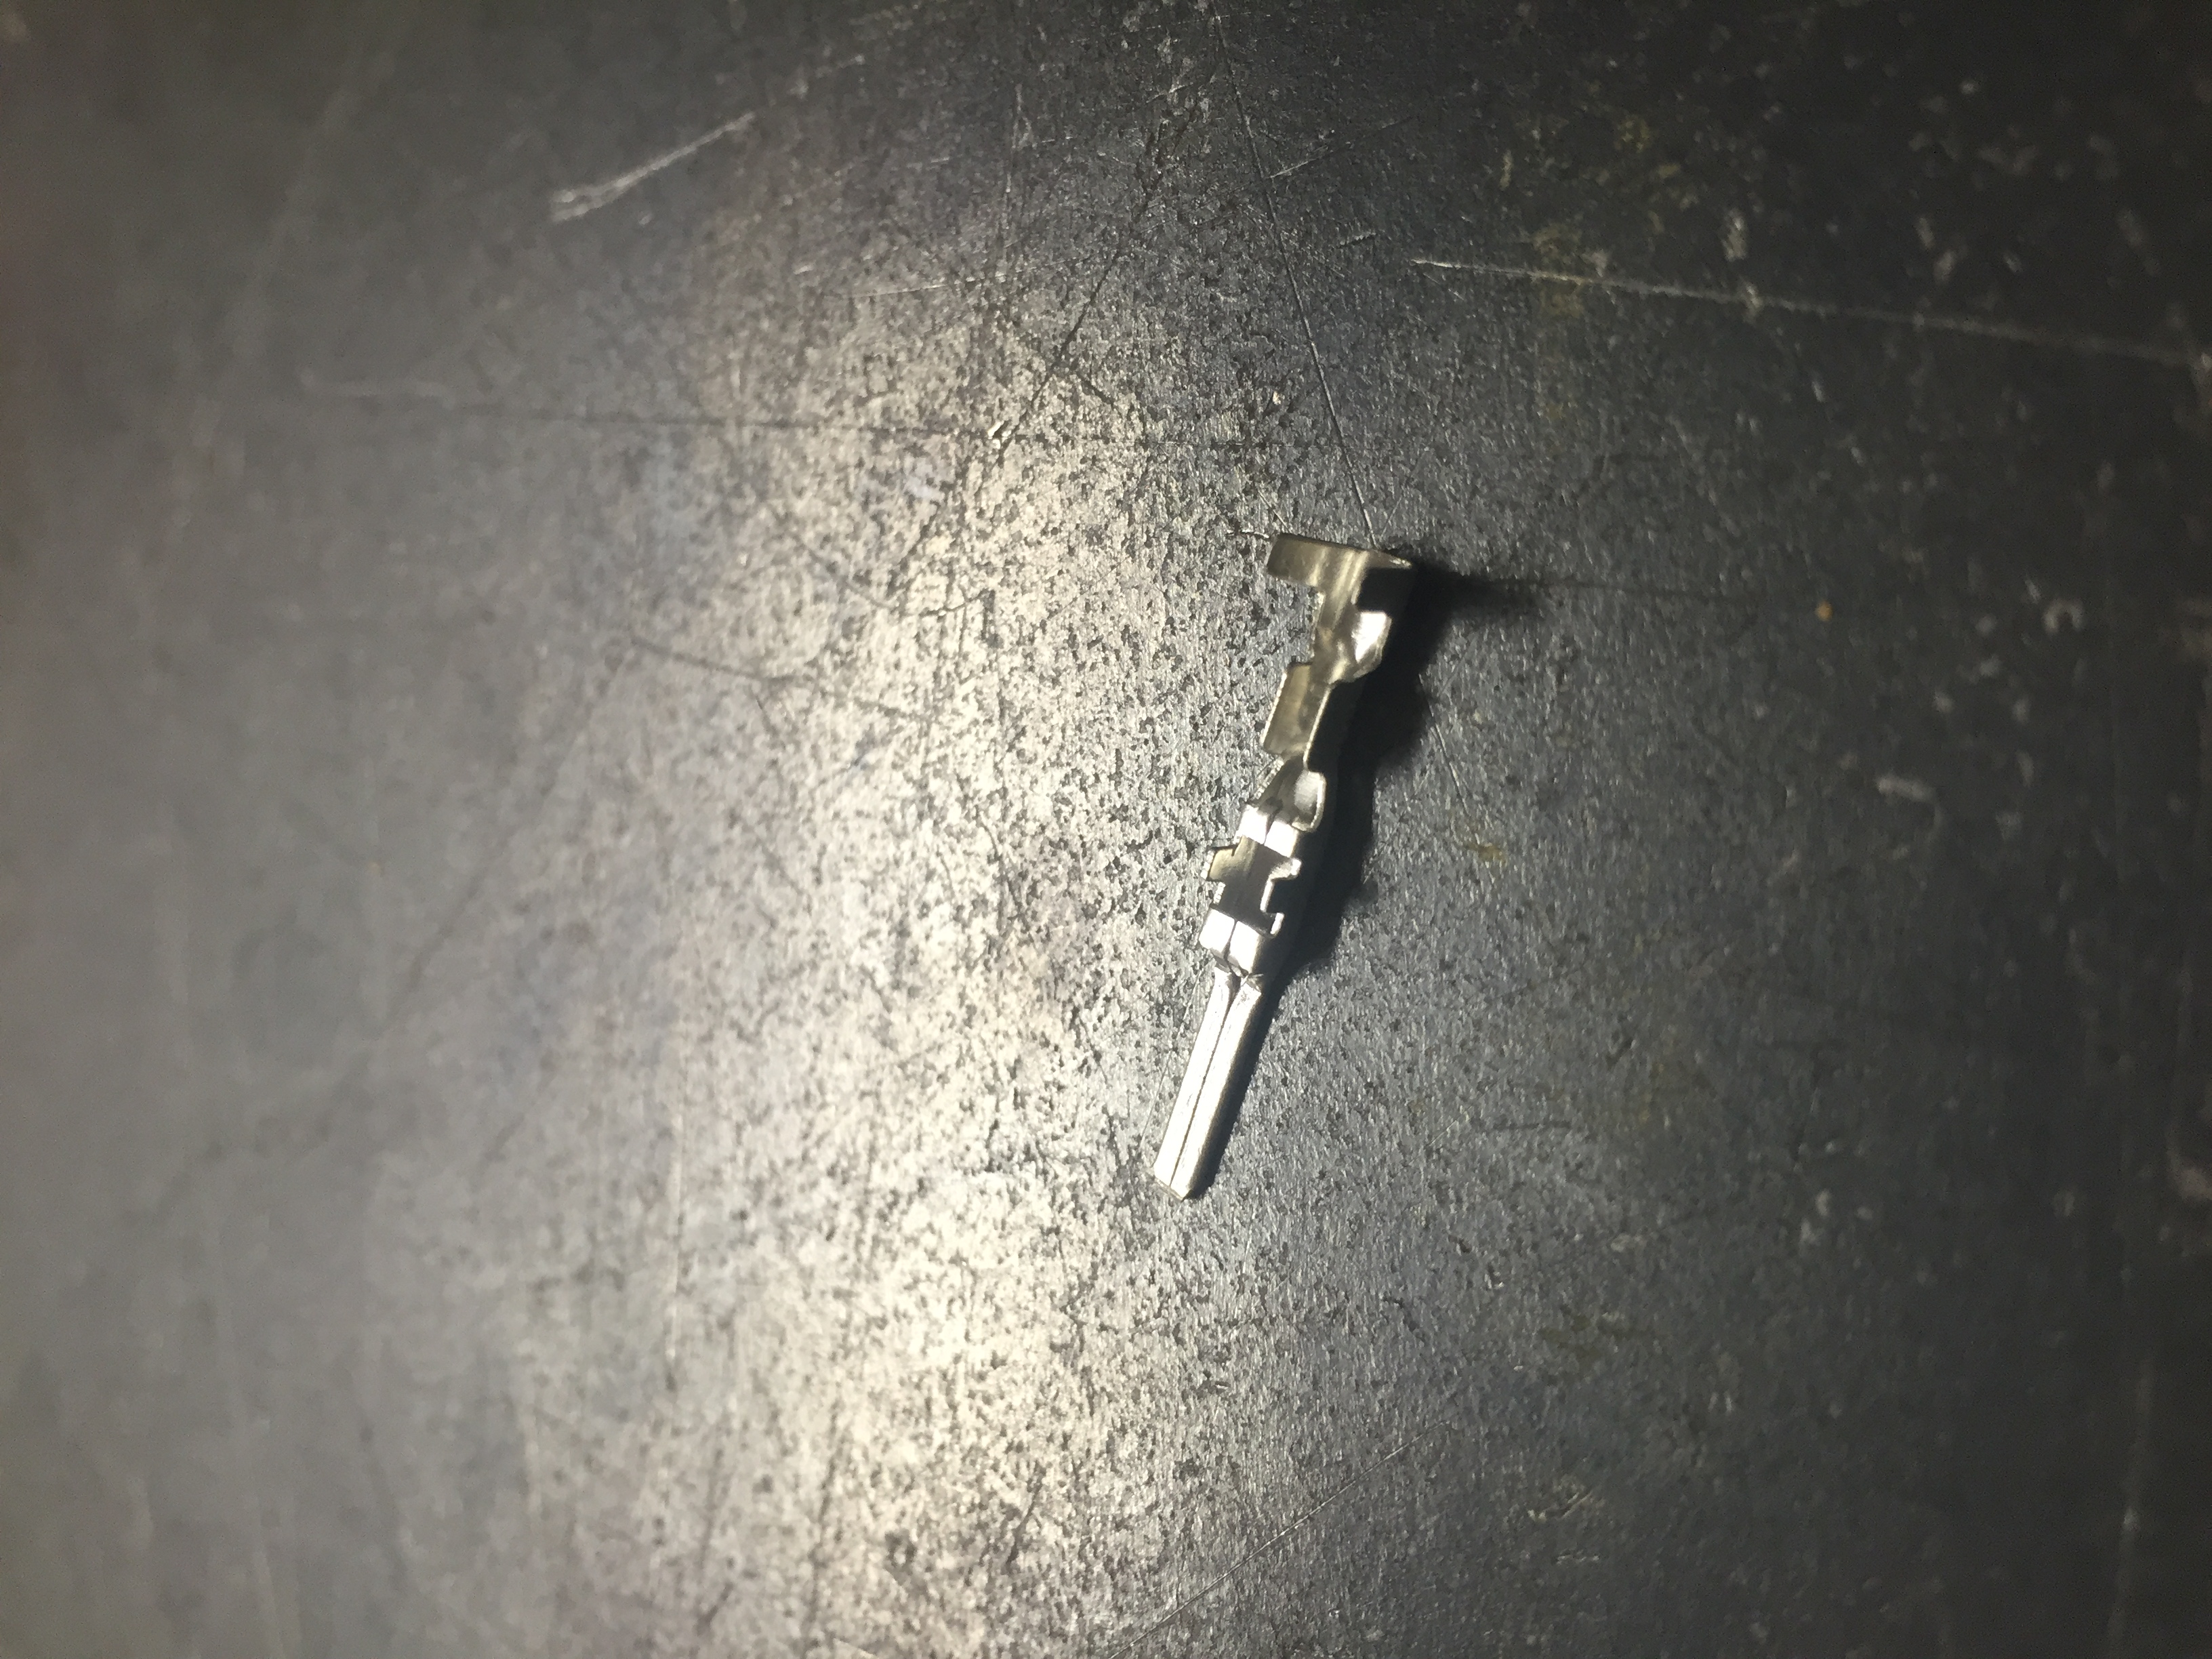
One thing lots of folks get wrong, is stripping too much insulation from the wire. Only strip what you need. If needed, mock up the terminal you plan to use, and mark it with a sharpie, as you’ll see I have done below:

The above terminal is the type that has a mechanical crimp on both the insulation and the copper strand wire. I strongly prefer these types of terminals. They are included in our CDI and PMA systems.
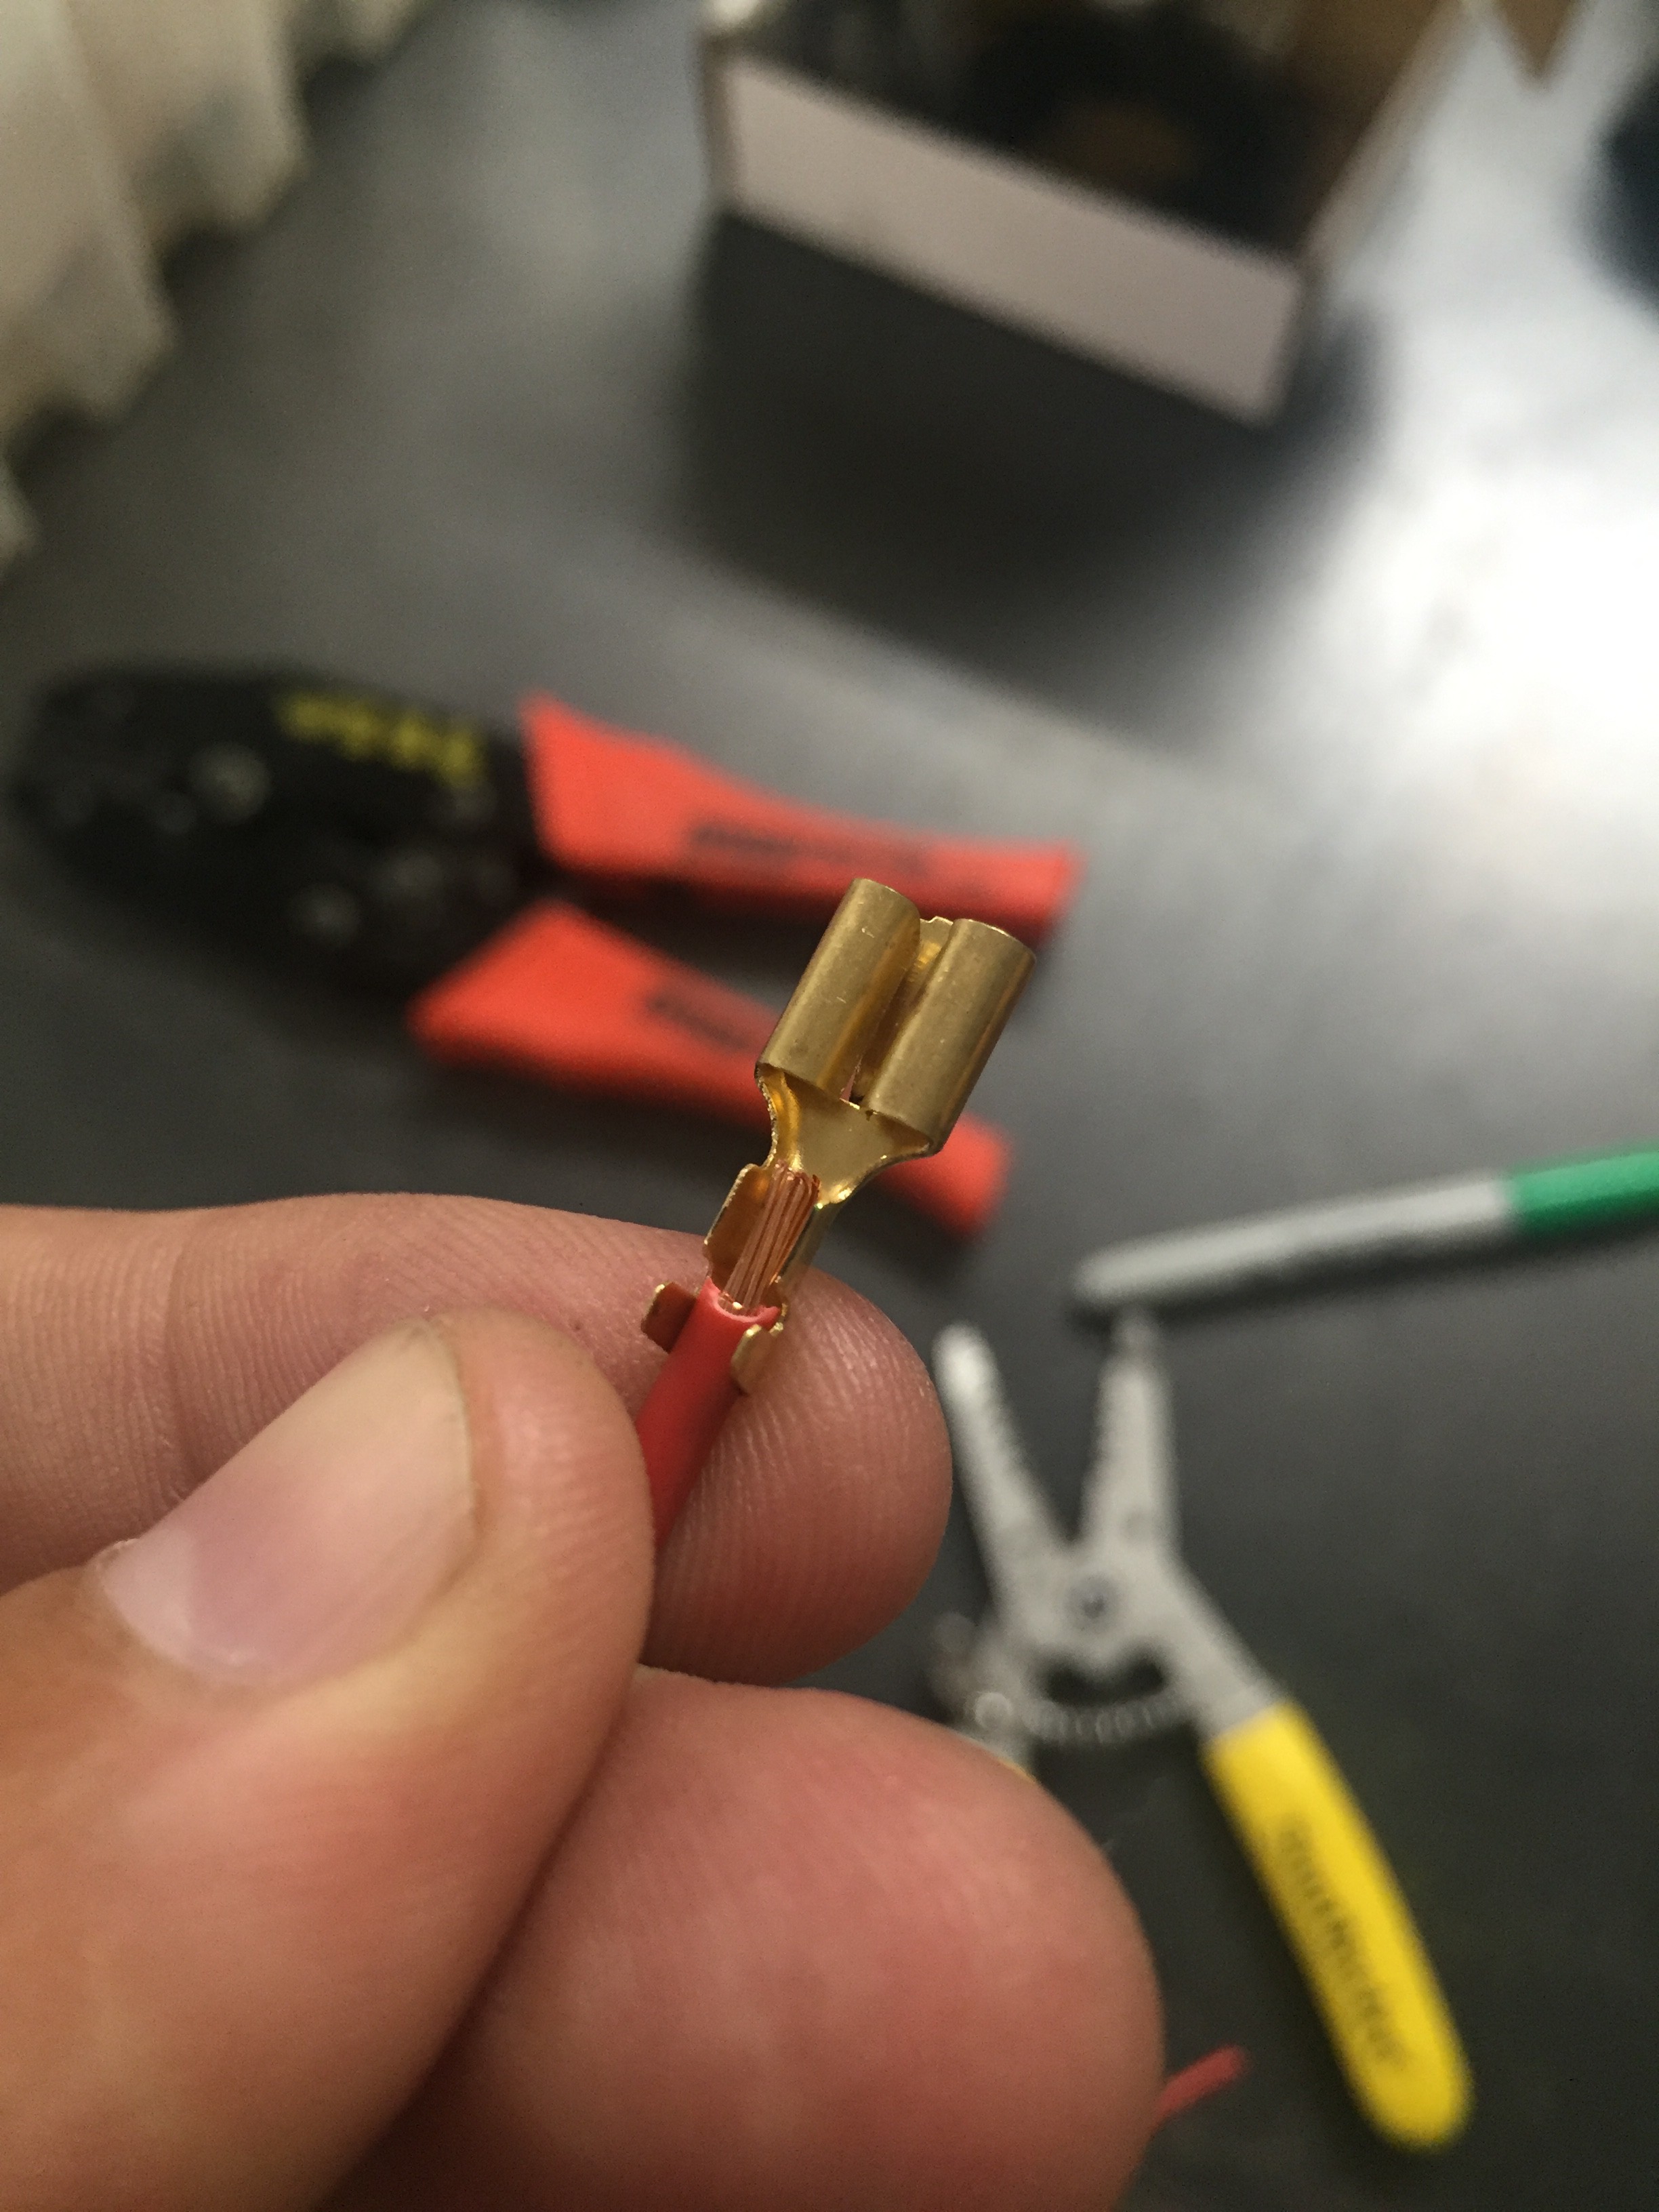
Mocked up for you to get an idea. Any further than this in any terminal is too far, and may cause continuity issues when in use.
Quick mark using sharpie marker to ID how much of the insulation I want to move.
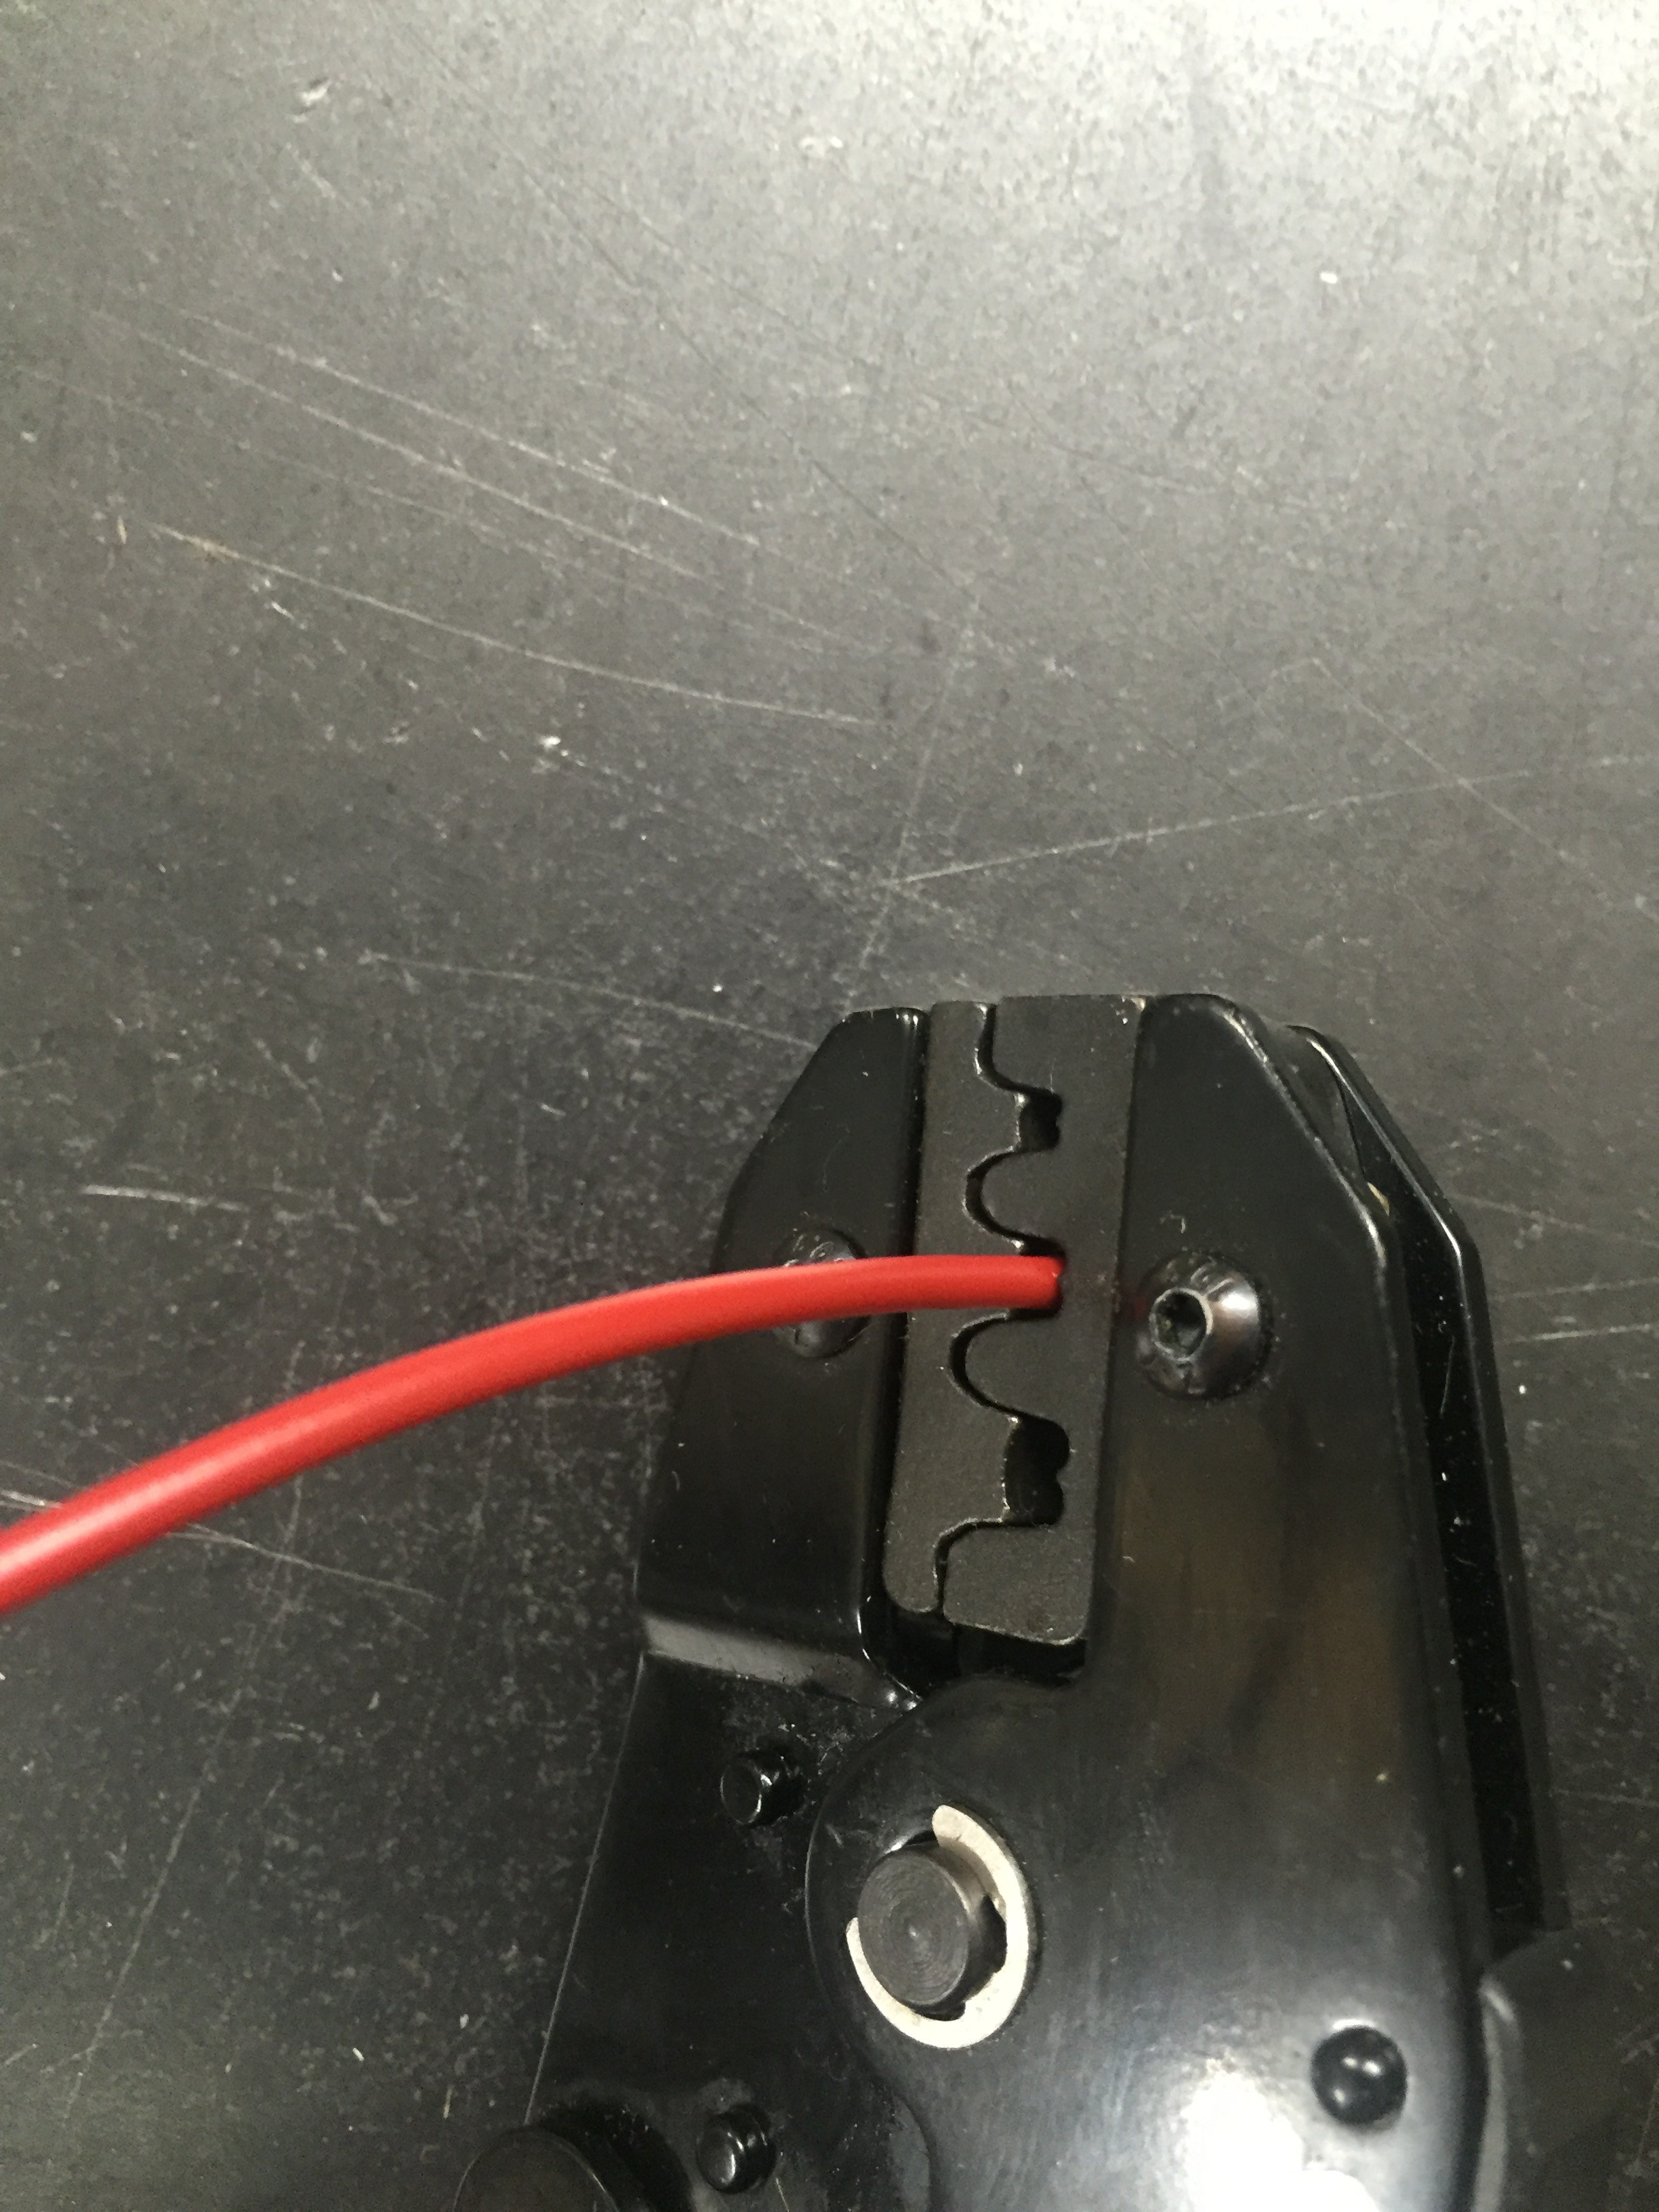
Strip the insulation back using the strippers/cutters. This is where a nice pair of tools is worth the extra money. You can see we left the insulation where the larger crimp will occur
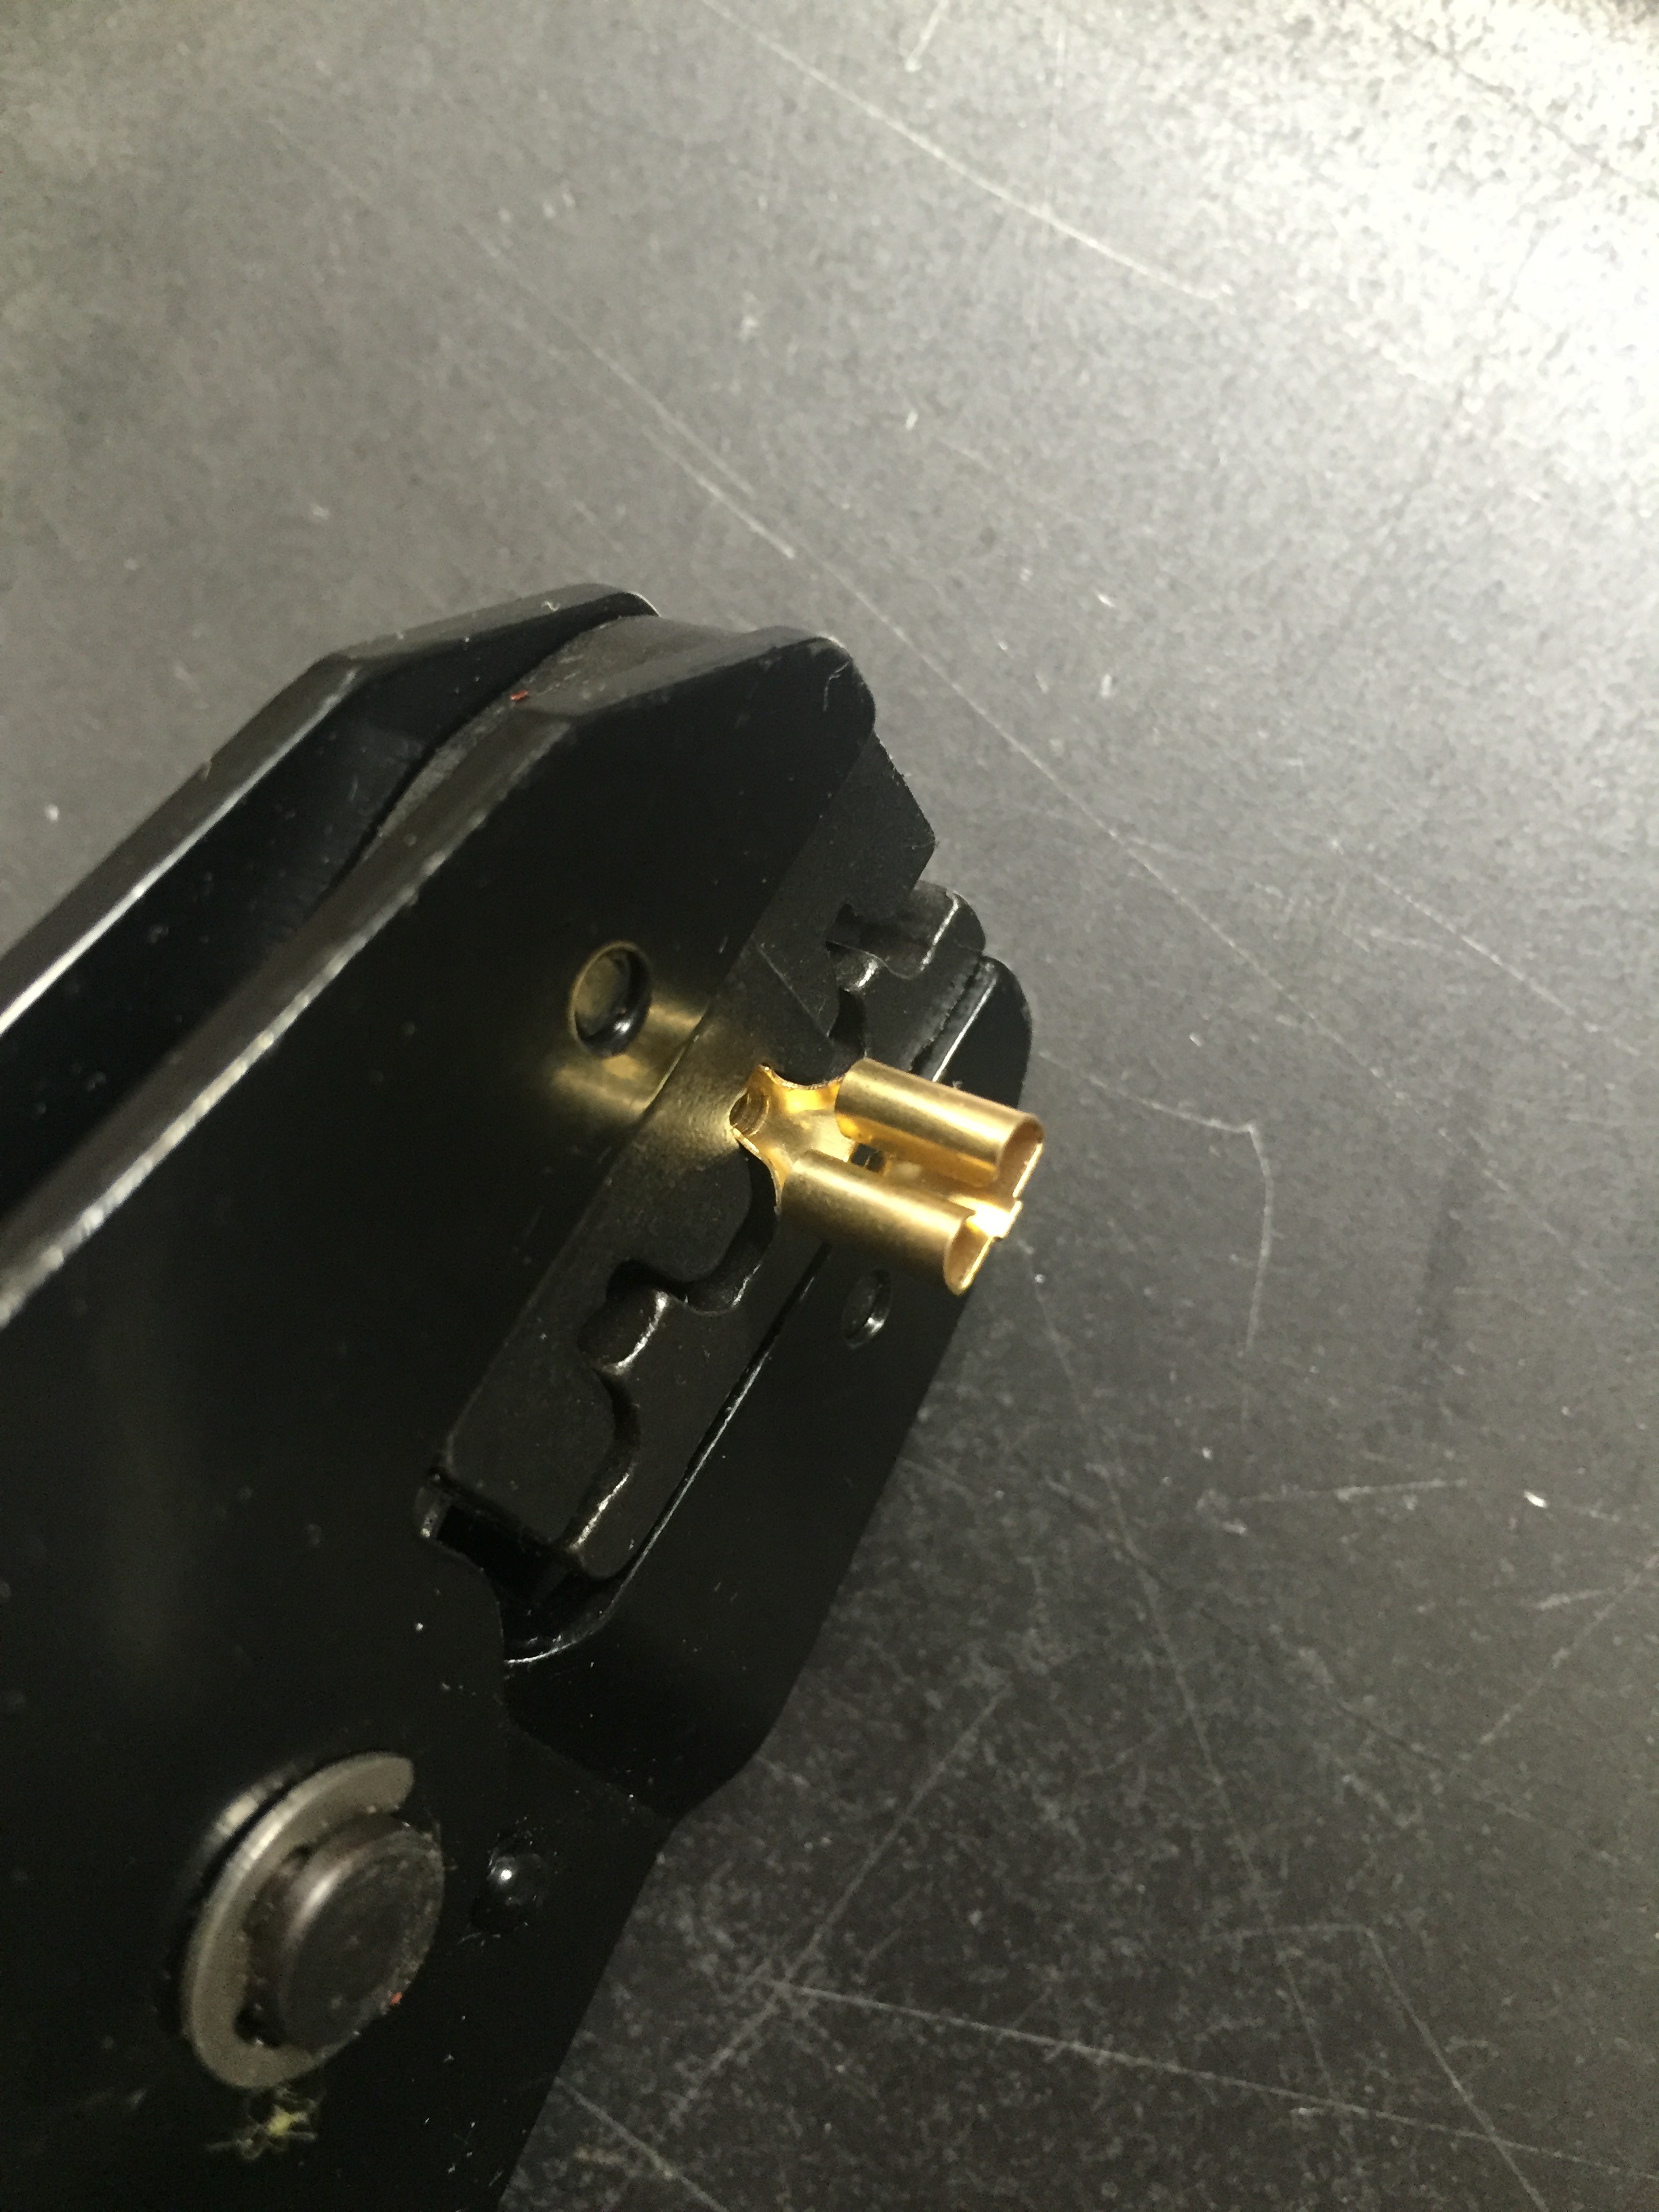
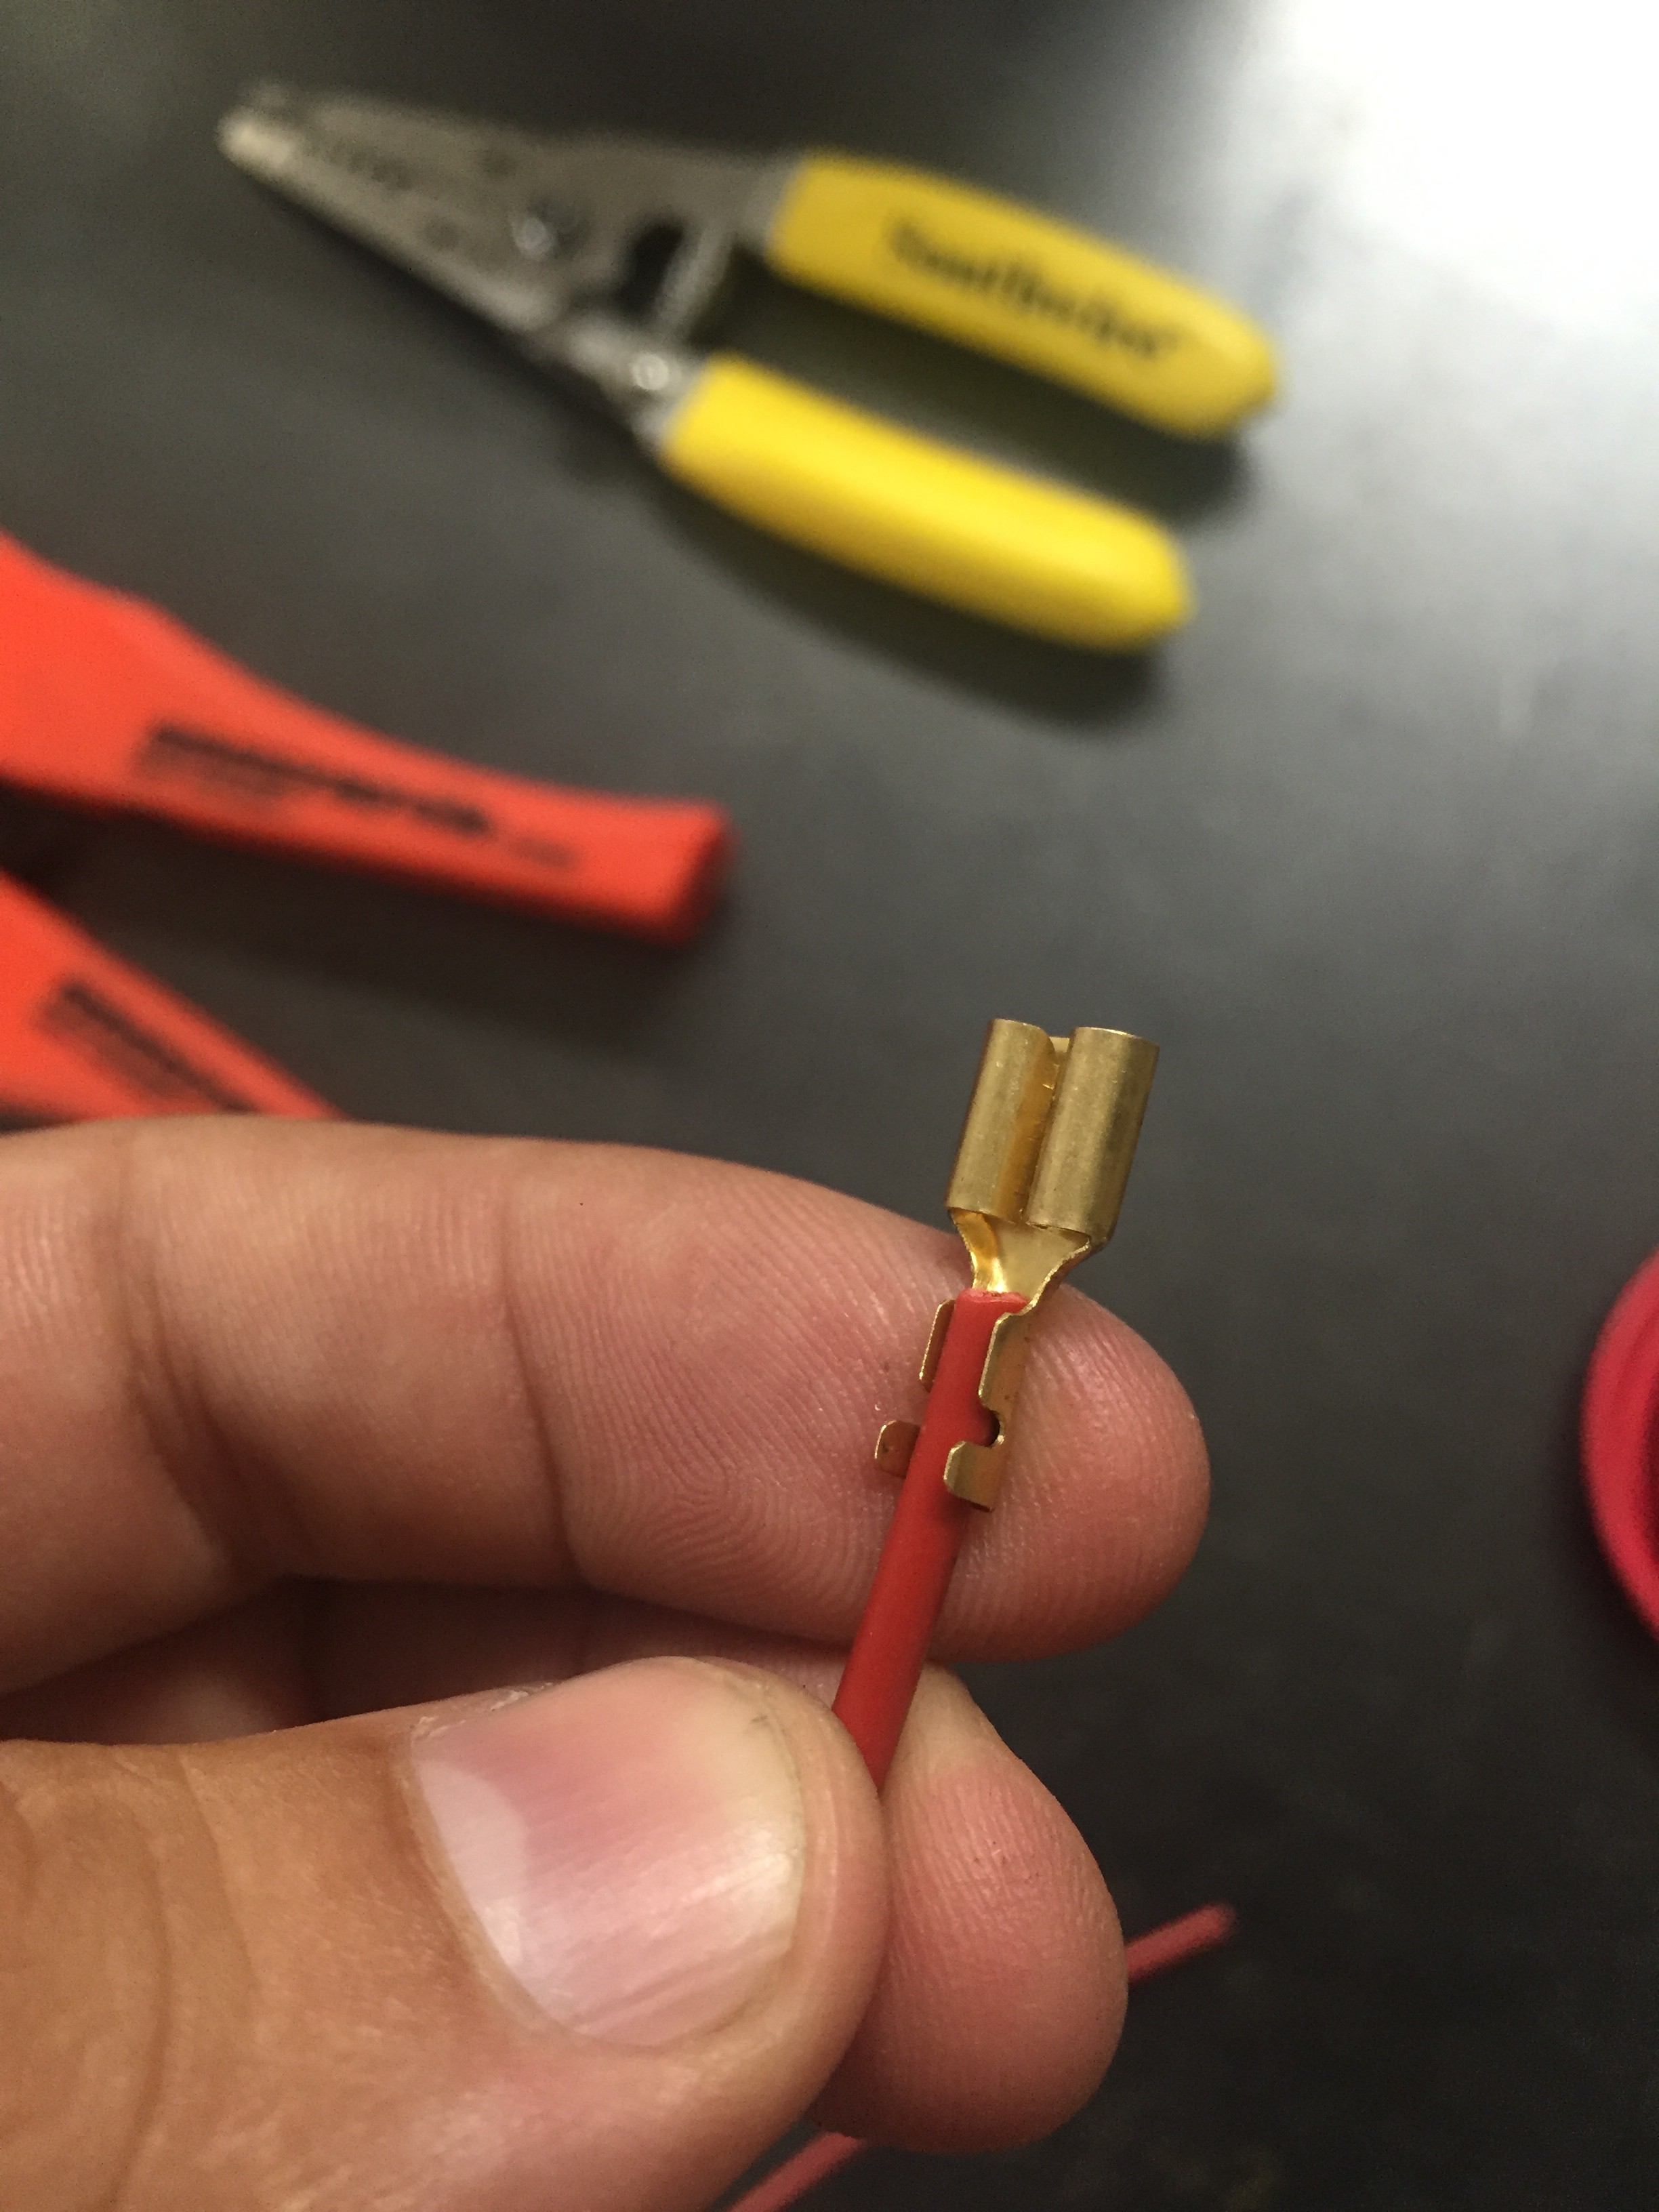
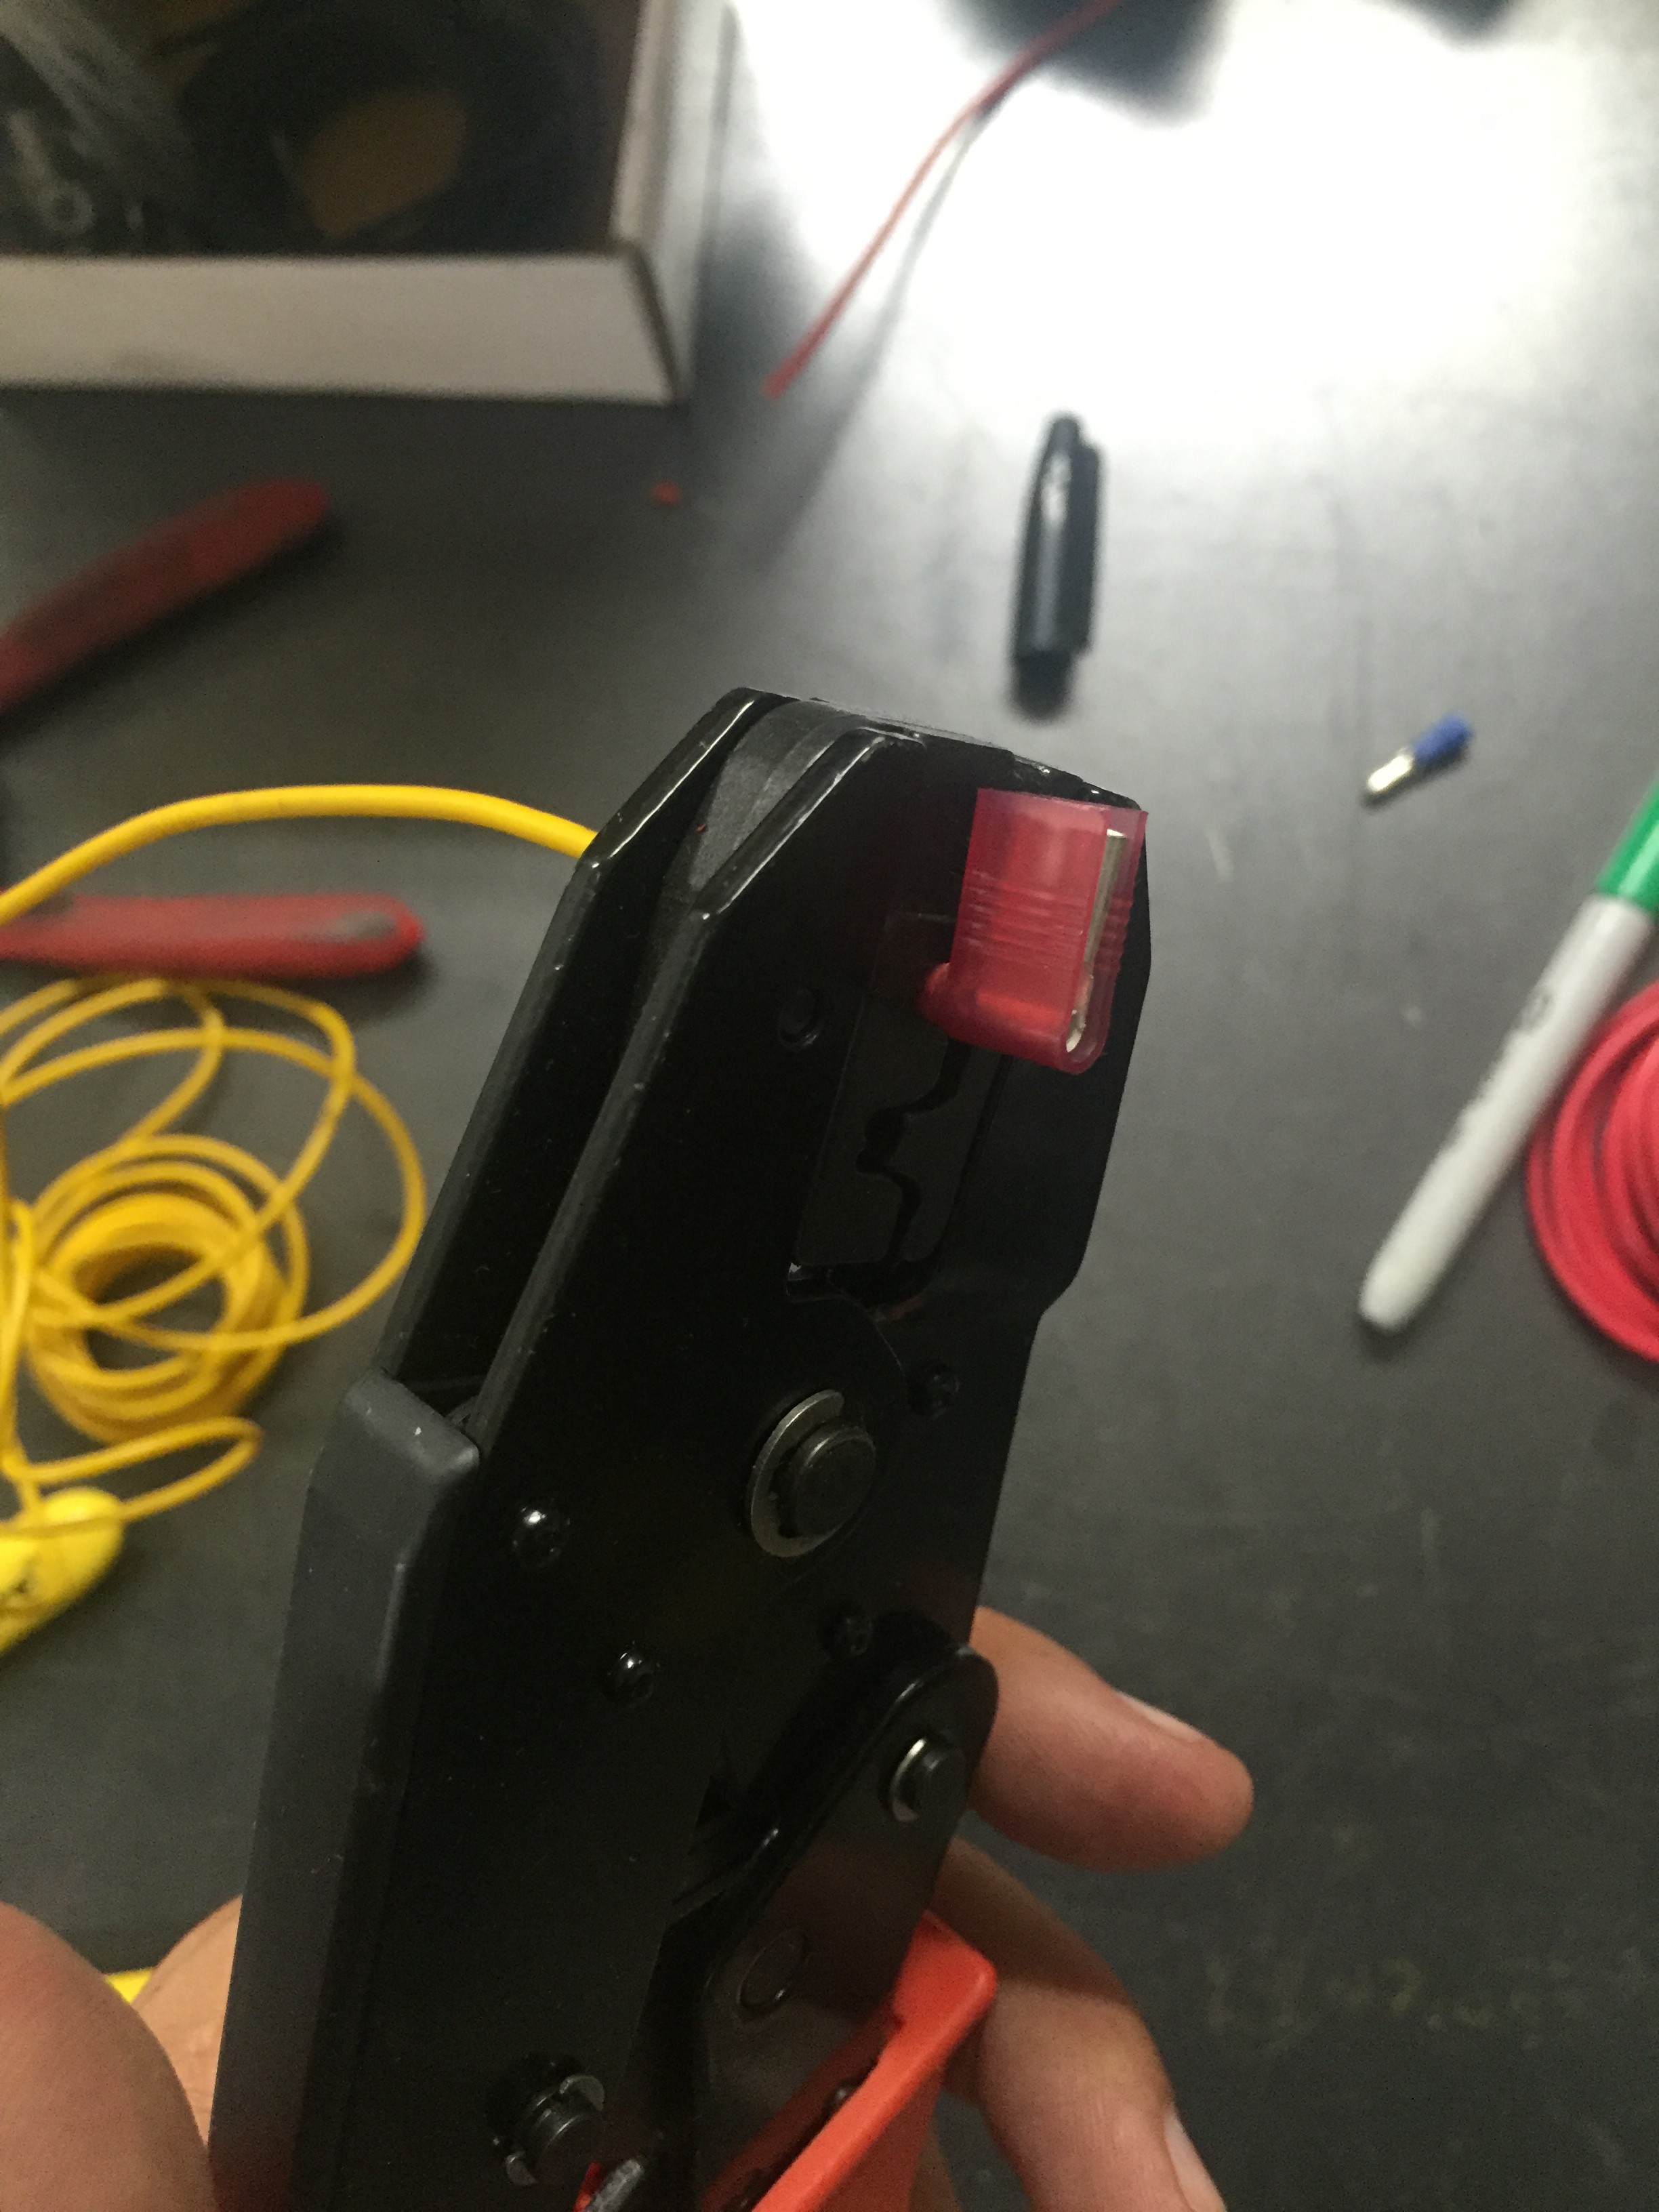
Insert the terminal into the Ratcheting Pliers as seen above. You may need to tweak the tabs a bit on the terminal itself, they are mass produced and don’t always have a perfect fit each time. Lightly squeeze the pliers, just enough to hold the terminal in place.
From the “wire” side that we previously labeled, slip the wire into place. Visually verify that the wire insulation and copper strands are where you want them on the terminal. It’s not easy to photograph, but you can peak in fairly easy and tell where they should be.
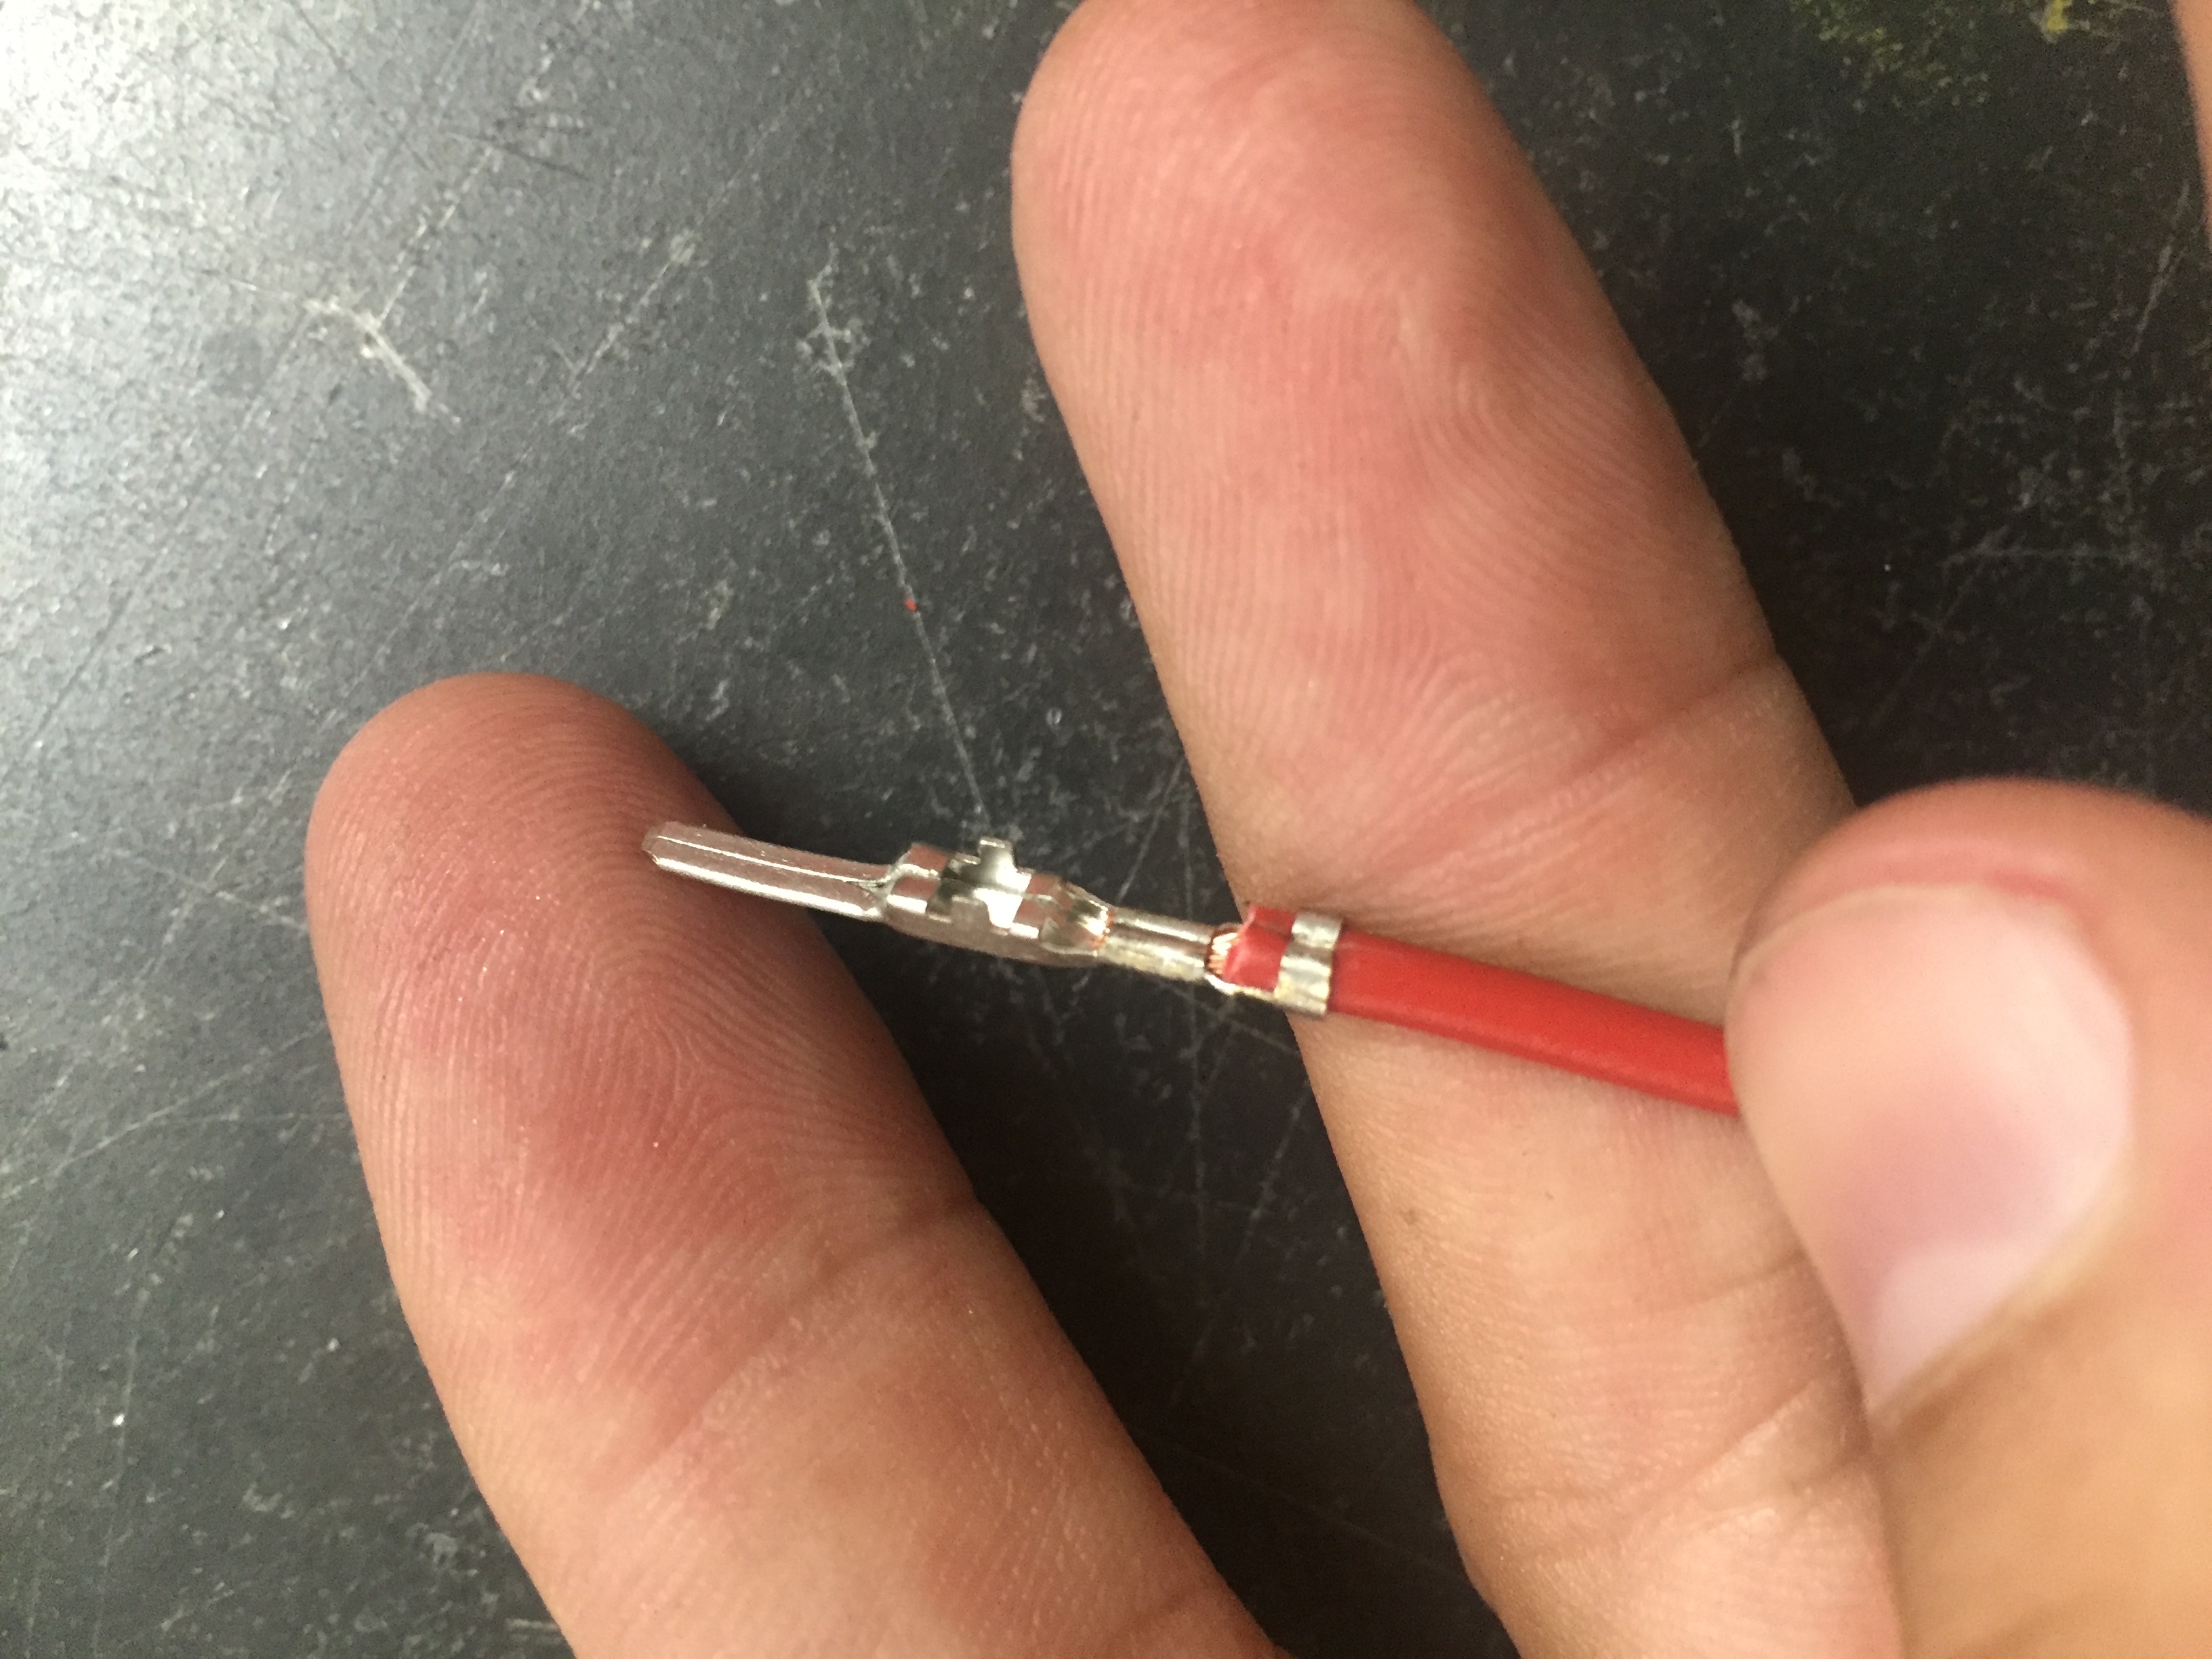
After squeezing the pliers until the release, you should be left with a terminal/crimp that looks like that… Not too shabby. I could have left just a little bit more Copper Strand exposed, this one was just flush enough to not show in the pics. *IF you wanted to add solder, just a dab at the end of the copper strand is where you want it, not all over the terminal, and not melting the insulation.
That’s pretty much it… I’ll show a few different terminals and crimps below. Some of these are in our CDI and PMA systems, so if you need reference this is a good place to look. Others are just random terminals I found around the shop:
Insulated Terminals? No problem…
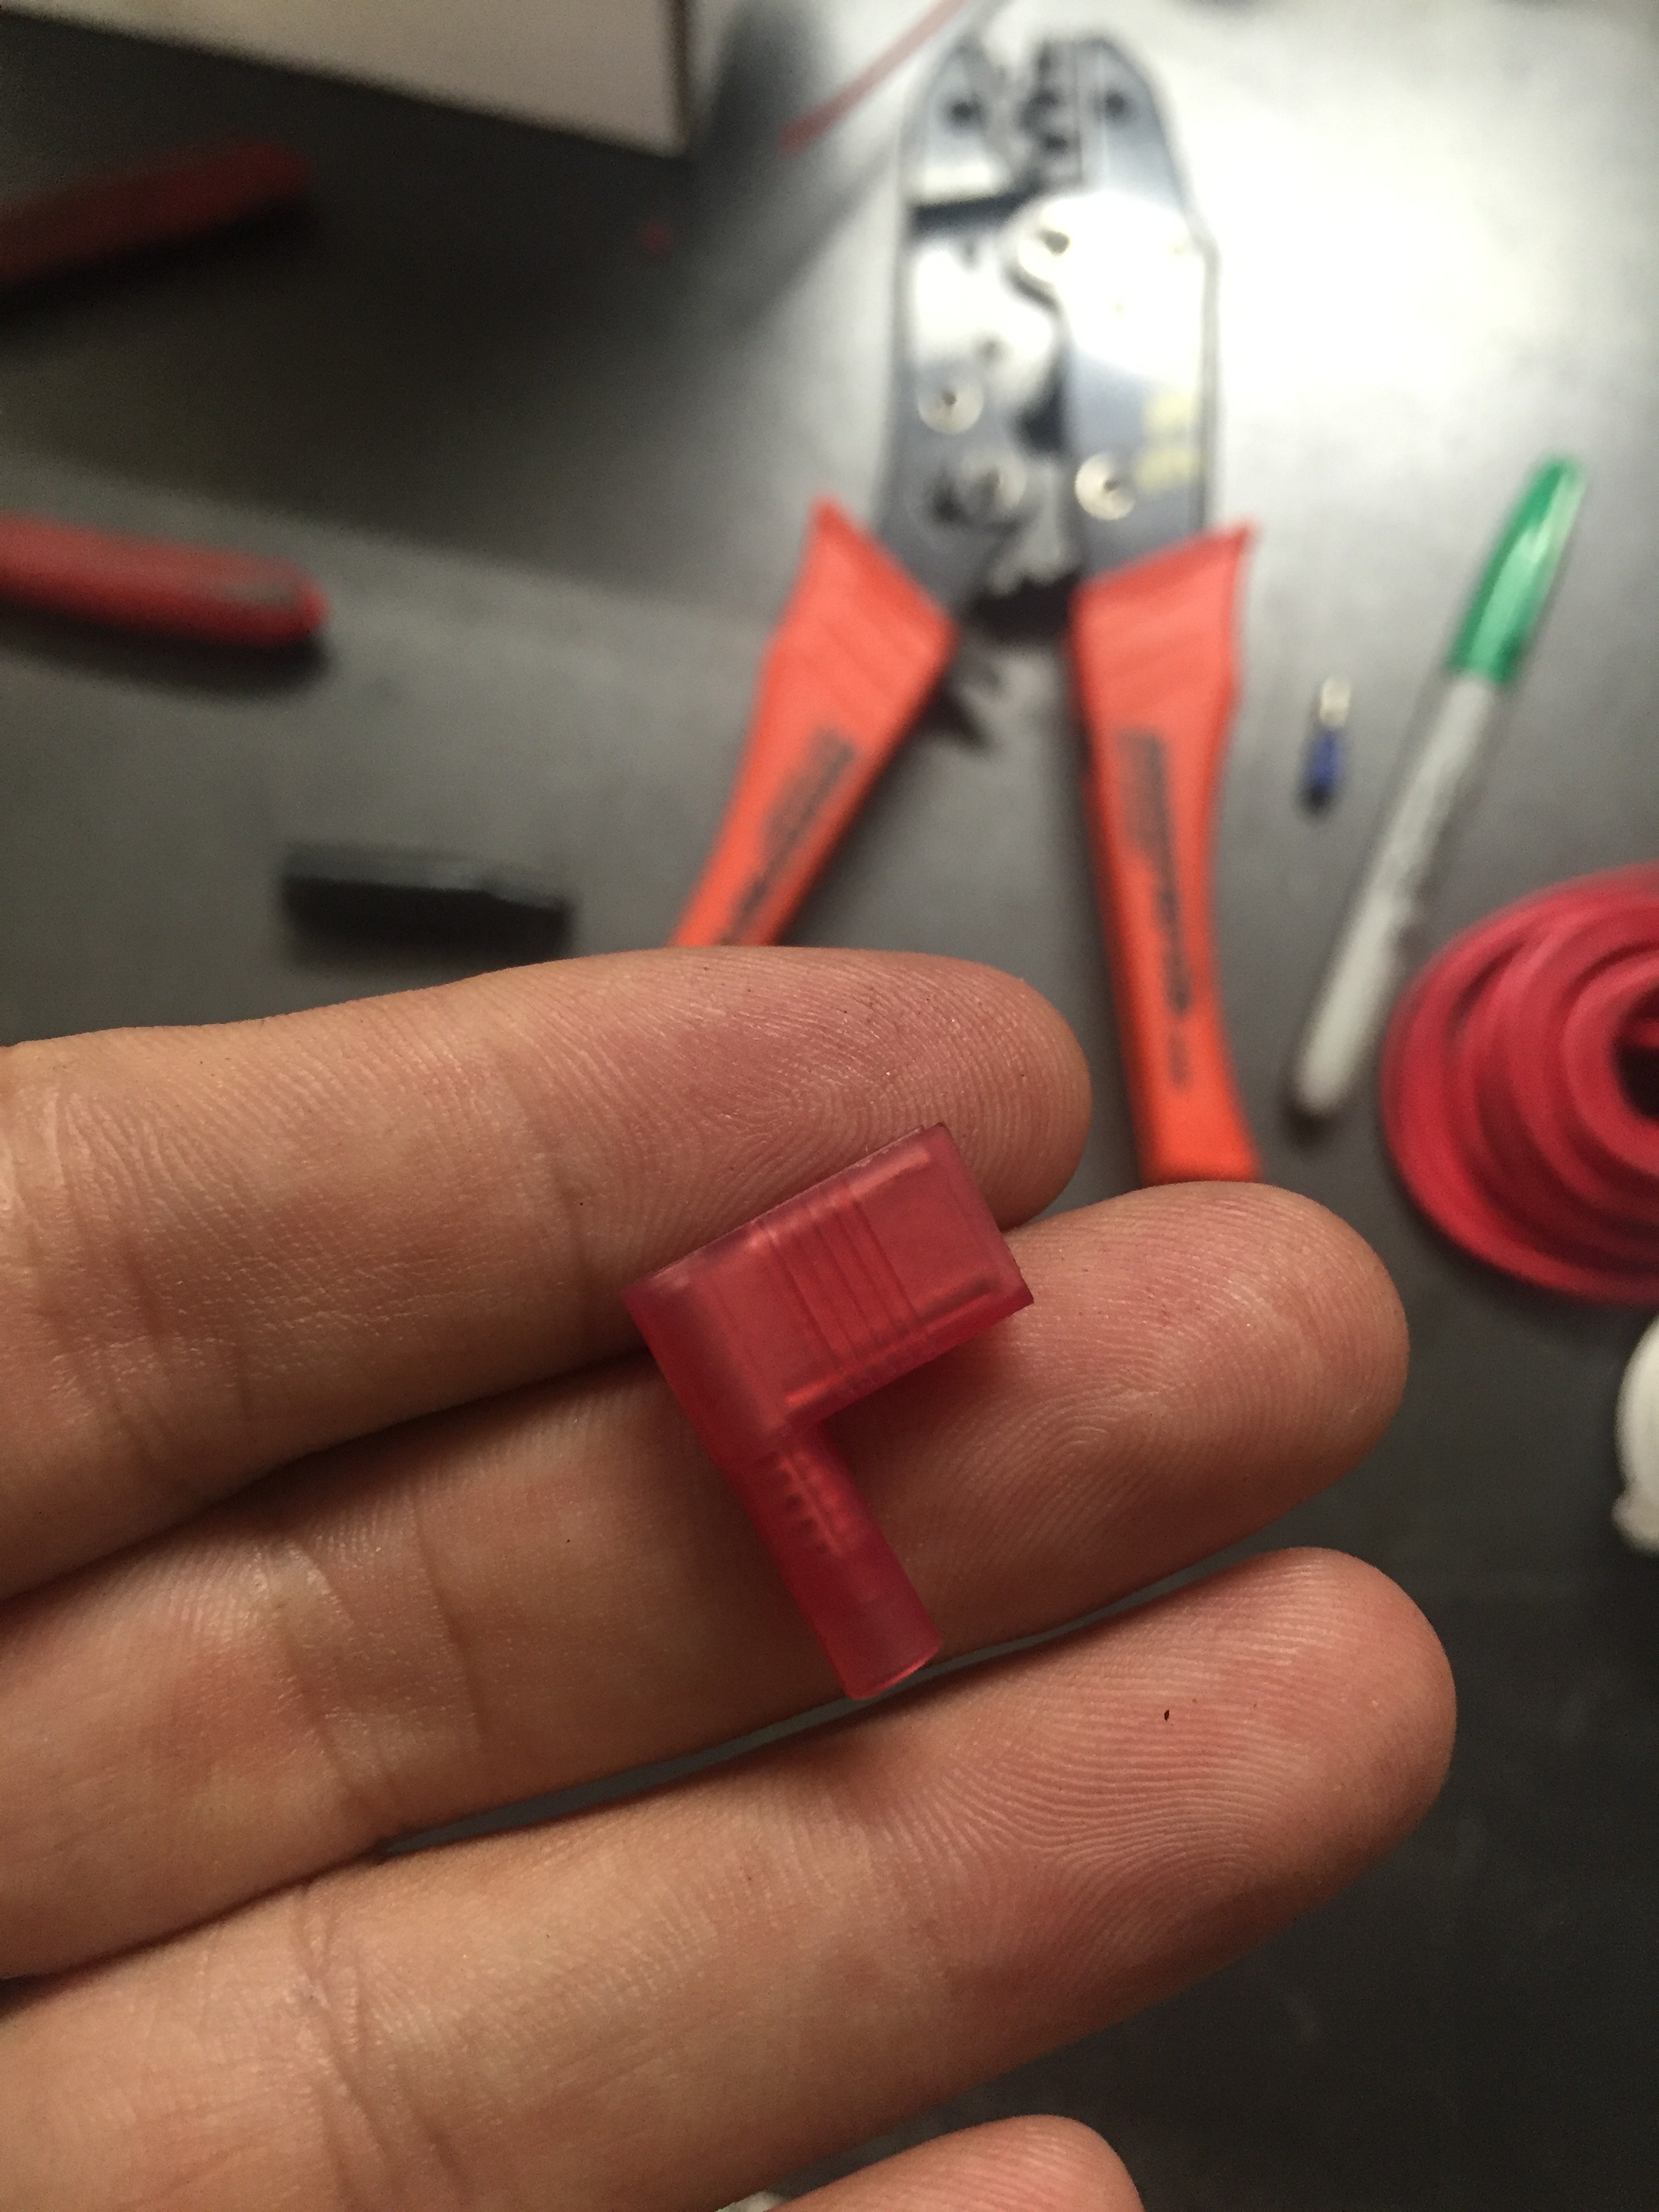
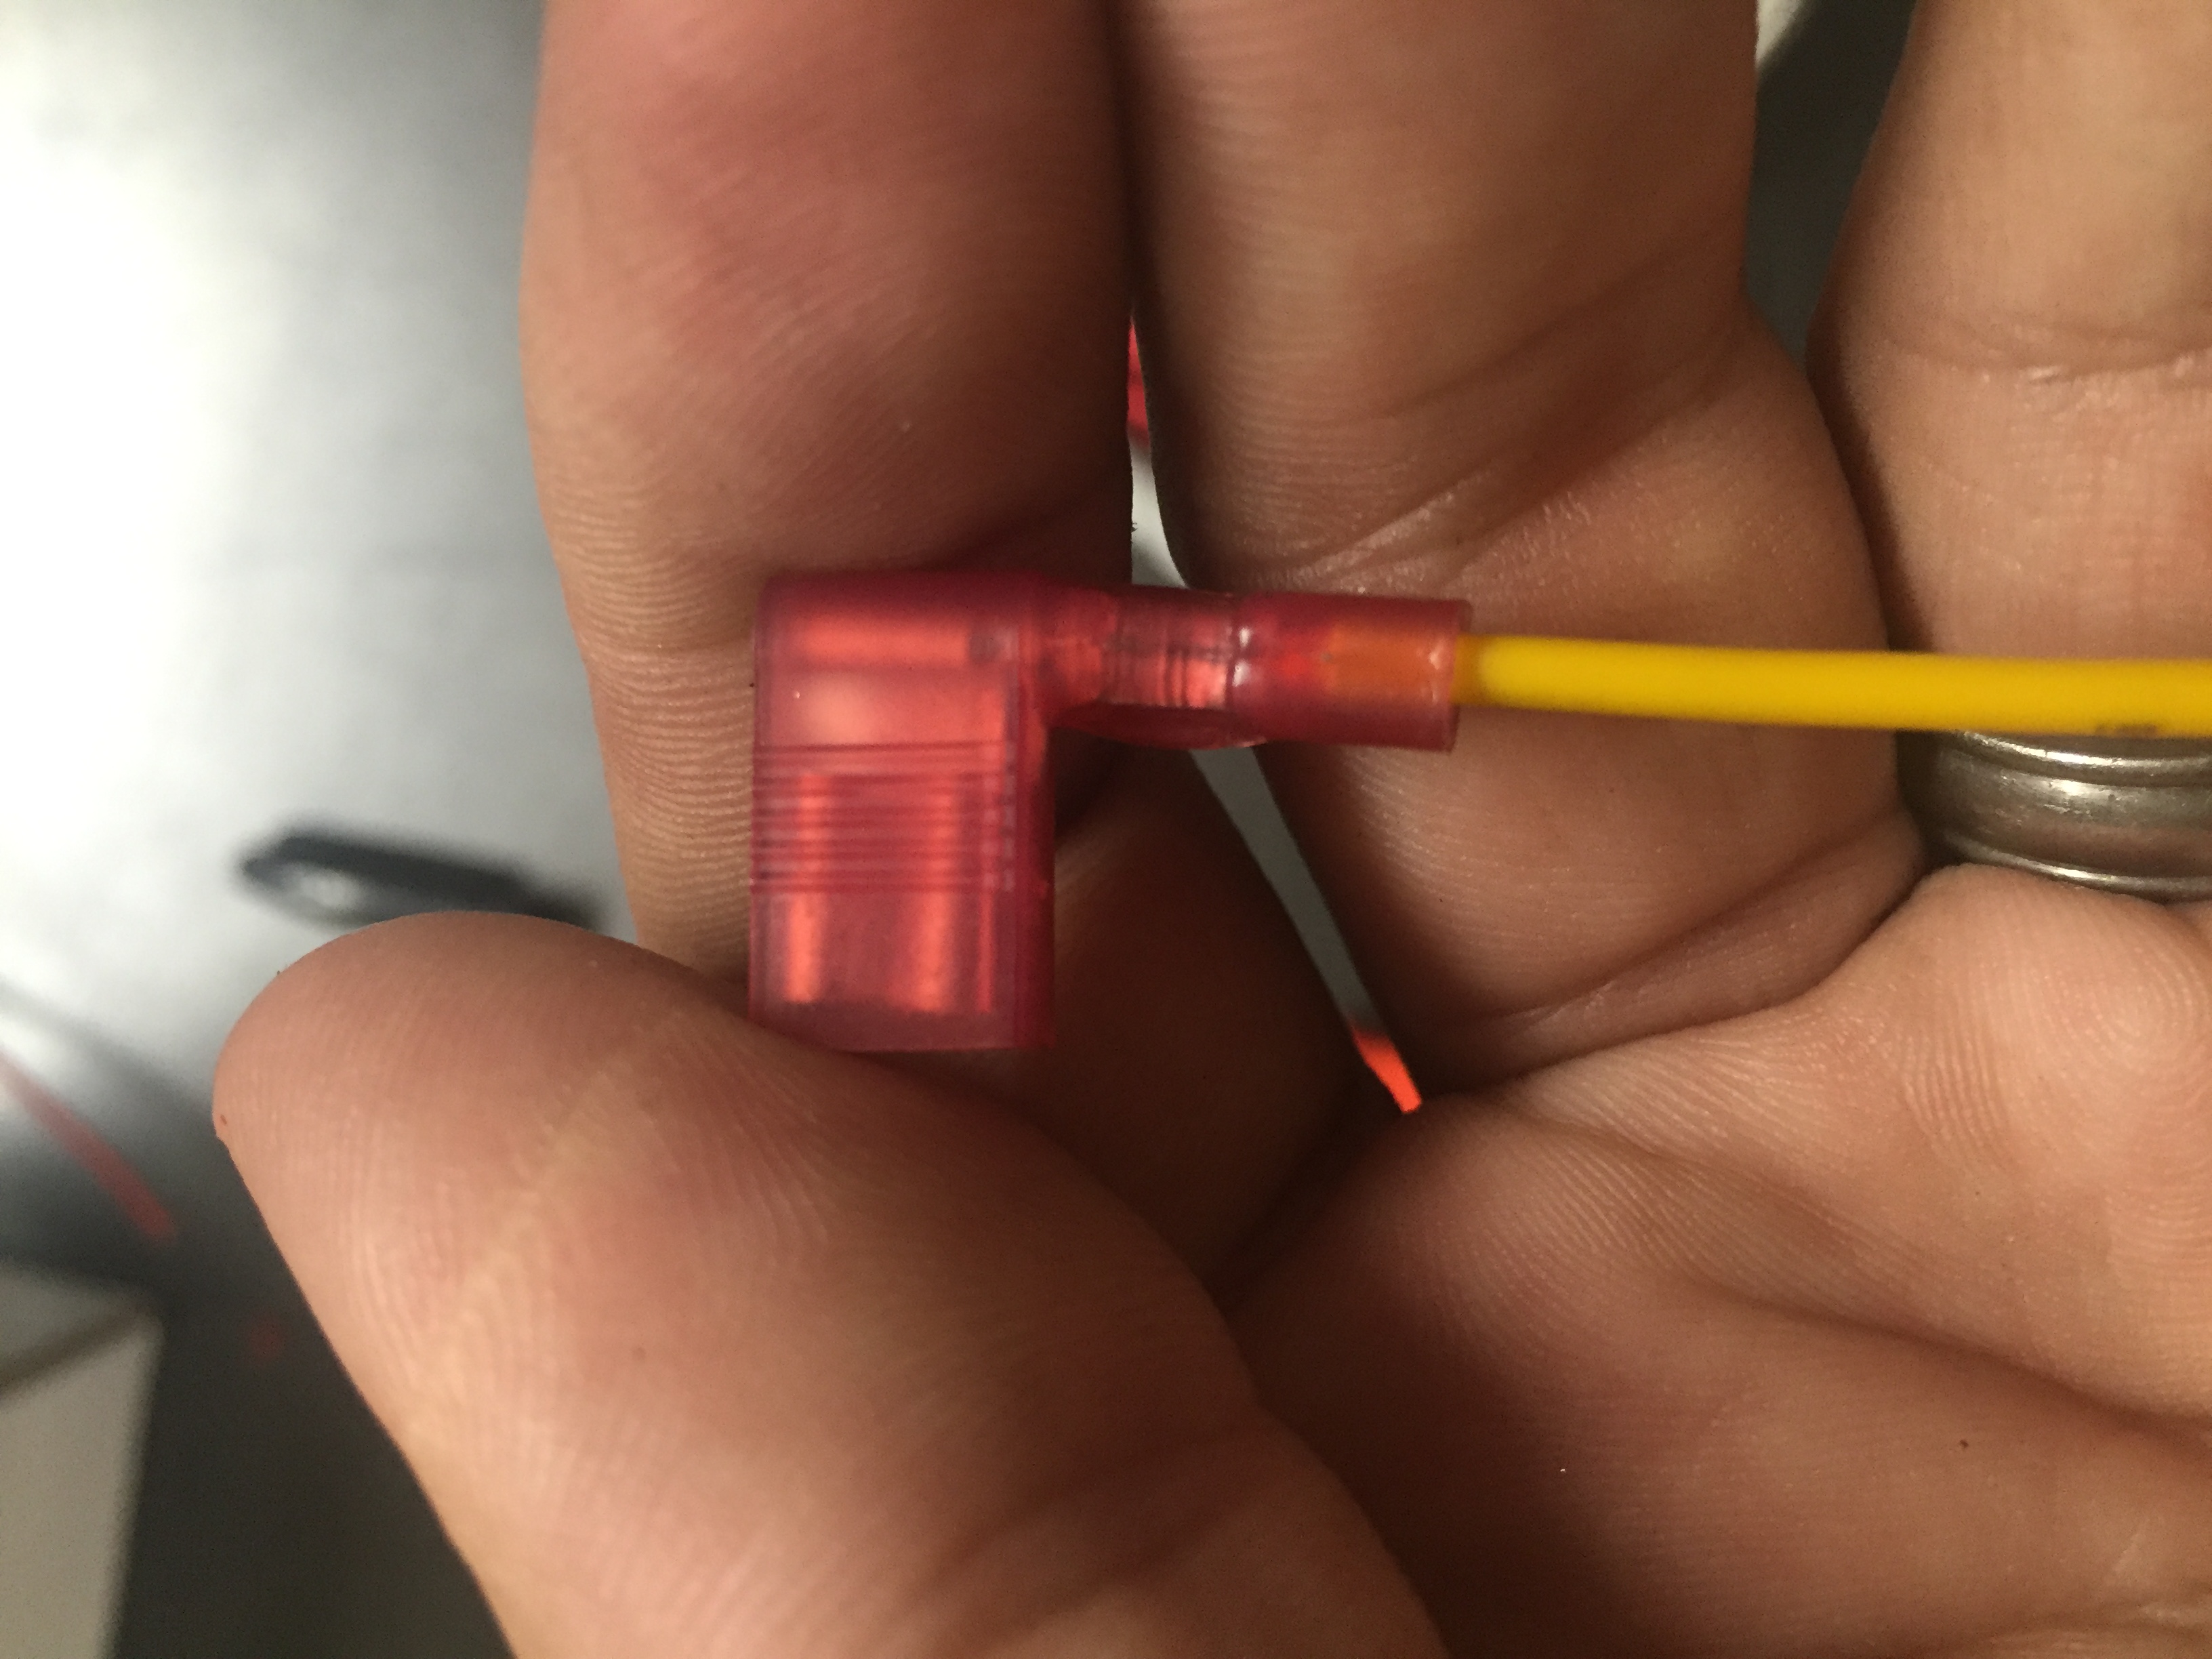
Weather Proof Type Terminals? Also no problem…
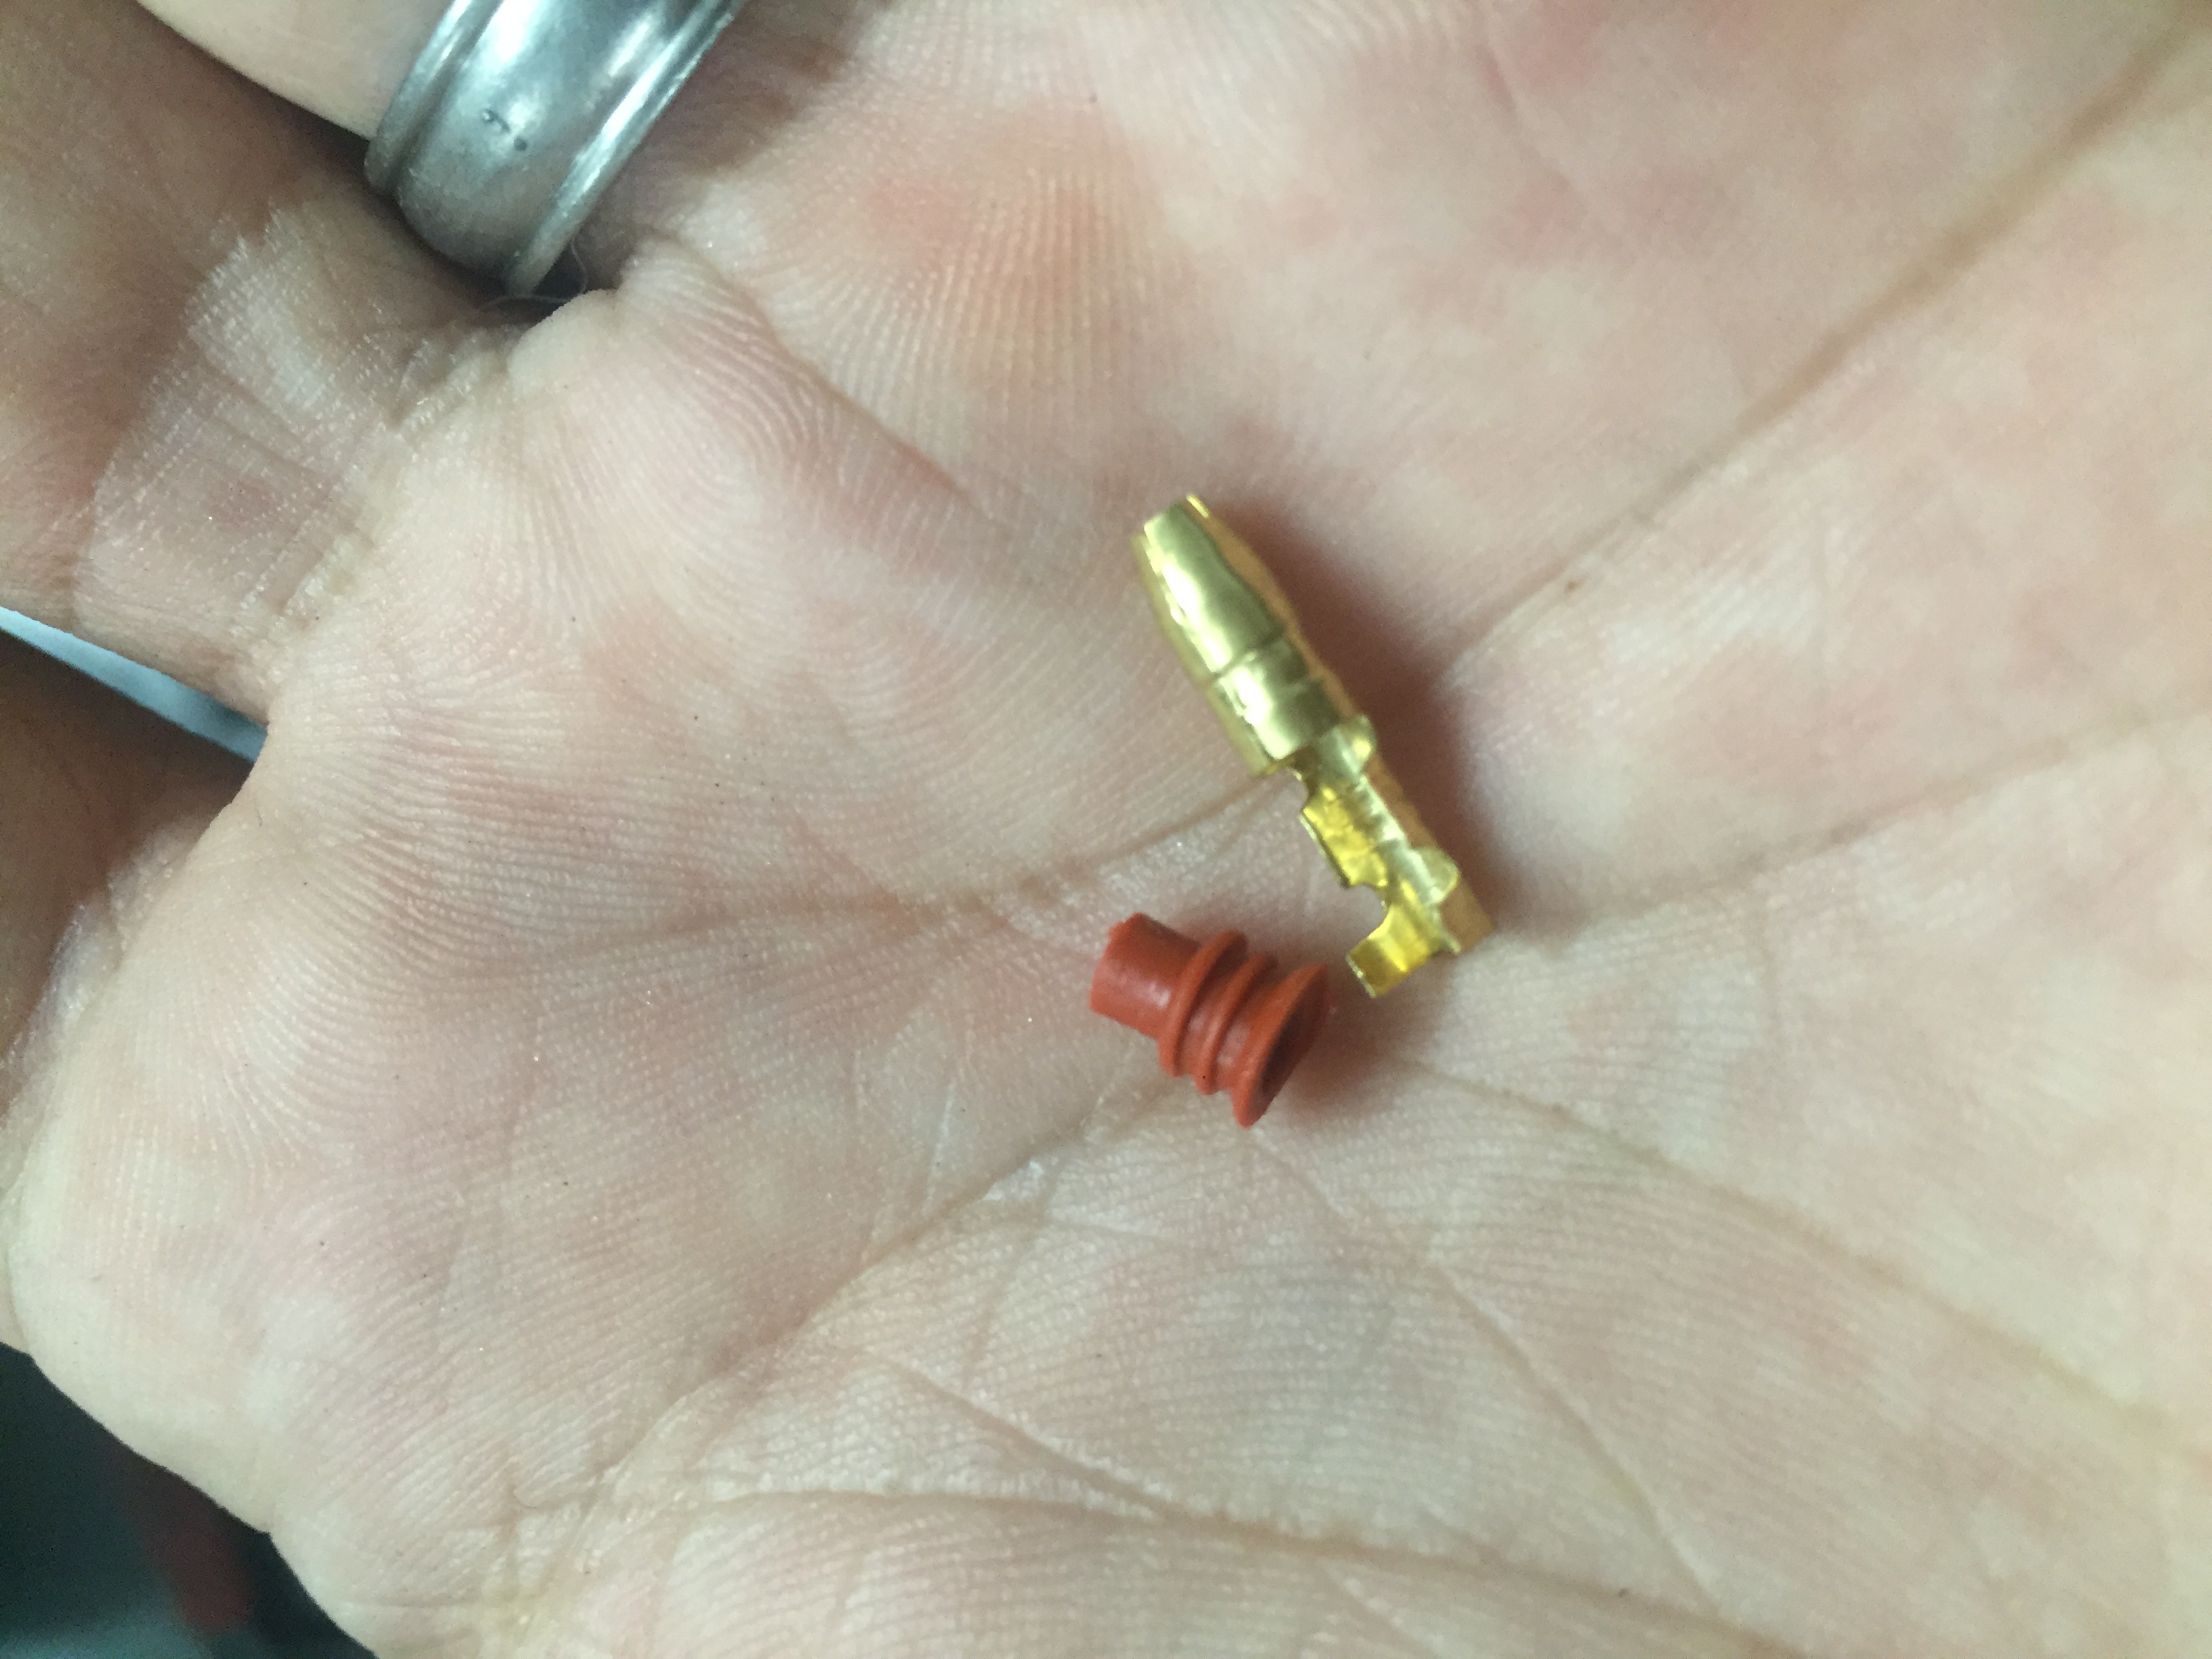

Those thin weatherpack type terminals on our CDI Systems? Easy, and without damaging the terminal or compromising the connection.
Looks easy right? Thats because it is!
We have these in our Store now, making it a bit easier to source the proper tools for the proper job…
As always, thanks so much for your support folks! We love this job, learning more and more each day, and passing it down to you folks…
Hugh Owings


were do you purchase these connectors ?
We keep a few in our store, and you can order almost anything you need from Del-City too!
Hugh
Oh YES! This just keeps getting better & better. Thanks Hugh!!
Rich Harrison
I bought the same crimpers after watching this video. They are awesome. This tutorial is clear and concise. Thanks again.