
How To – Inspect and Test your PMA System
I don’t know about you folks, but for us, spring is already nipping at my heels – and that means it’s time to get your bike out of the shed and go for a ride….. Right? Right???
Whoa! Not so fast there! You gotta treat these ol’ bikes just like a love relationship, you gotta treat em nice, warm em up to the idea, break out a little lube ya know (for the cables of course…)
One thing that gets neglected to inspect/test on these XS650’s is your PMA system.
It doesn’t matter who you sourced your system from, it’s a “Mostly” trouble free system, but we have seen a few things in our time that will encourage you to not only check your PMA System and it’s Operation, but should hopefully allow for a much more enjoyable riding season. So follow along if you will.
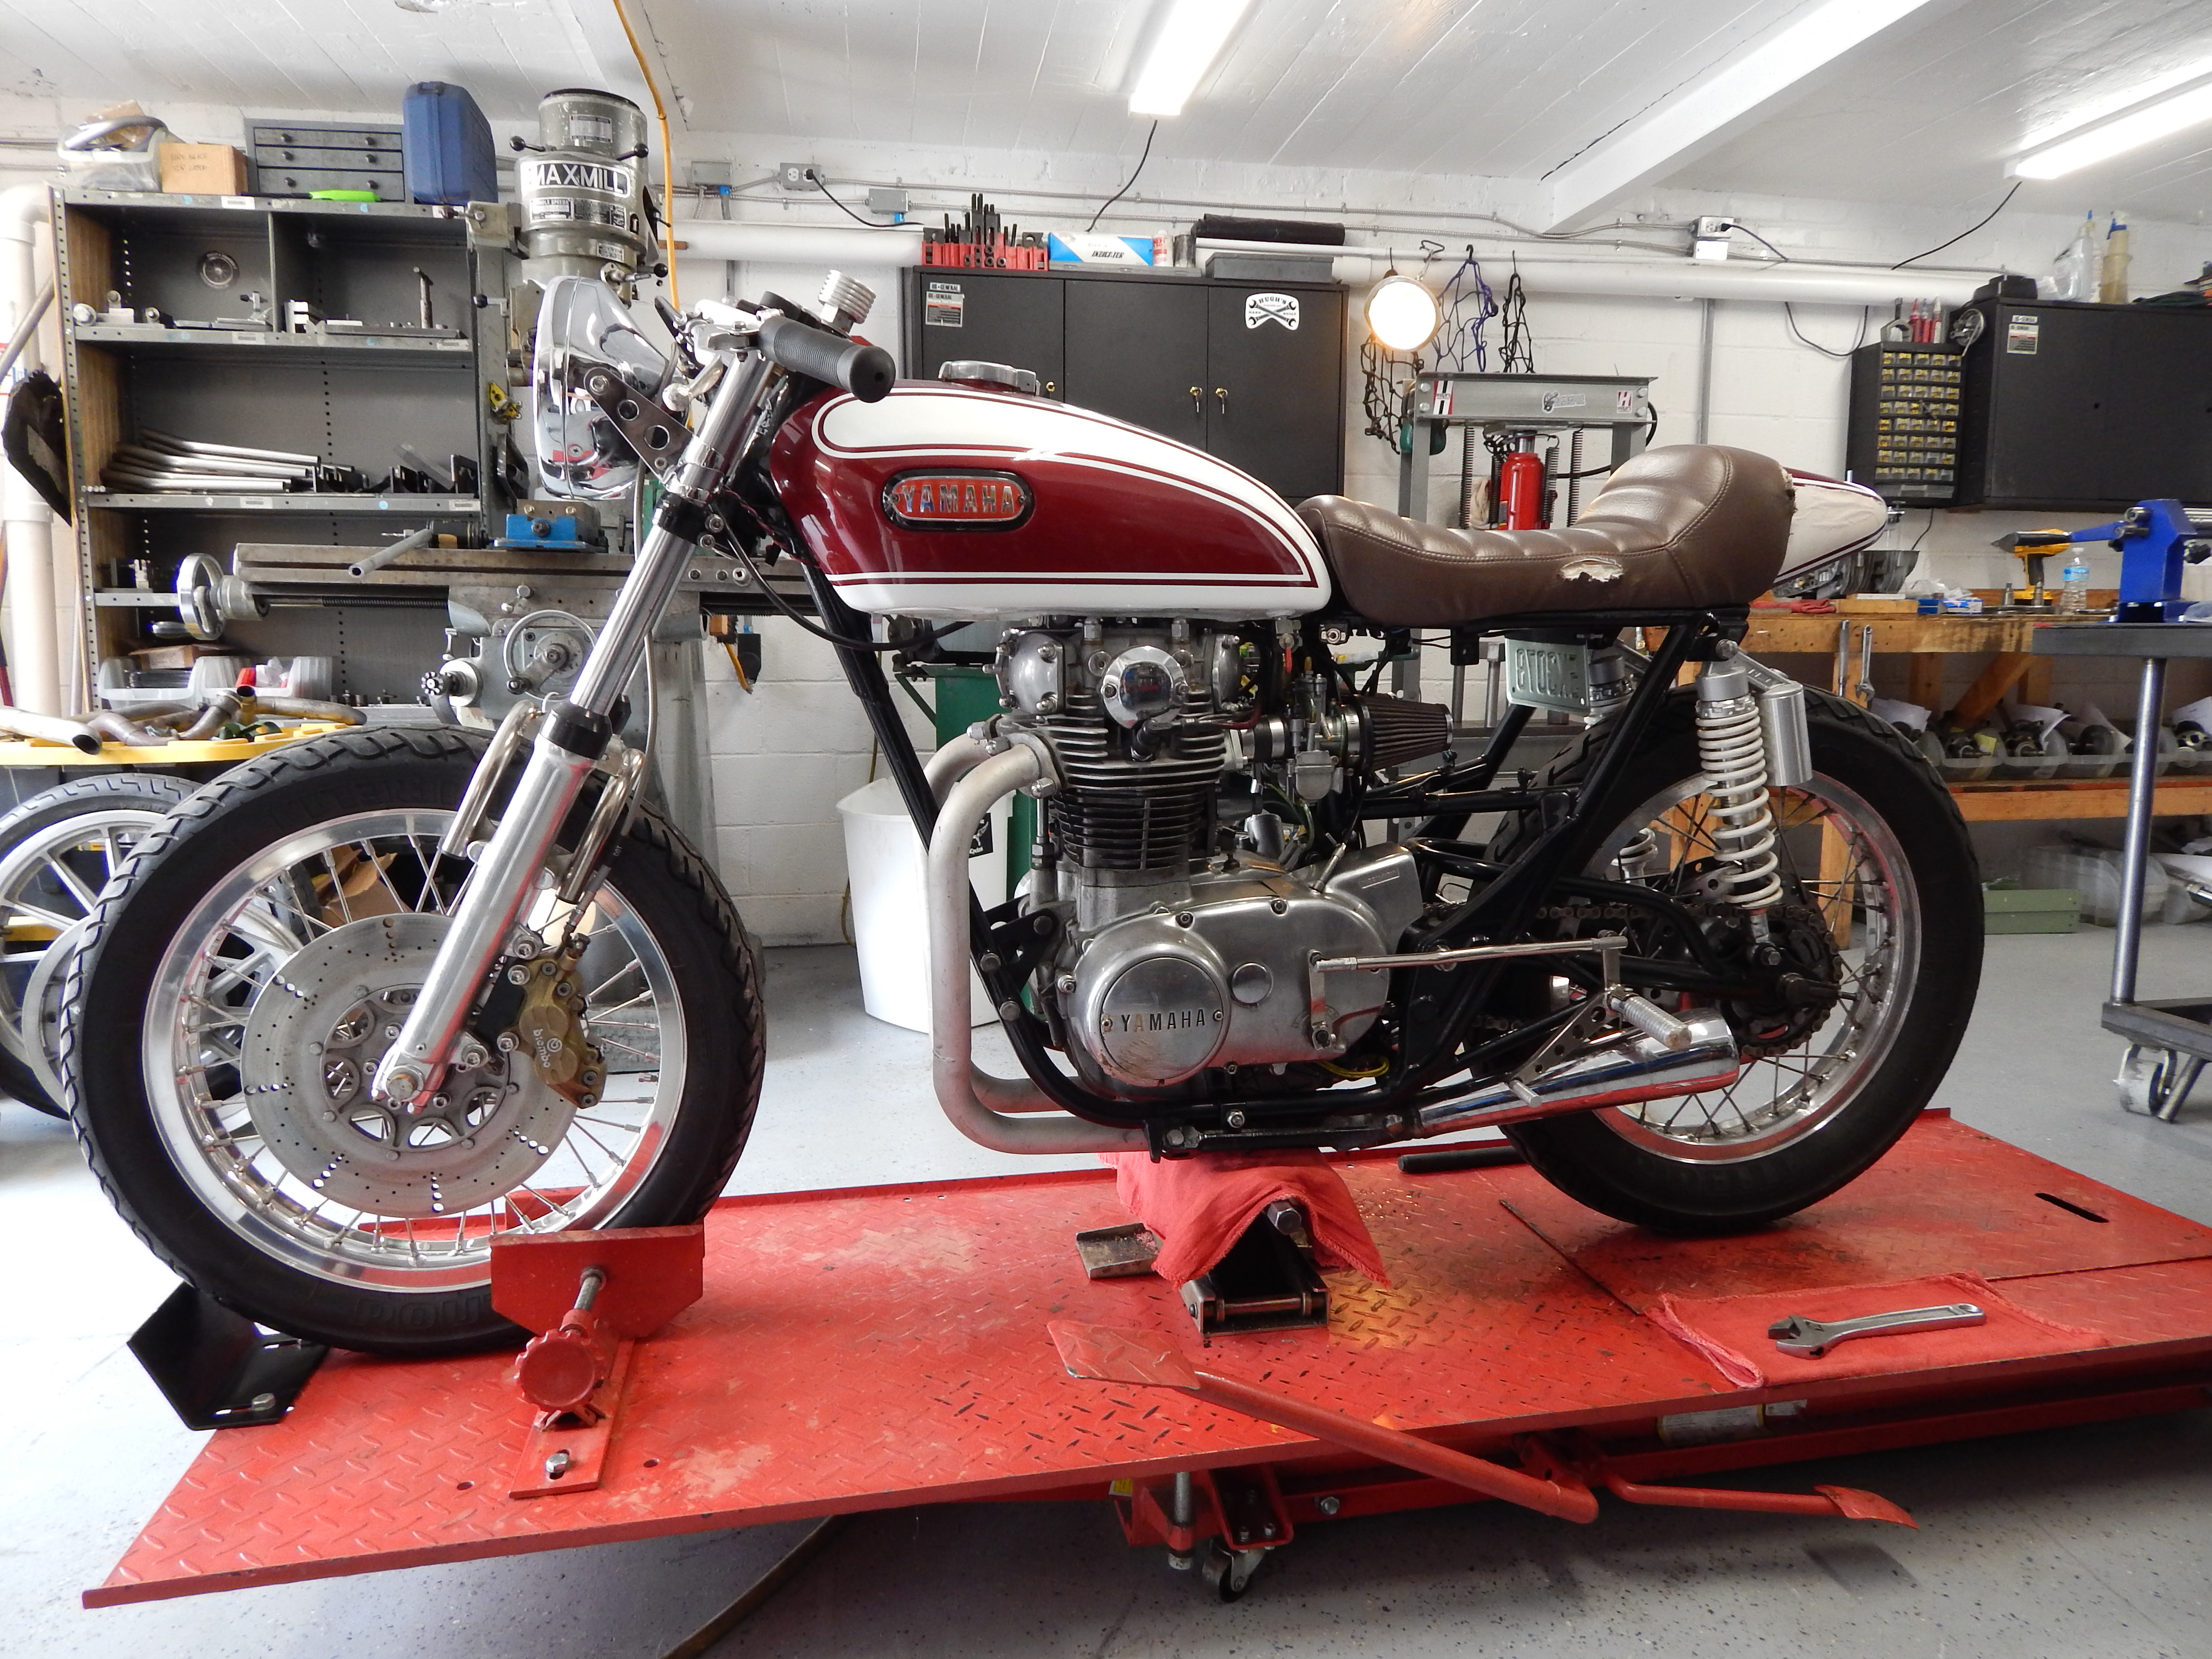
It’s a nice warm day in early March here at the HHB Compound, and Tevan’s XS2 that we build a few years ago has been quite neglected in a few ways… Don’t get me wrong, he’s dang near waxed the paint right off of the thing, but the rest – well, you’ll see…
With Tevan’s XS2 in the shop, we are going to be tearing into the alternator side of the bike, so get comfortable and grab some tools. (And yes, he’s laid the bike down sometime last fall – don’t mind the road rash)
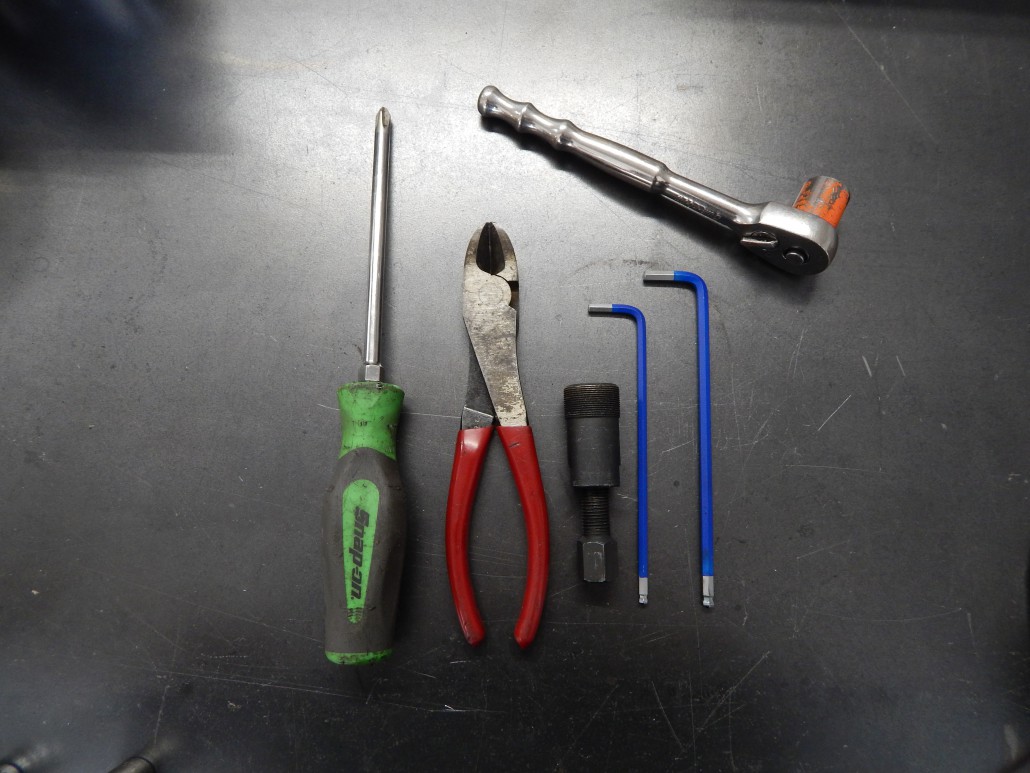
You’ll need the following:
4mm Allen Wrench, 5mm Allen Wrench, 10mm open end wrench, Wire Cutters, 17mm Socket, PMA Flywheel Puller, #3 Allen Screwdriver, Volt Meter, and it won’t hurt to grab a few shop rags… If you dig having a cold brew in the shop, I prefer a nice Spring Ale to get in the spirit myself – Your own build may require a few different things of course, depending – thats what “Custom” is all about.
Let’s get started!
*This is all assuming that the proper install techniques were followed, using proper torque values for hardware, locktite when called for, and solder on connections that were modified – <—- Click for a direct link to those install instructions….
First off, just get the bike running/idling and do a proper voltage test. You want to see 12.9-14.5V at idle, and no more than that with throttle. Under load, and at idle, you may see slightly less voltage (especially for those folks running high wattage lights and a capacitor in place of the battery) – but thats ok. These bikes idled a bit “high” from the factory with quiet pipes, but with mods they do tend to idle a bit lower easily. For those running a capacitor, if you see a bit of low voltage way down low in the idle range, don’t sweat it – just expect a flicker in your headlights at a stop or while idling. Good Voltage Readings? Sweet! Tevan’s is reading 13.2 at idle, and 13.8 with a bit of throttle. All seems good right?
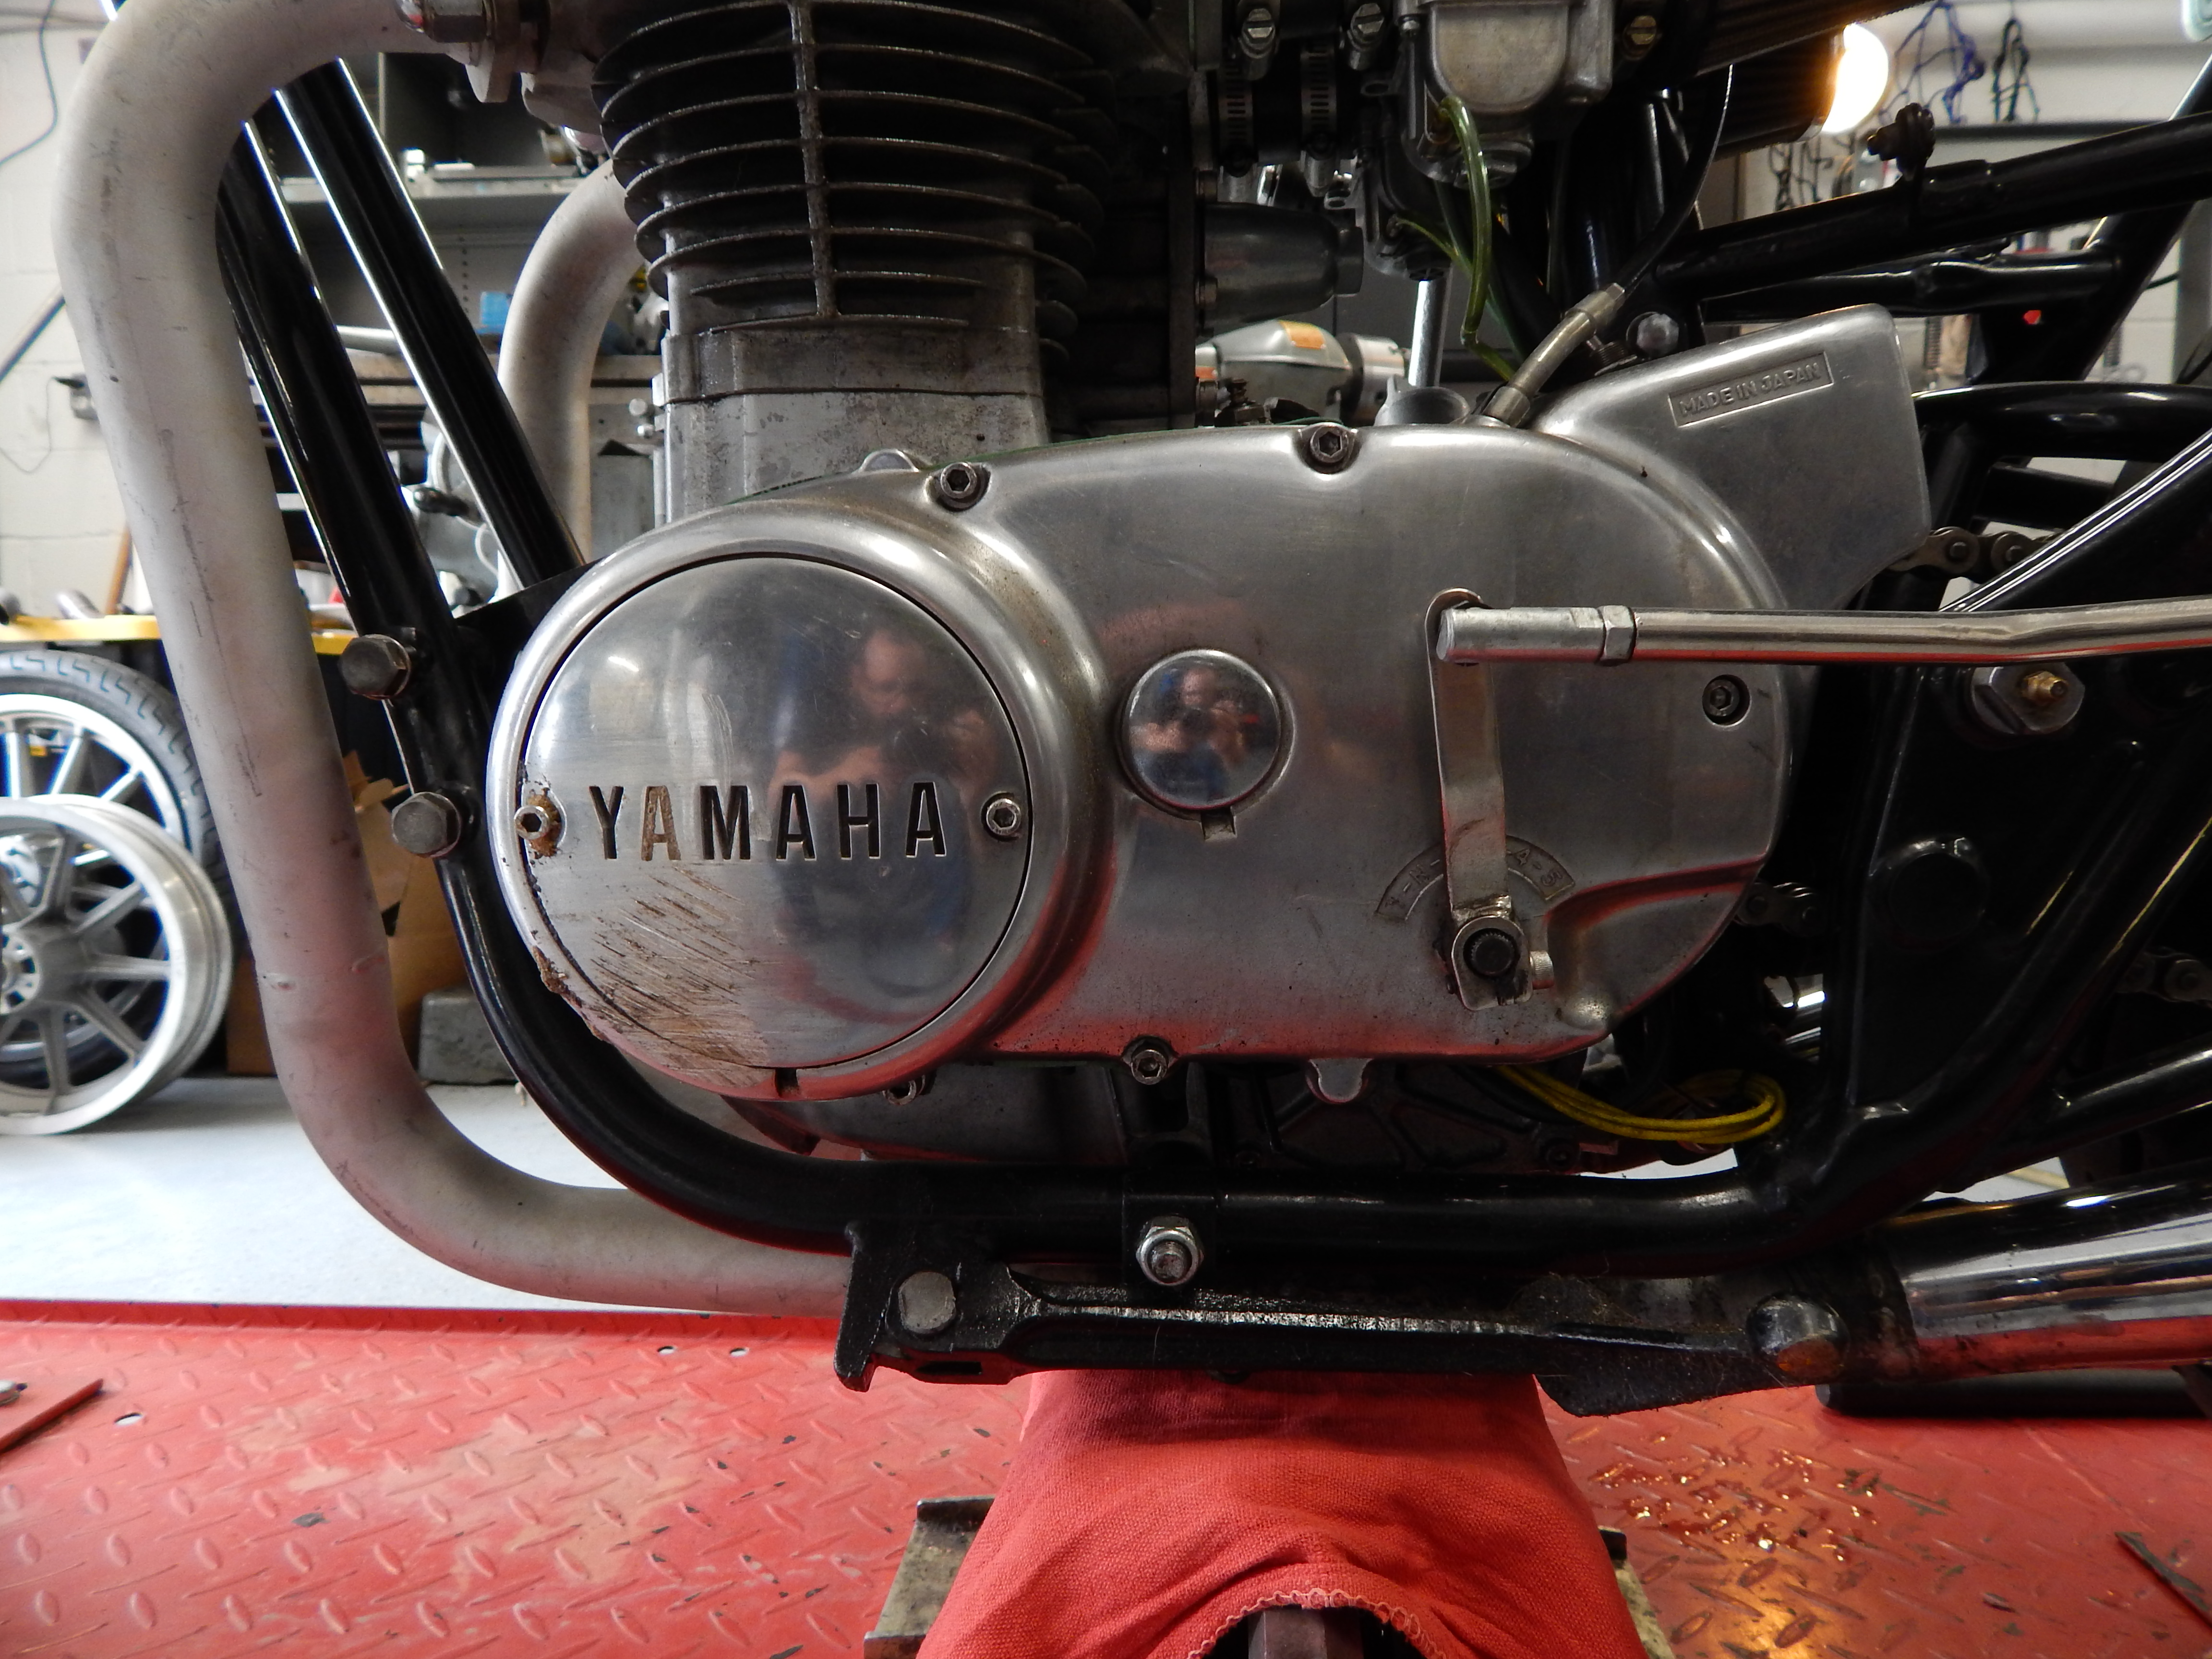
Remove the Shifter/Linkage/Etc…
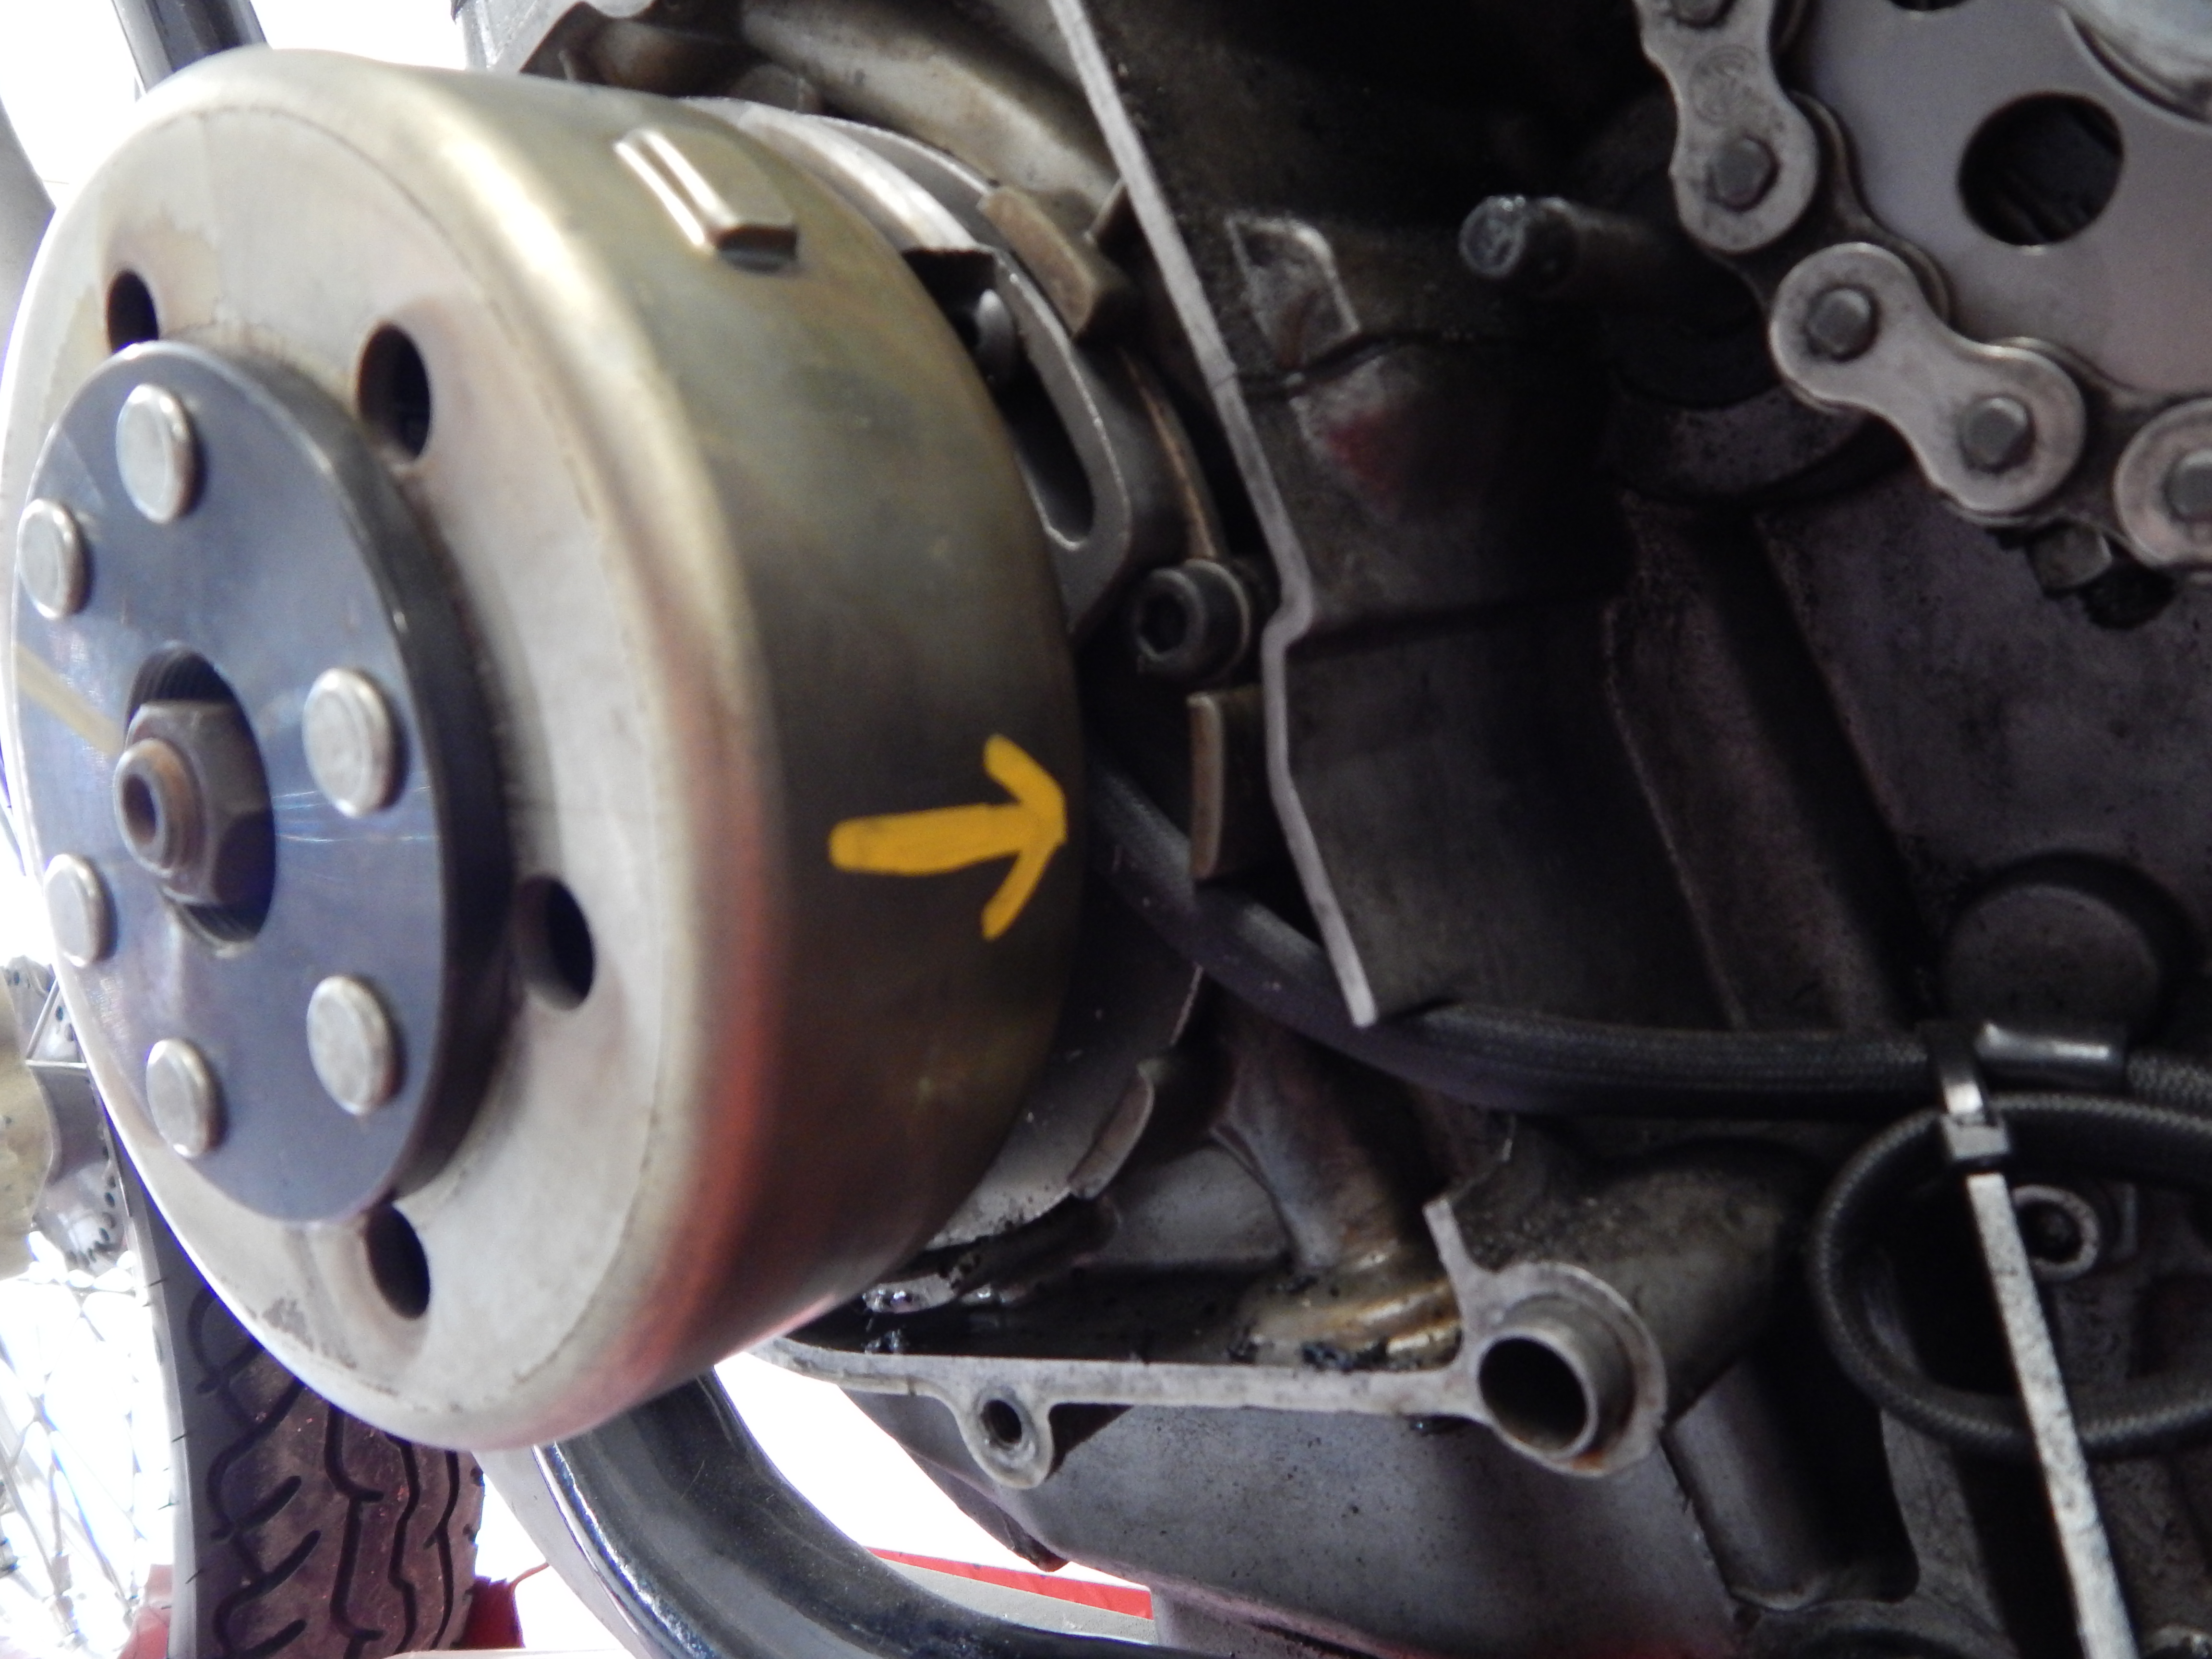
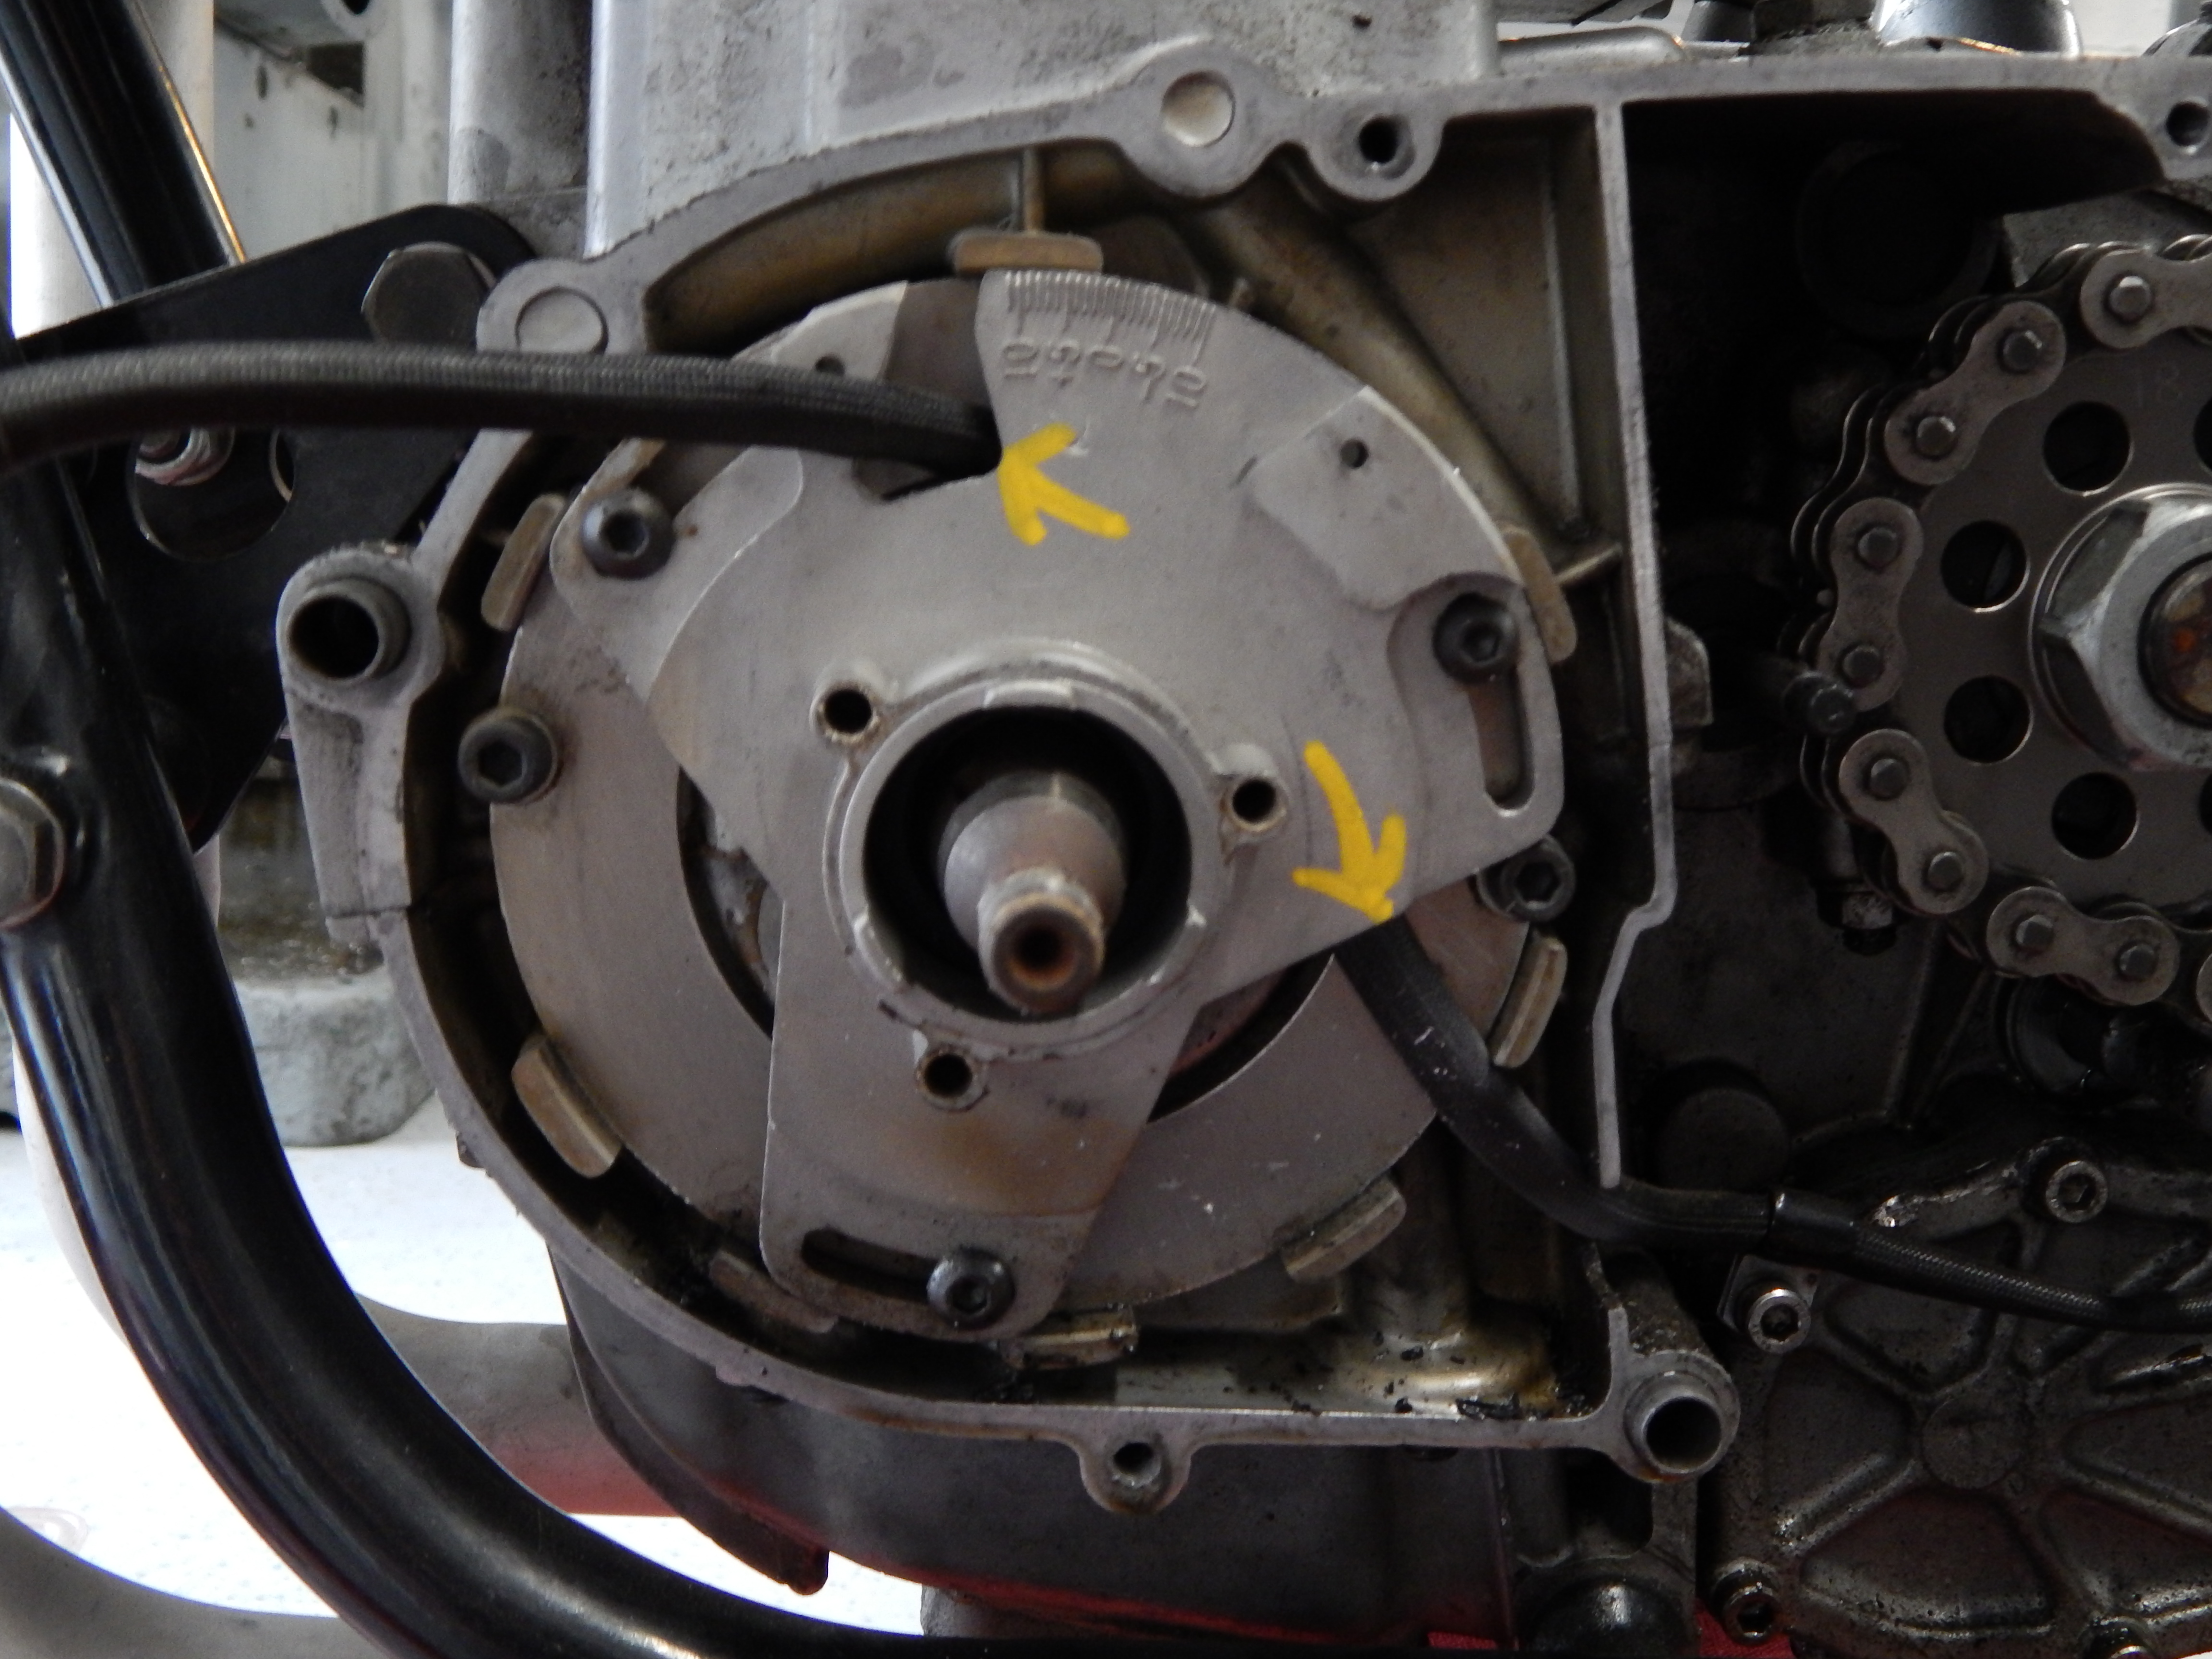
Inspect the wiring, and its routing. You want to make sure nothing is in the way of any moving parts, and that nothing has rubbed through the wiring insulation. I’m pretty happy with Tevan’s install, the wires were left a little bit long, but they were tidy and tucked out of the way.
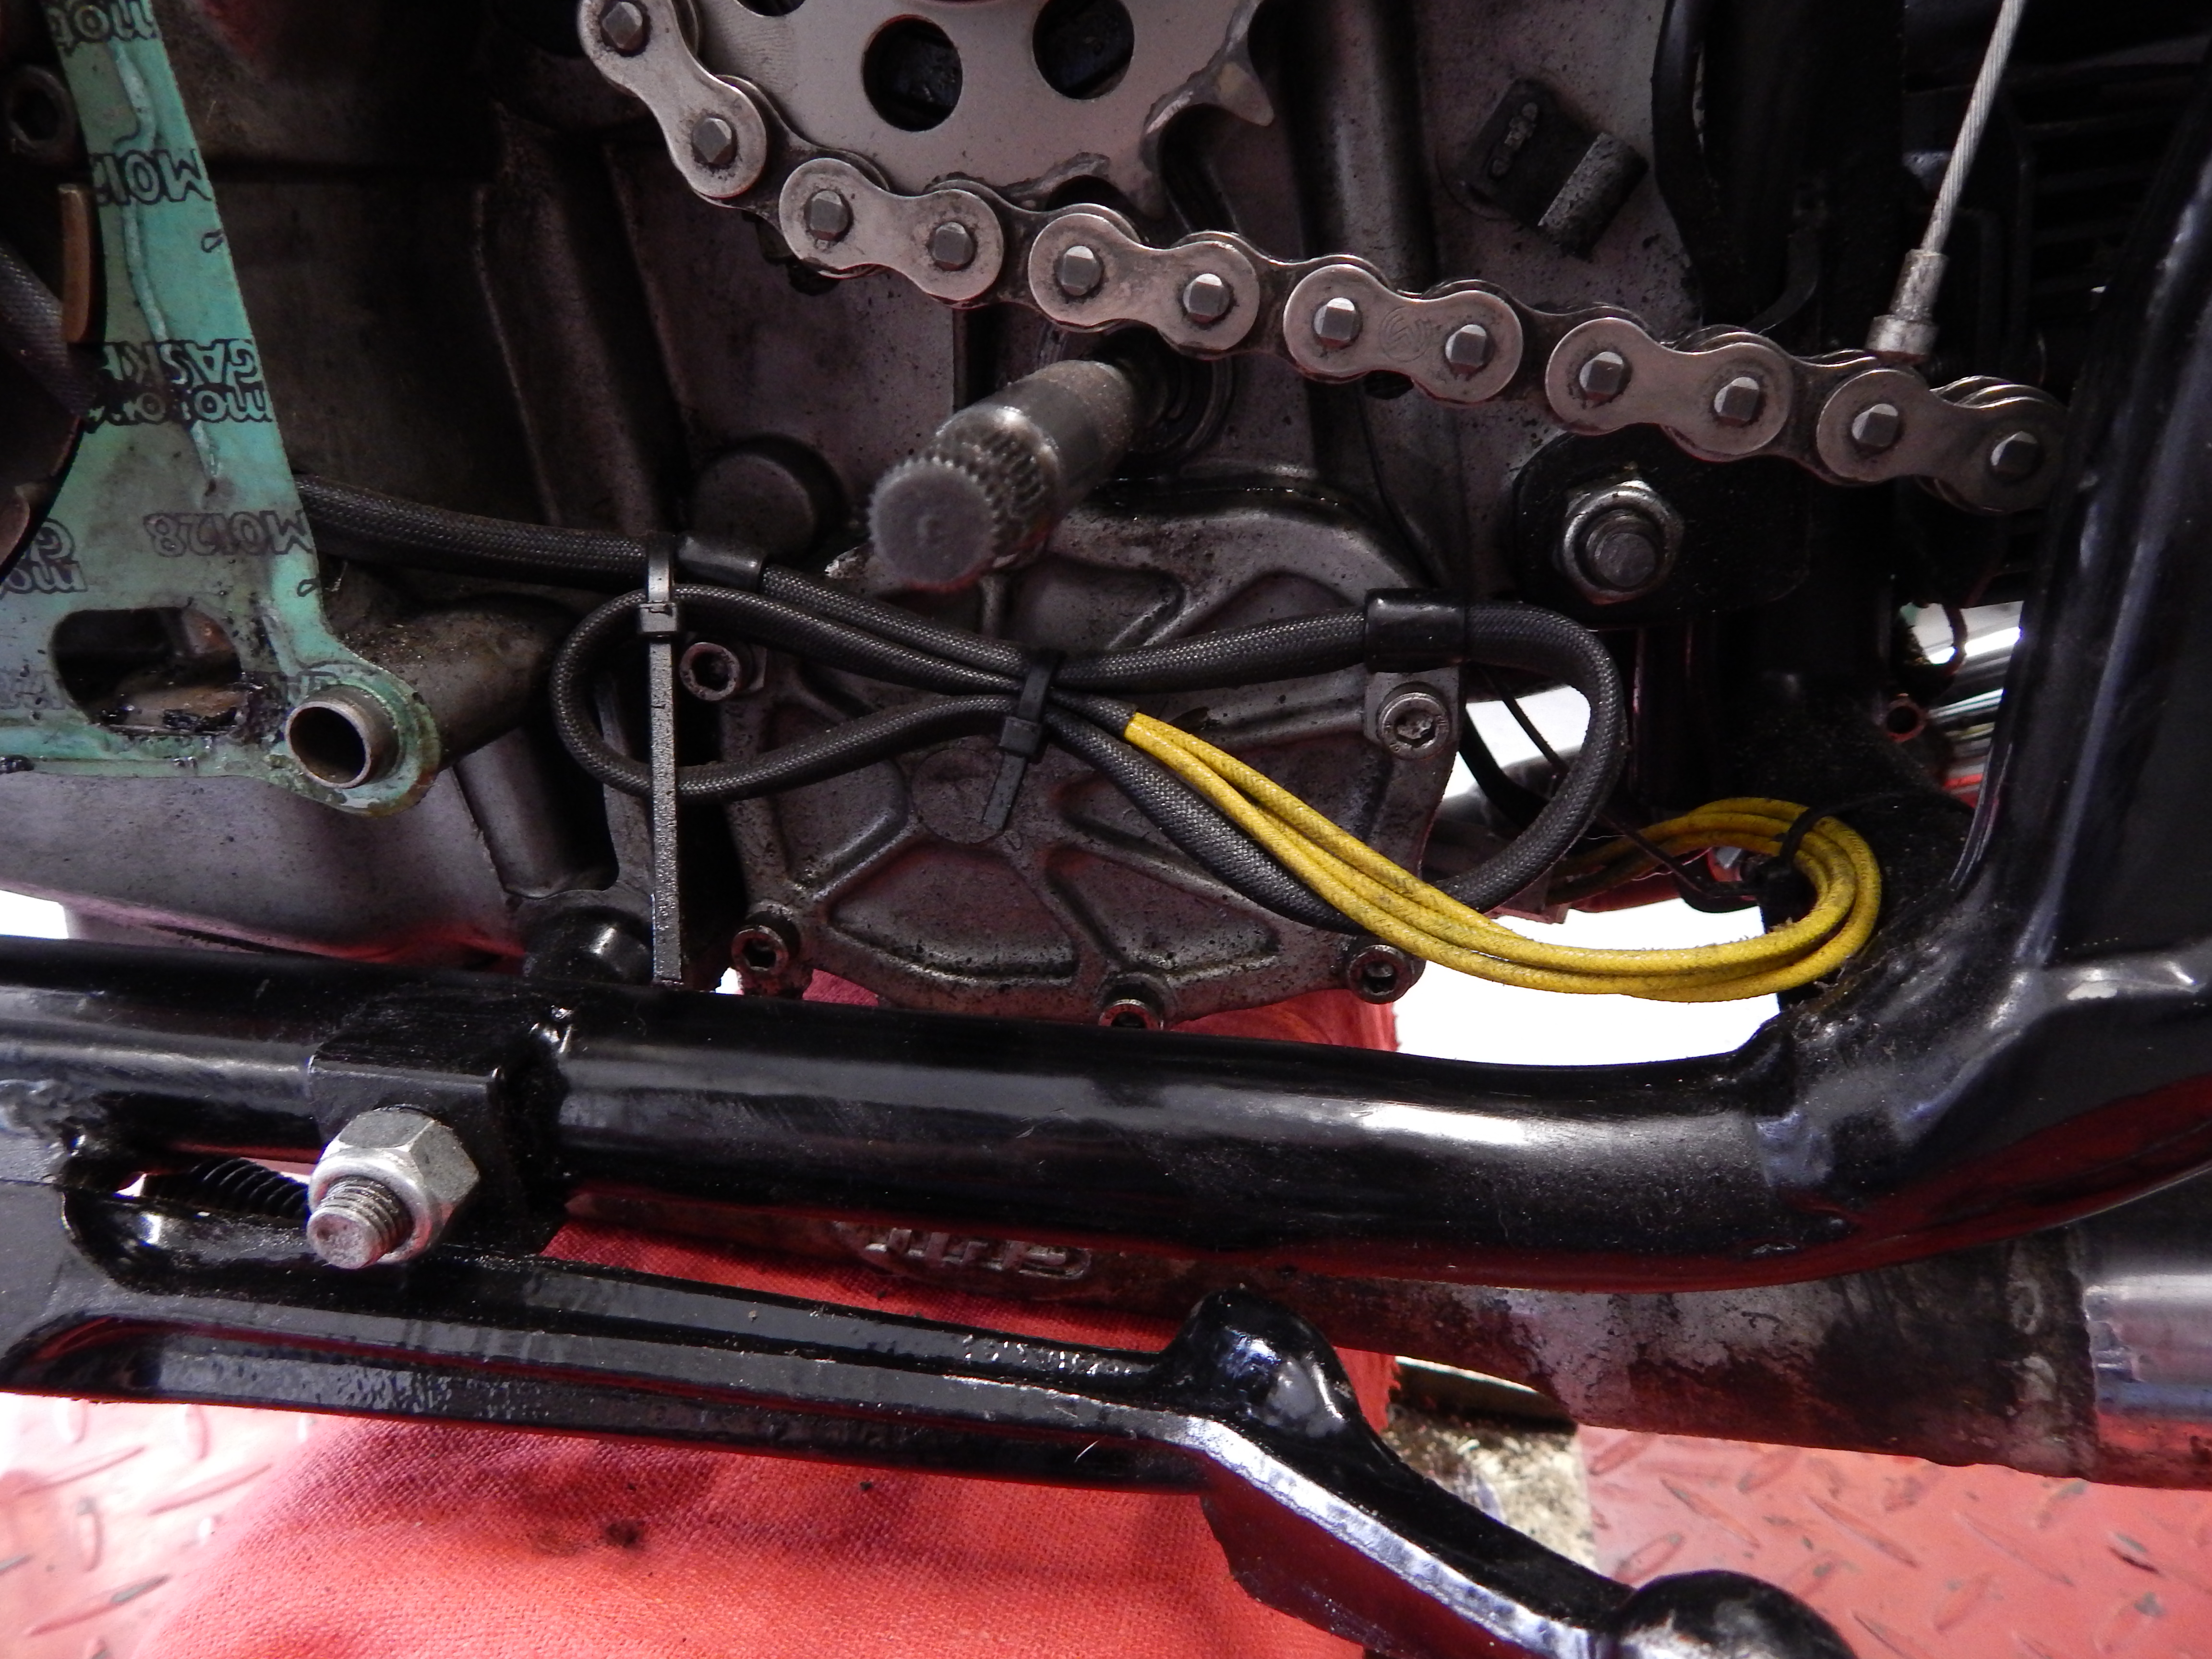
*The yellow arrow is a reference point only, check this area for any frays or wire damage/rubbing/etc..
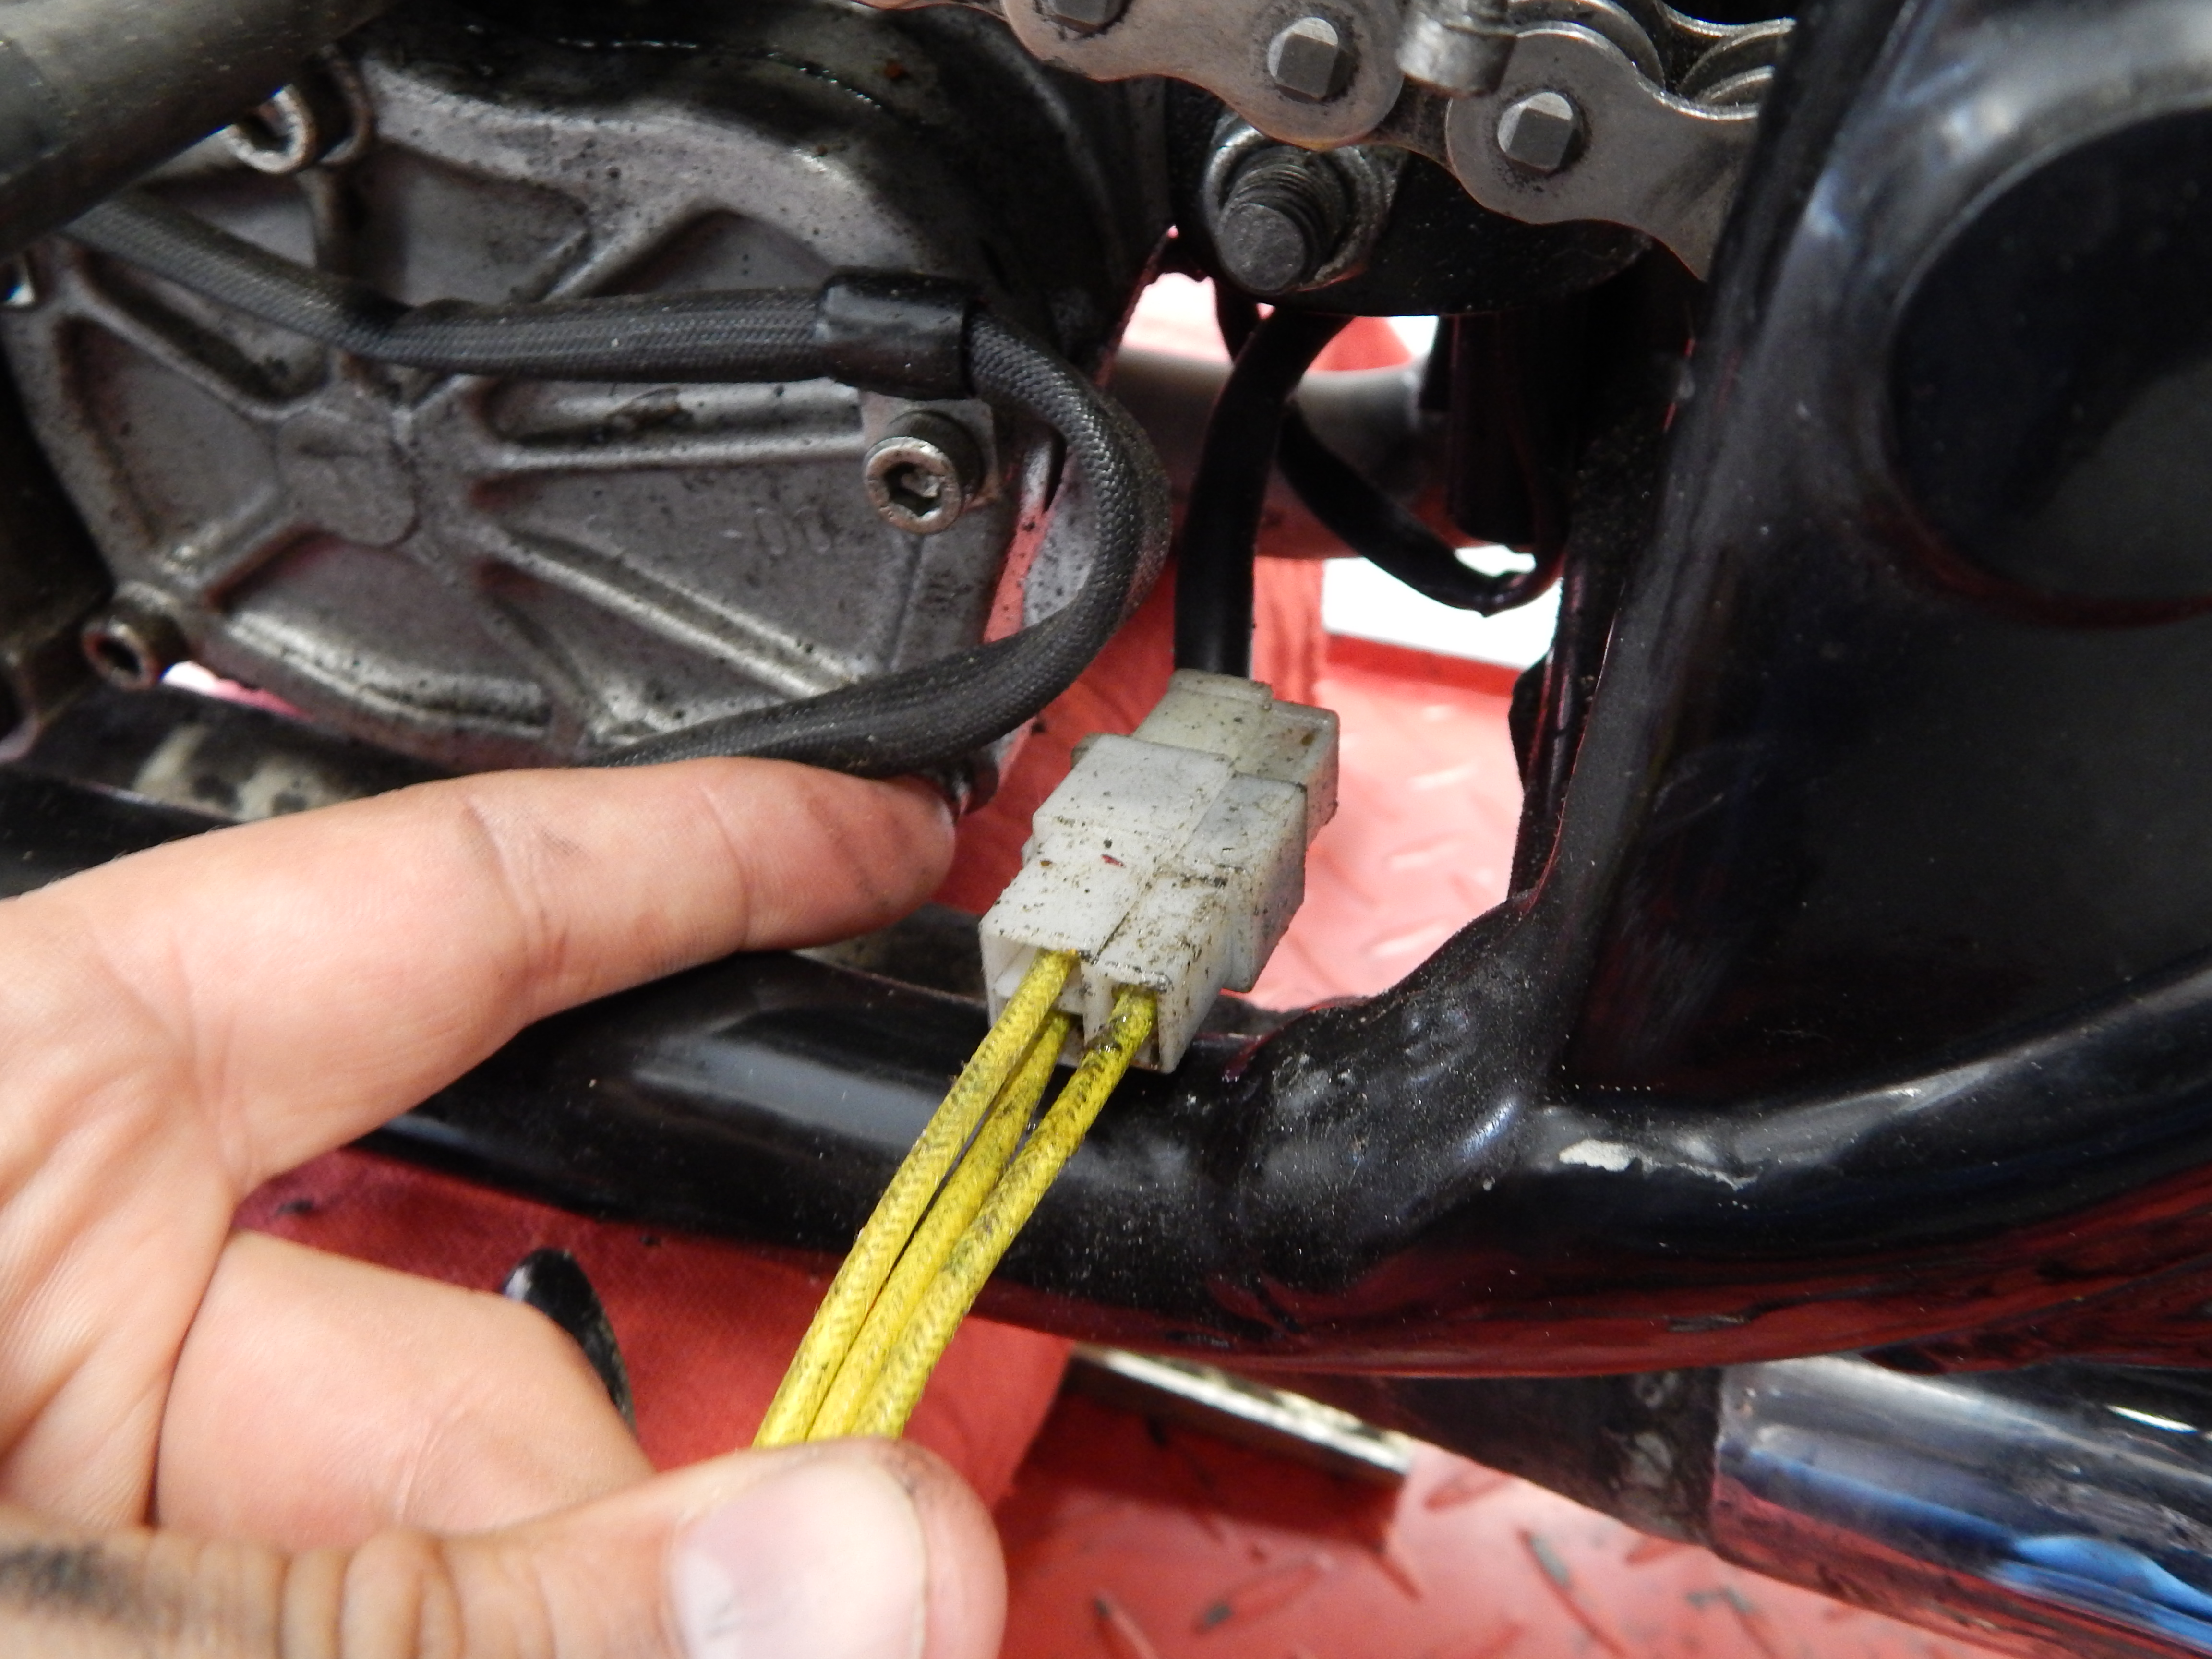
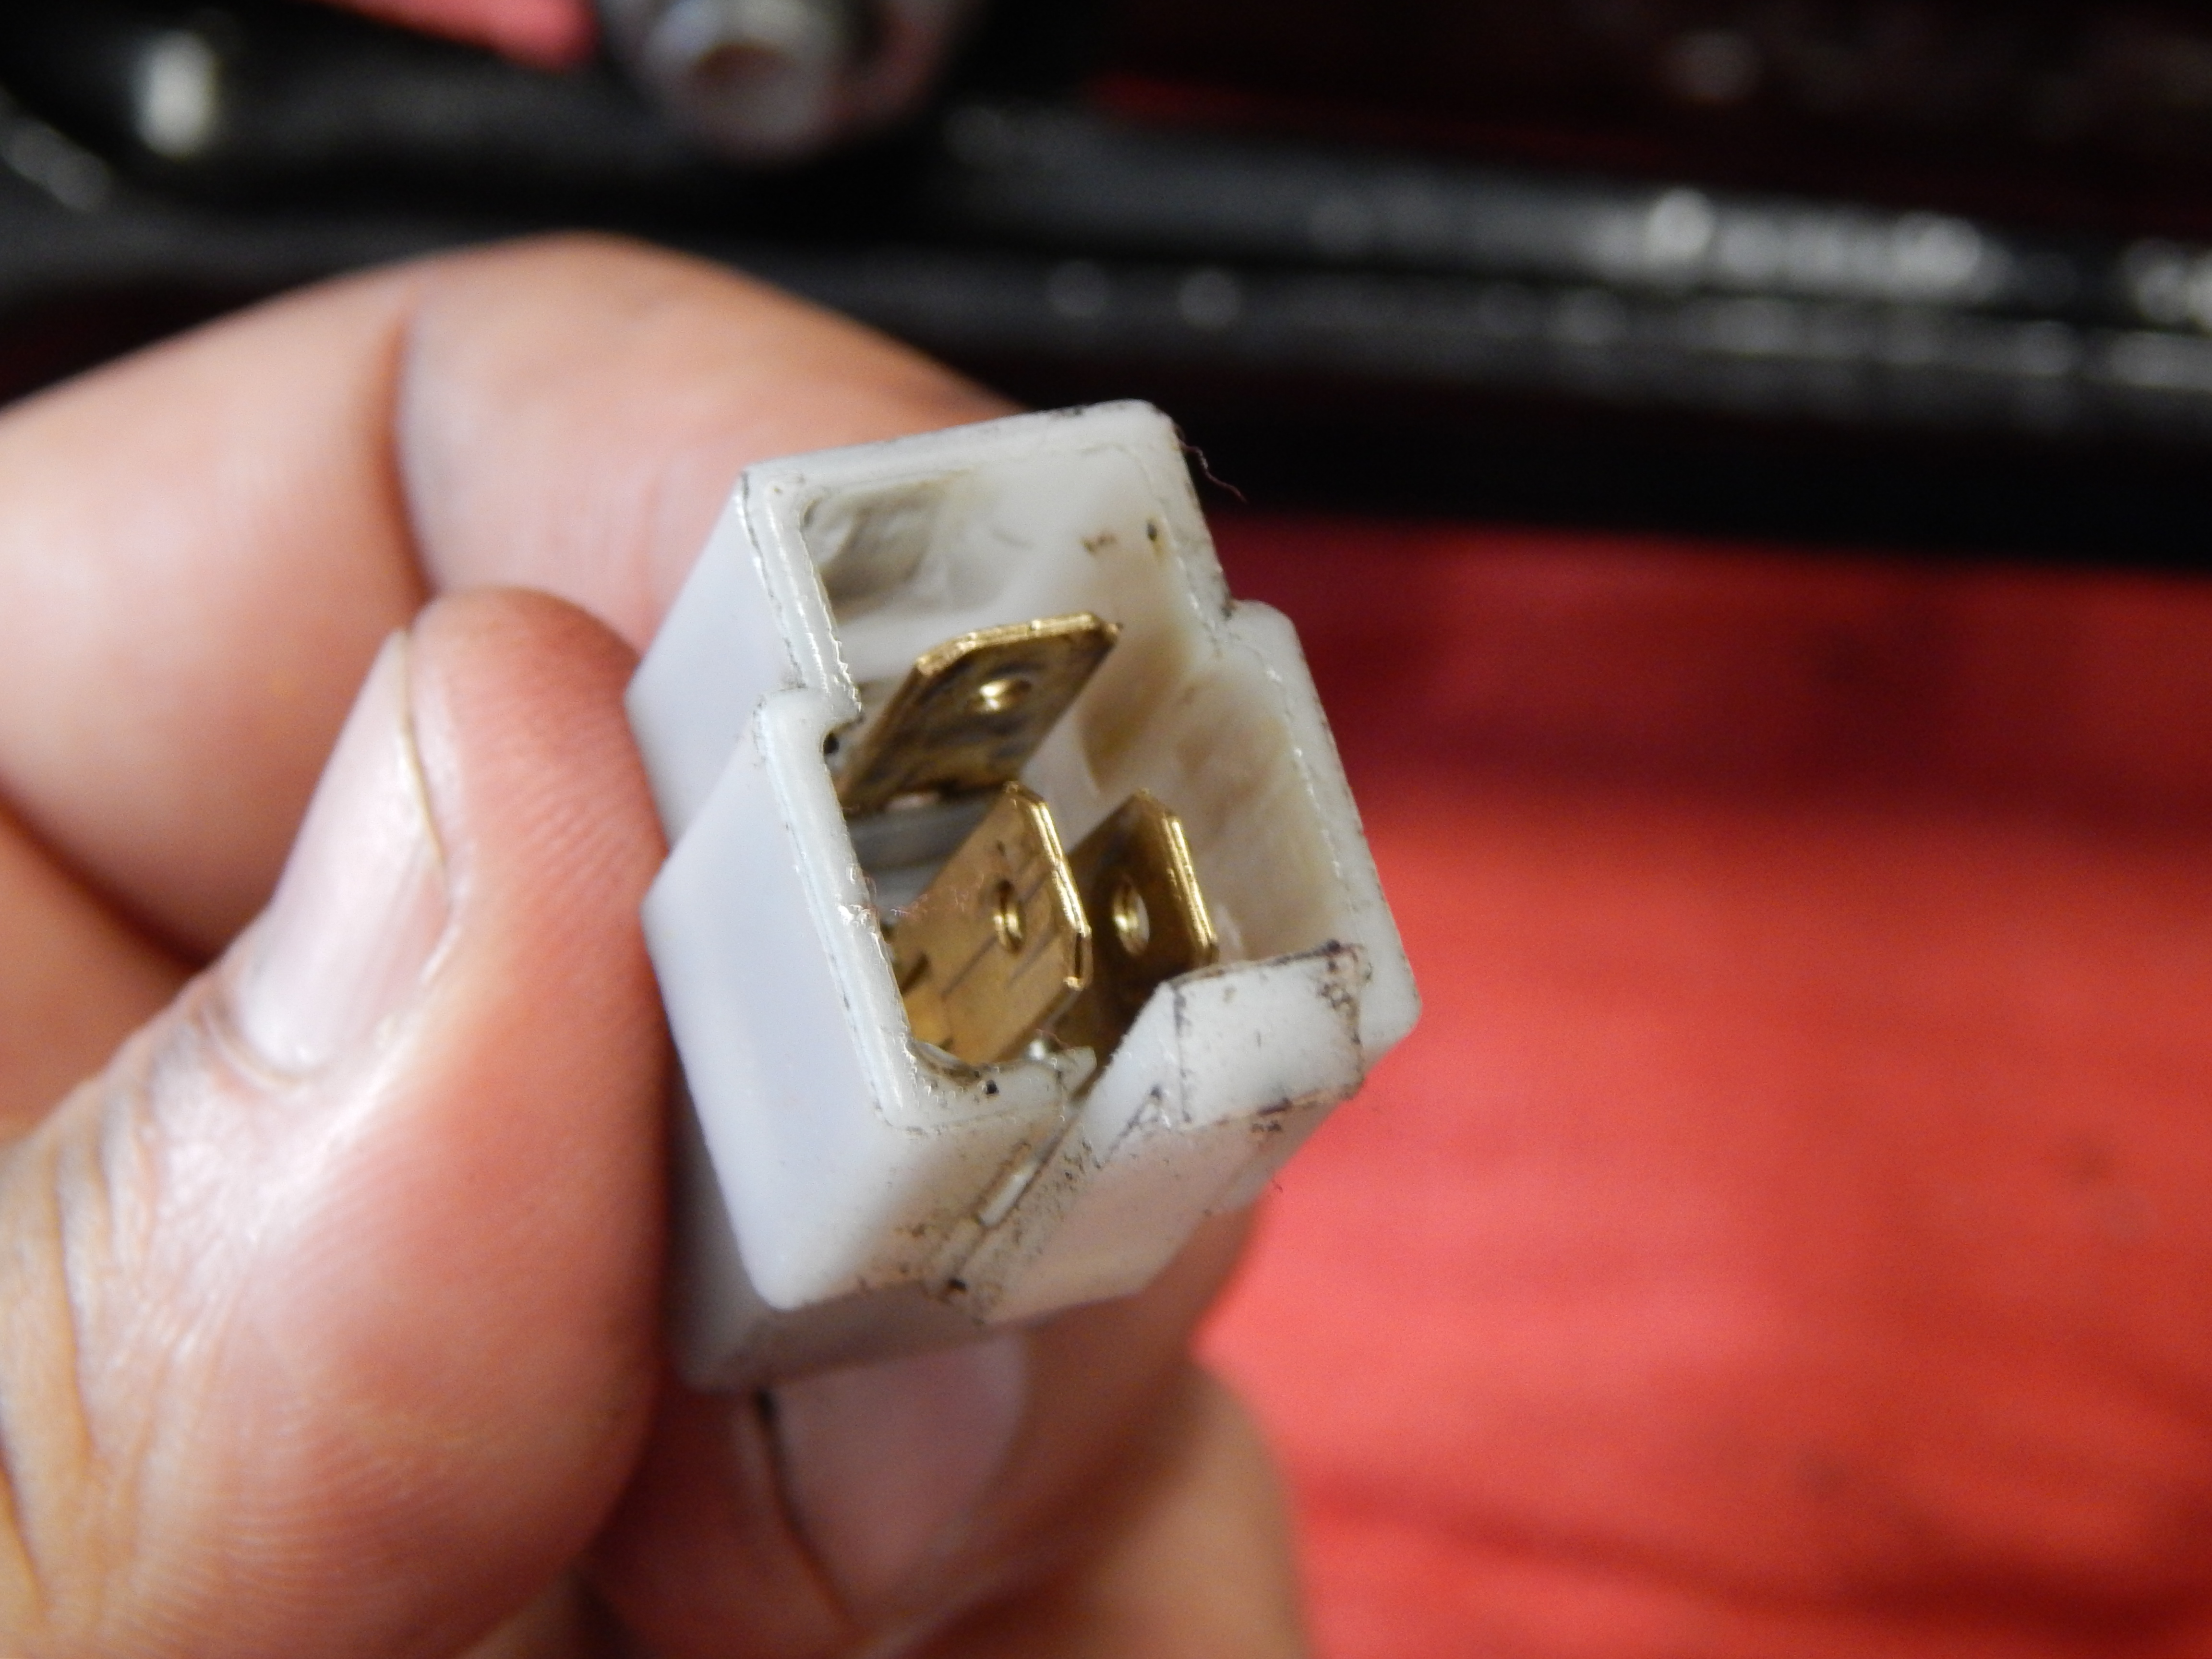
Disconnect the Stator-Regulator connection, and inspect if for any heat damage or corrosion. Give a solid tug on the connections, make sure the terminals are solidly soldered to the wires (you DID solder them didn’t you? Don’t feel bad, some folks skip that in my install instructions, but go ahead and make that happen if you did skip it…) These look good. A bit dirty, but otherwise ok.
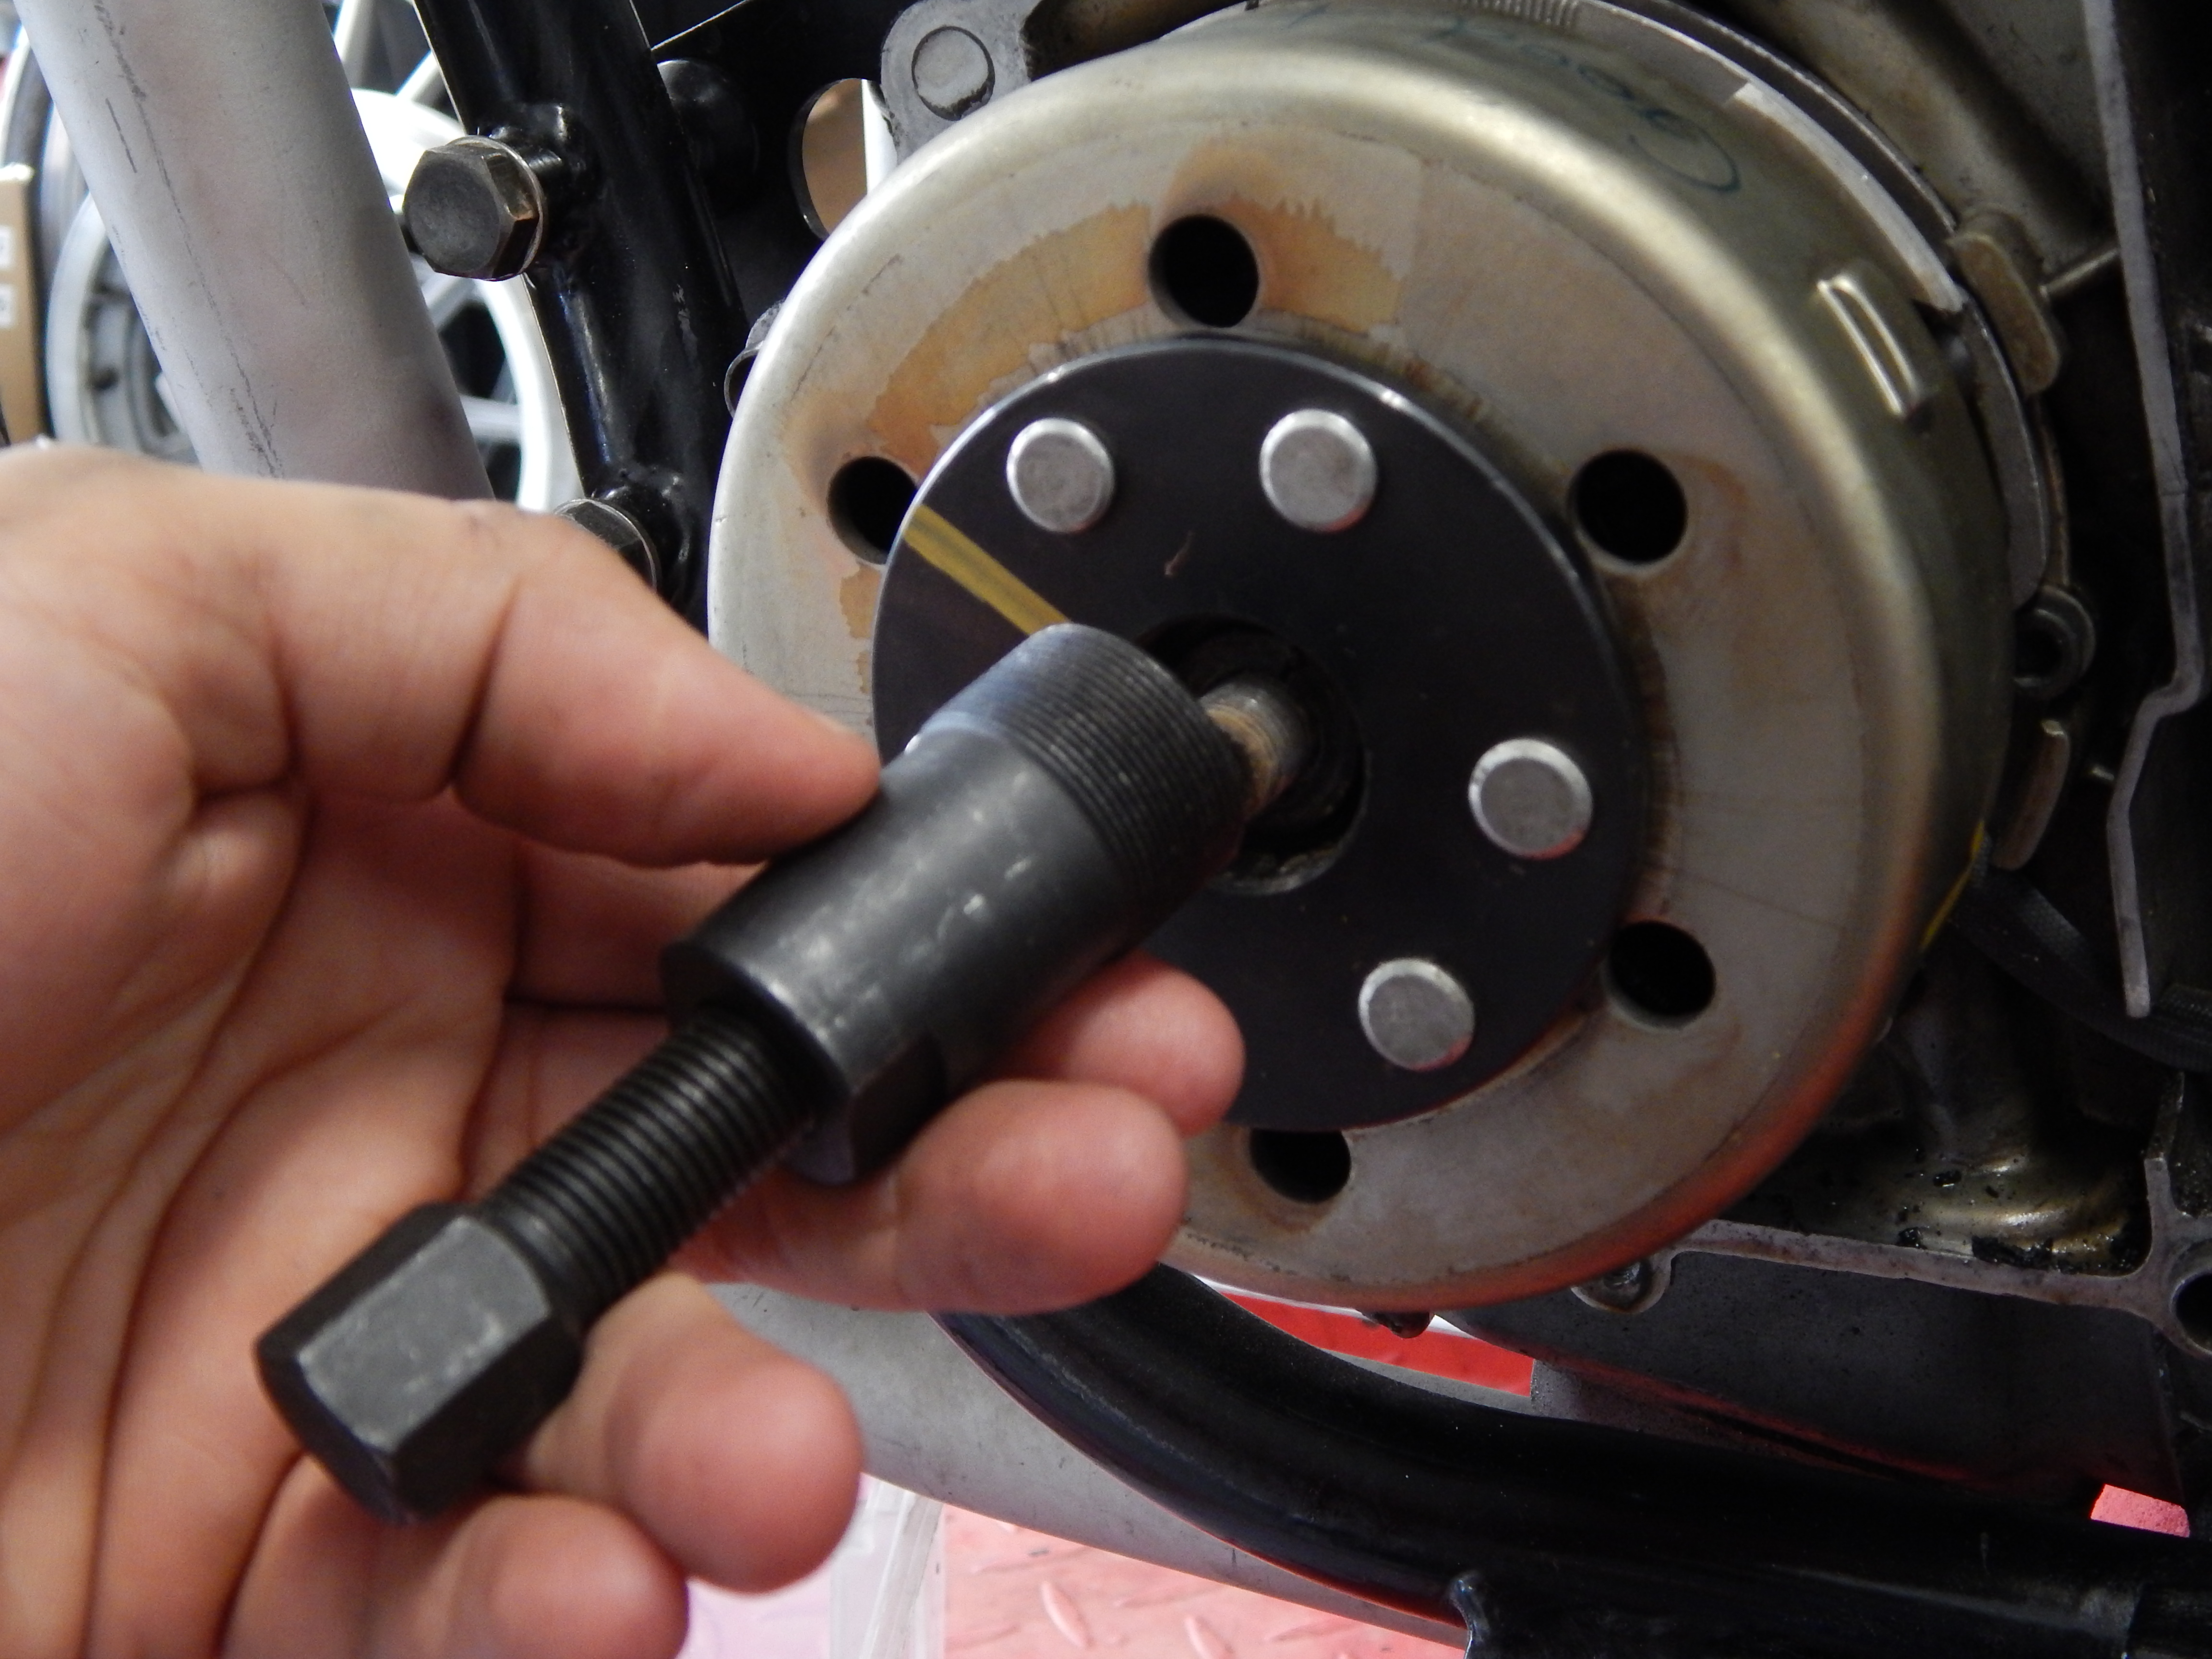
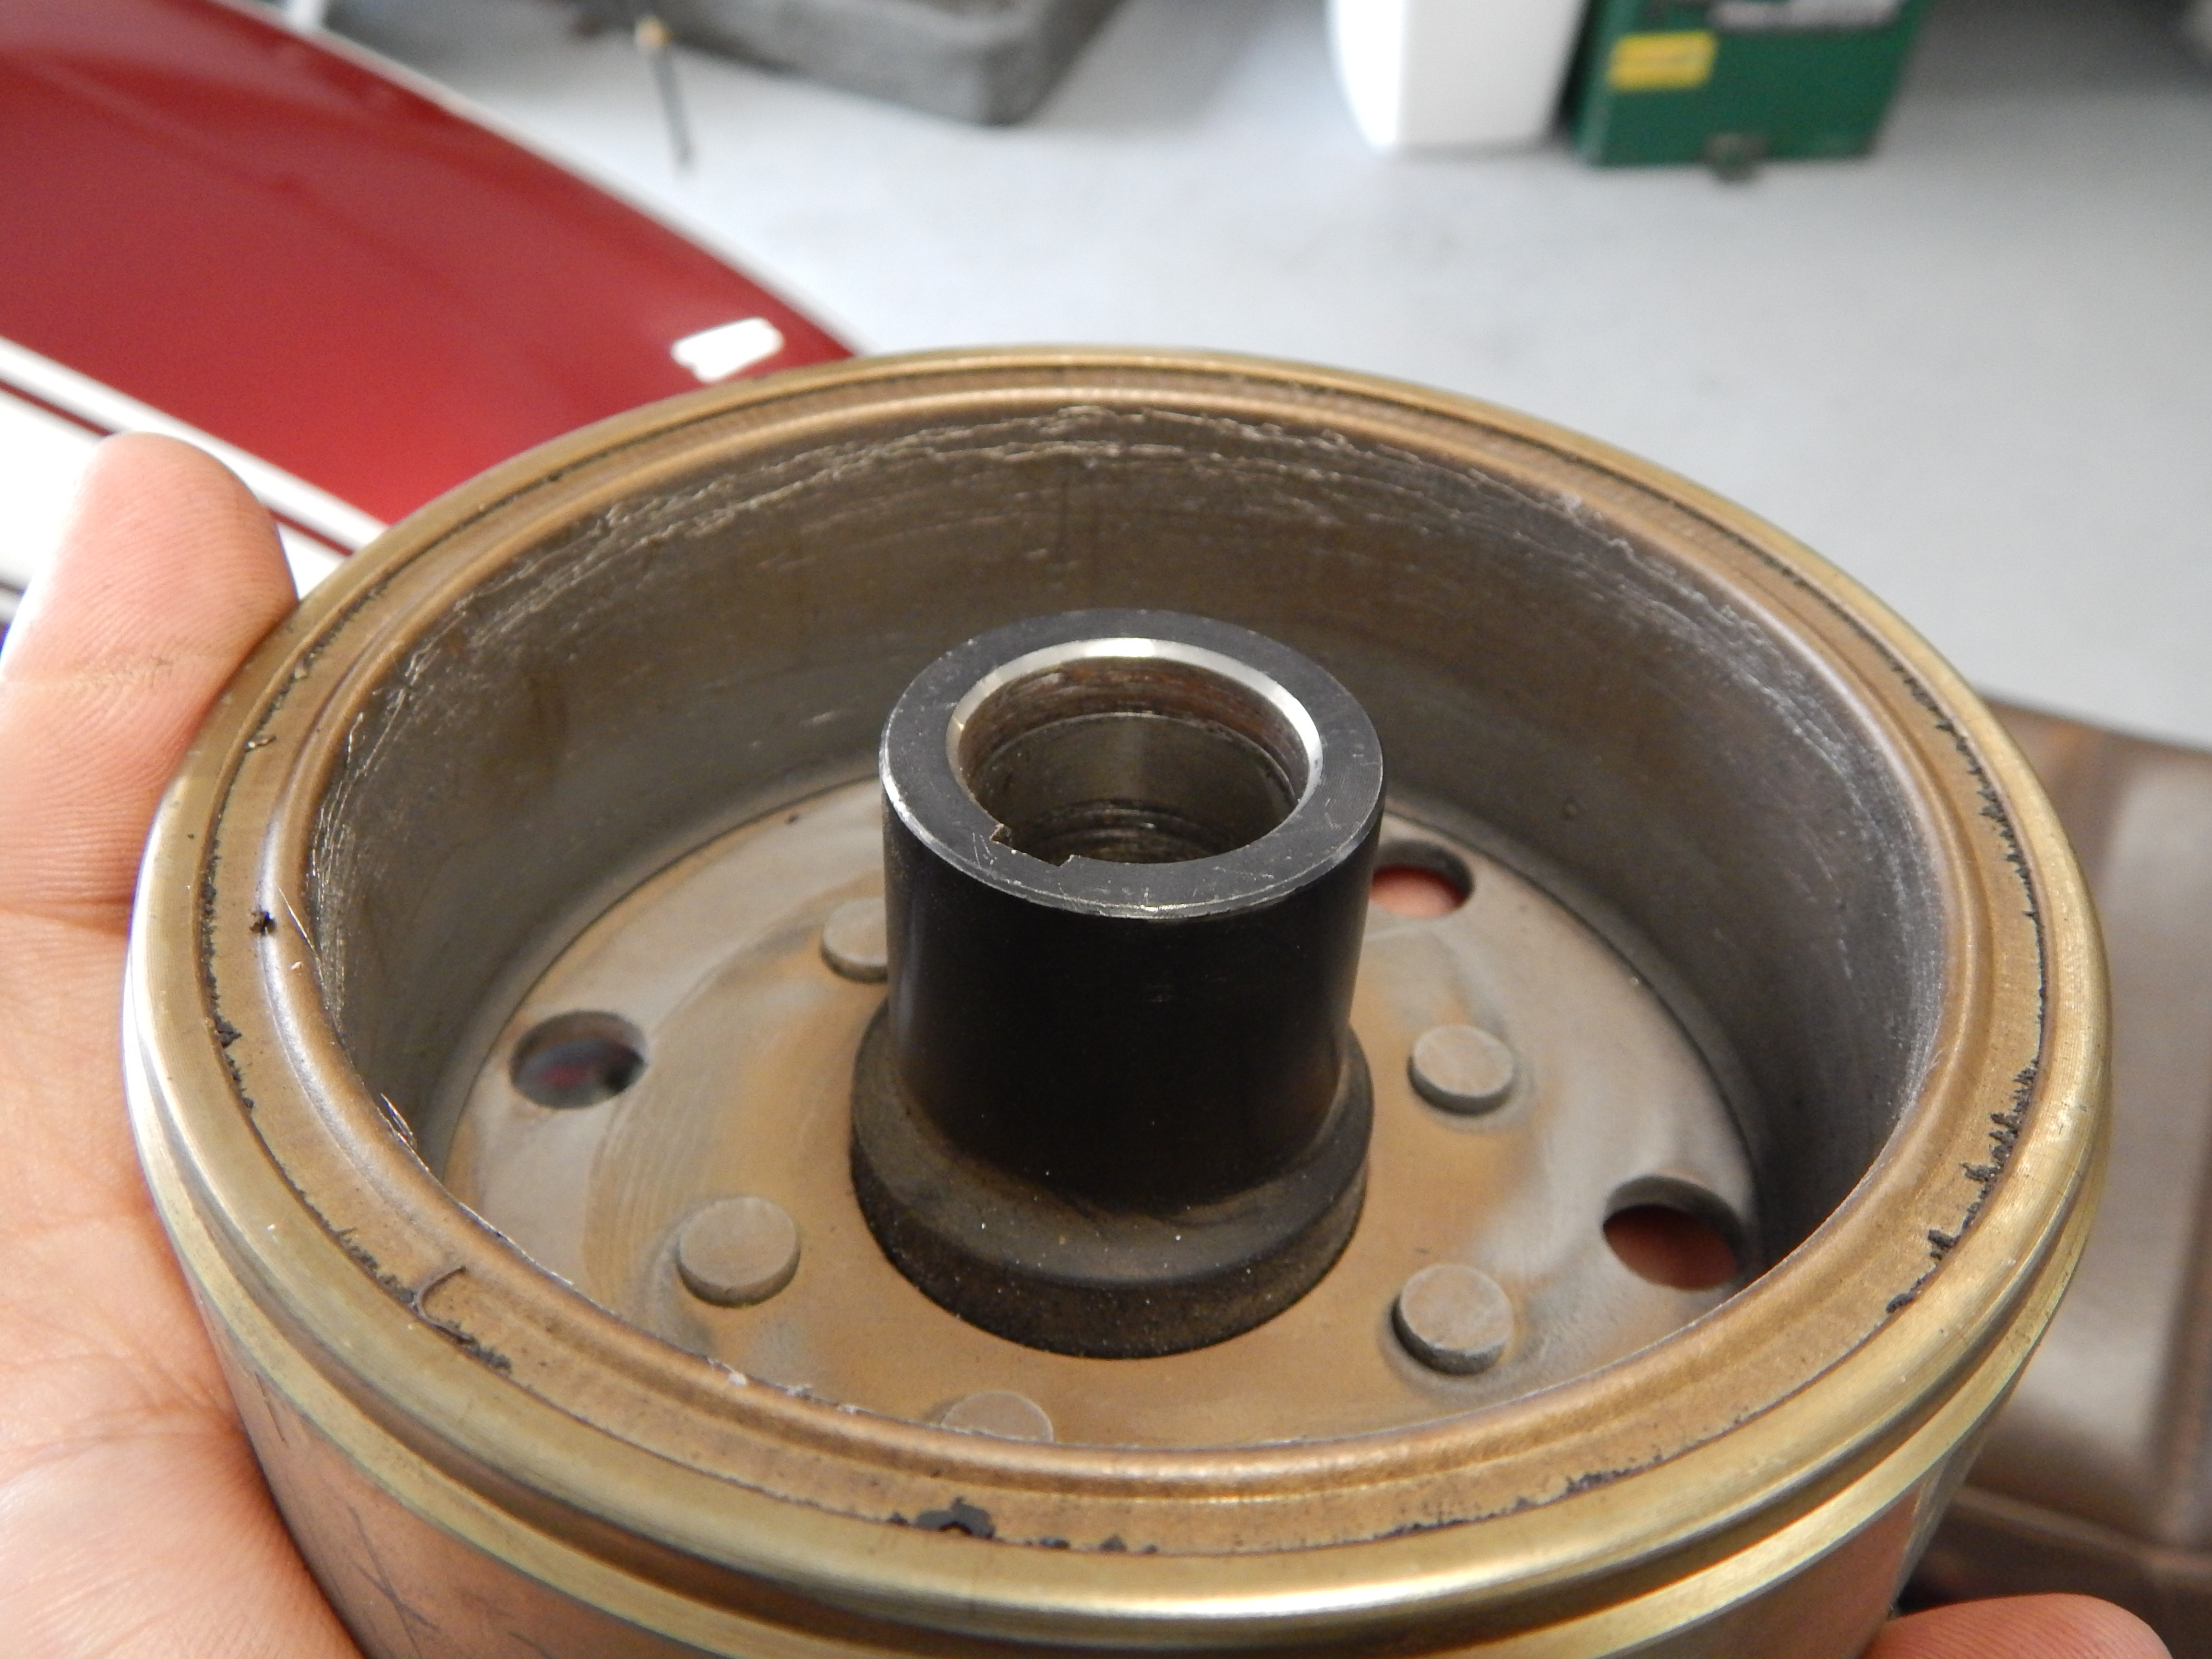
Remove the PMA Flywheel using the proper puller. Please do NOT use a universal 3 jaw or anything like that, the HHB PMA System comes with a proper puller, but if you lost or misplaced yours, we have them available in our store as well.
Inspect the inside of the flywheel for any wear or rubbing issues. We have seen a few with minor wear marks from customers, and it turns out their cranks have walked or need bearings – we rebuild cranks too – if yours is in need. Tevan’s isn’t looking so good, no wear marks, but I do see some things that I’d rather not. Looks like something got a bit hot. Lets dig deeper…
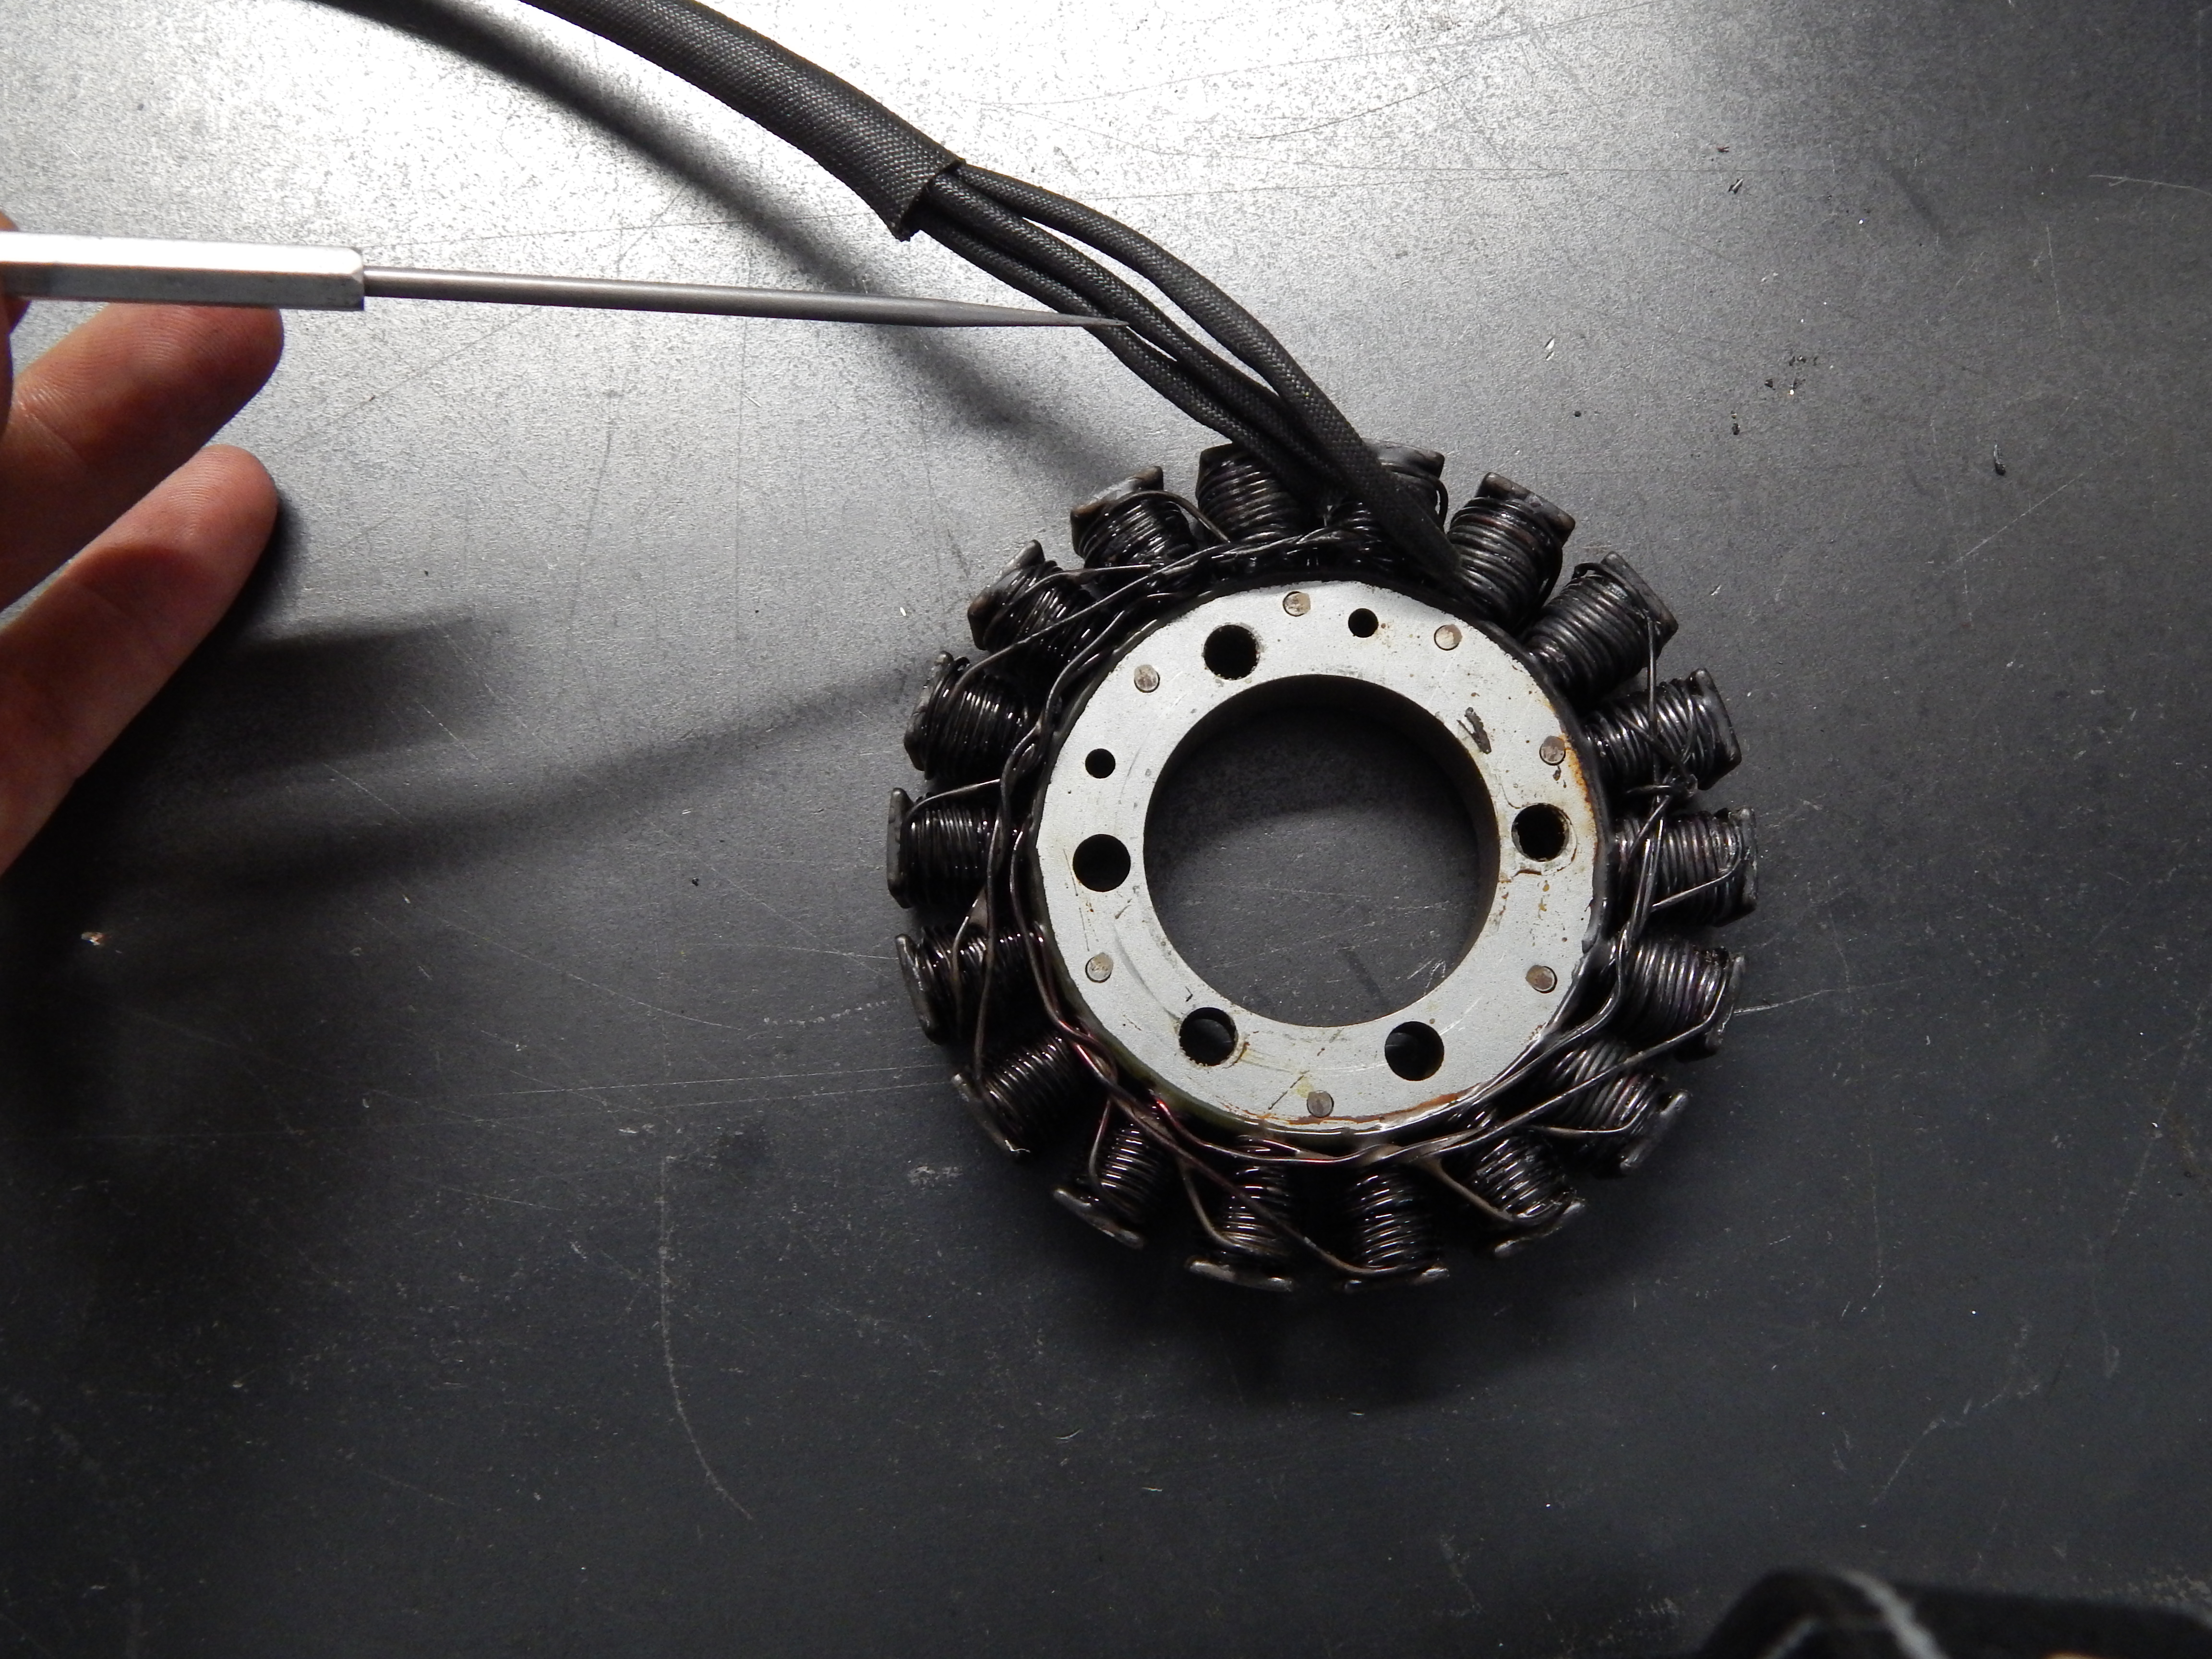
With the flywheel removed, check your stator visually. This thing looks TOAST! If yours resembles this one, its a good time to check it, and rightfully so. Tevan’s bike was charging and riding just fine, but this is obviously close to failure. We’ll dig in and find out why.

After we pulled his stator (I’m also pointing out his wire routing, it’s nicely done and out of the way of moving components…) we noted that he did have a decent oil leak from his crank seal.
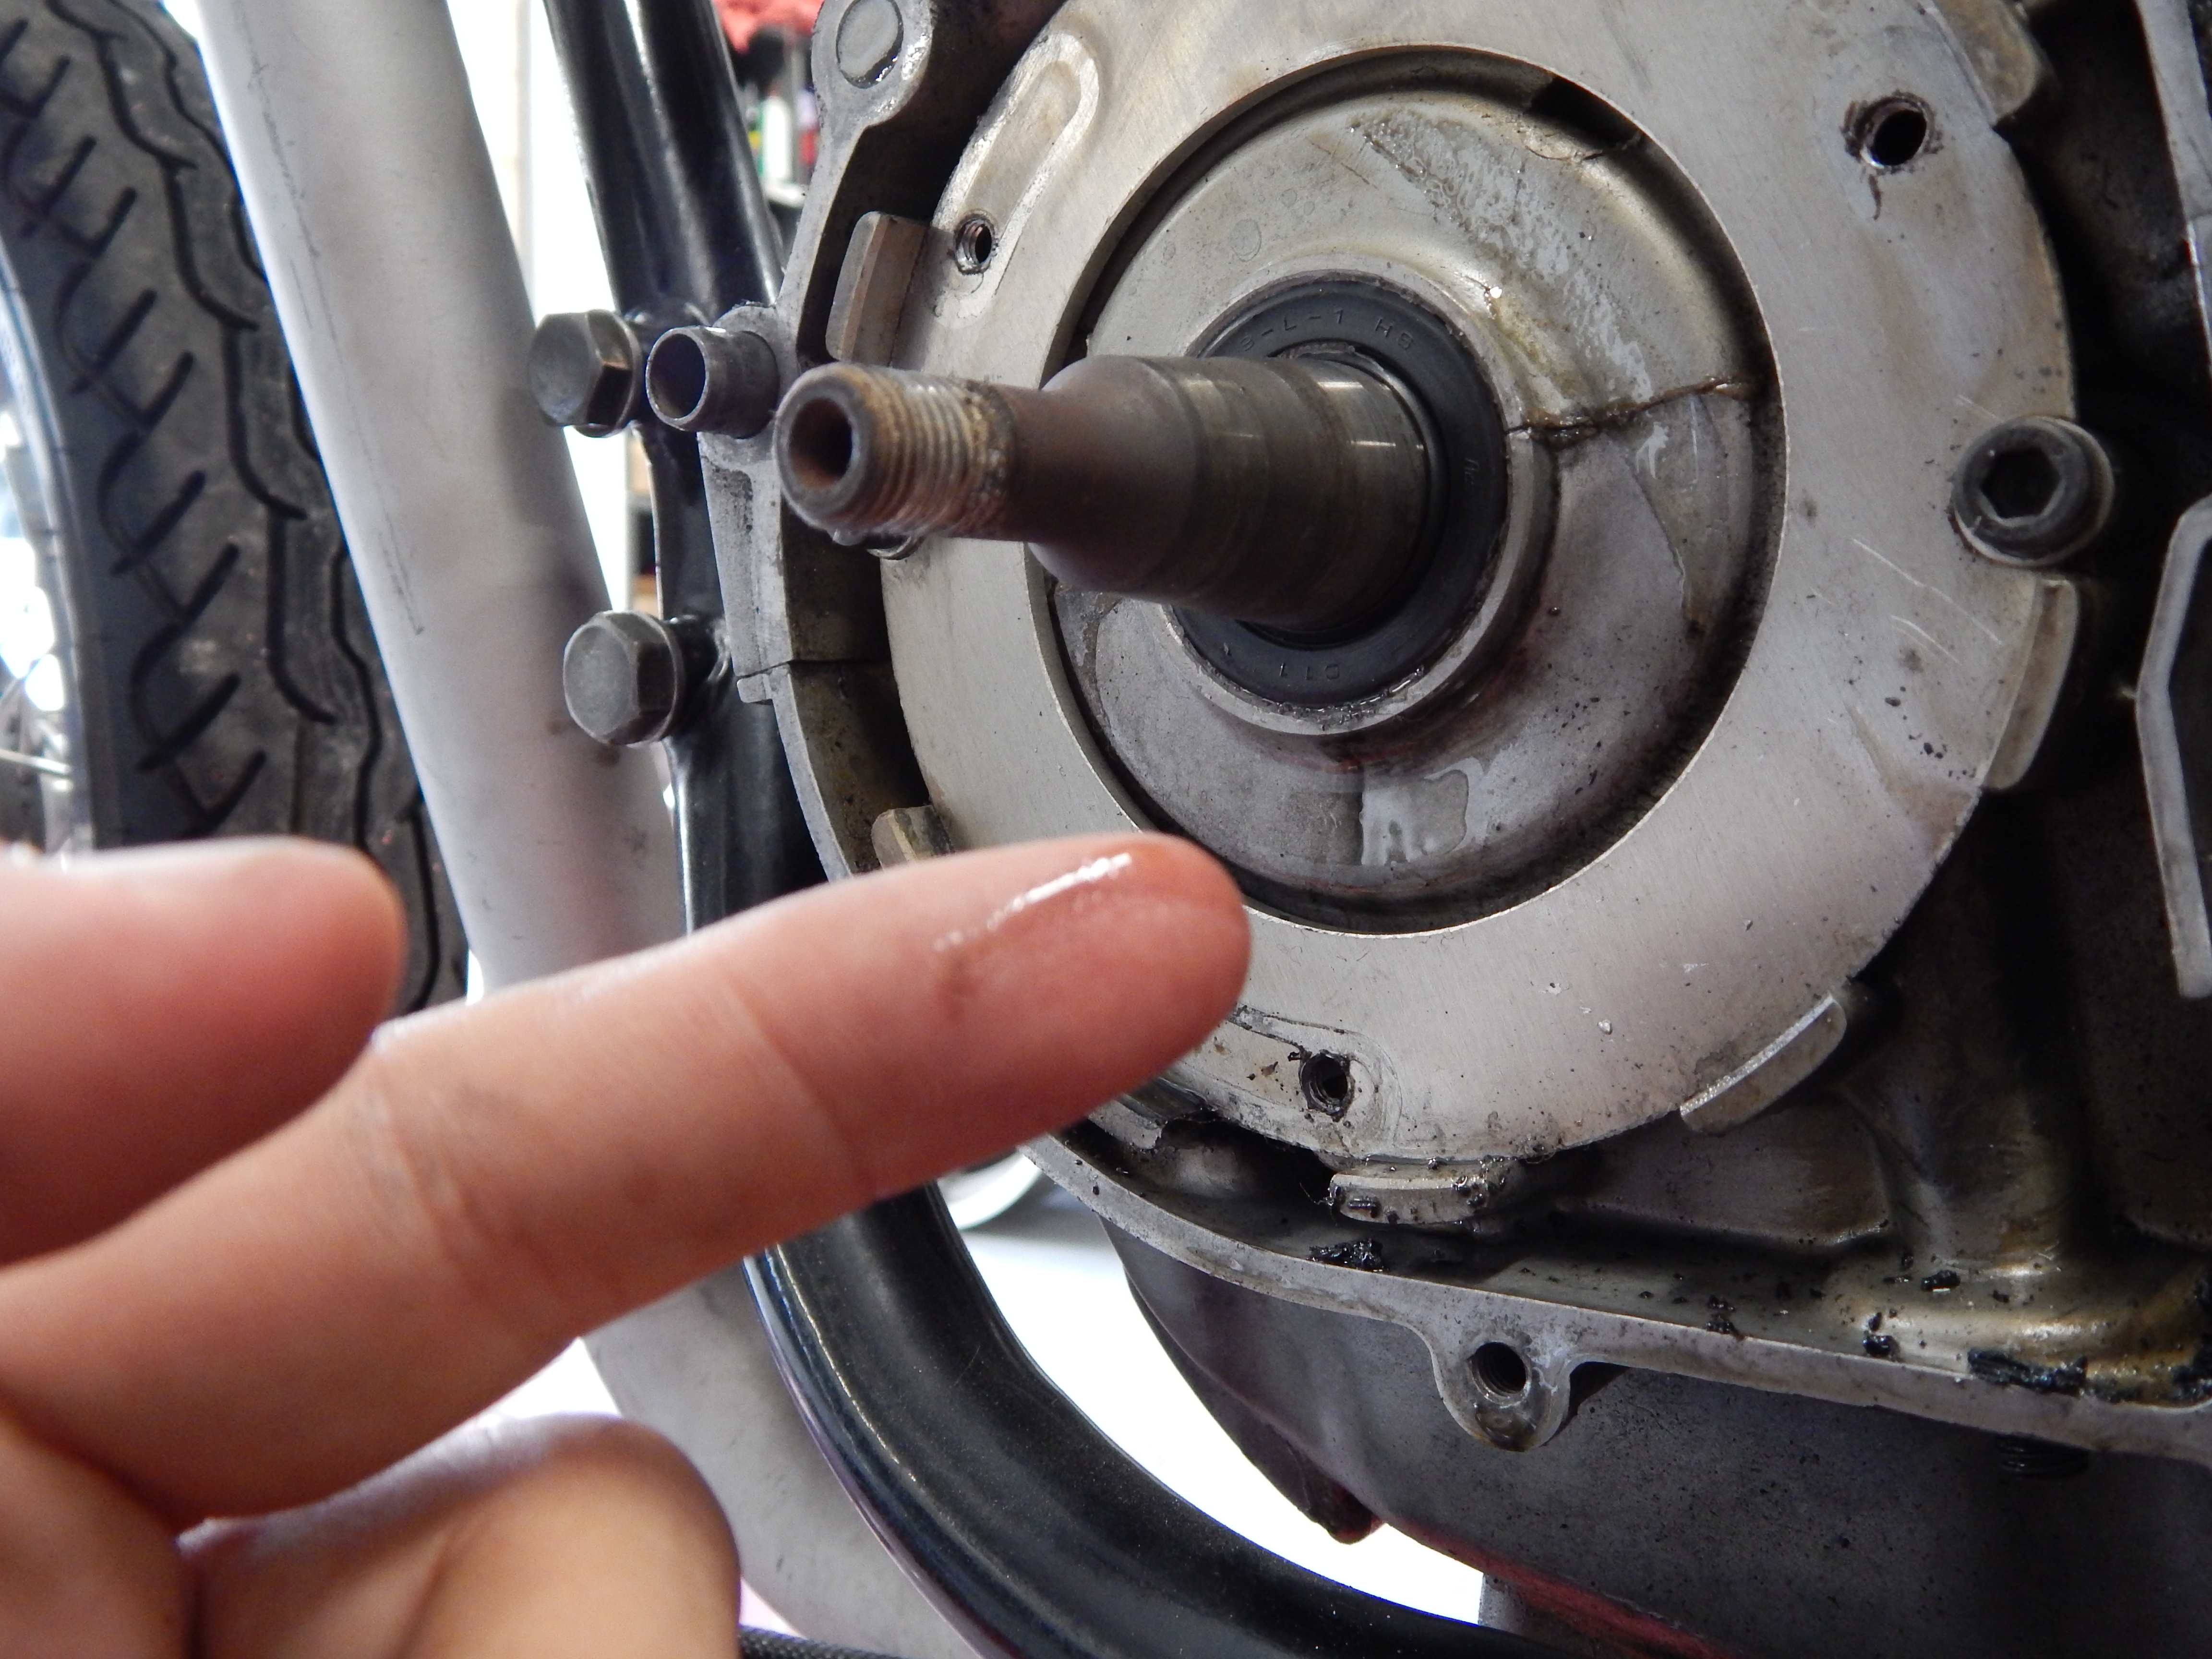
These stators aren’t oil resistant, so that will need to be addressed as well. We’ll be putting in some time on his engine soon, it’s long in the tooth for some upgrades, he’s beat the snot out of it for 4 years now – and it’s never failed him… All things considered, it’s doing pretty well!
STATORS….
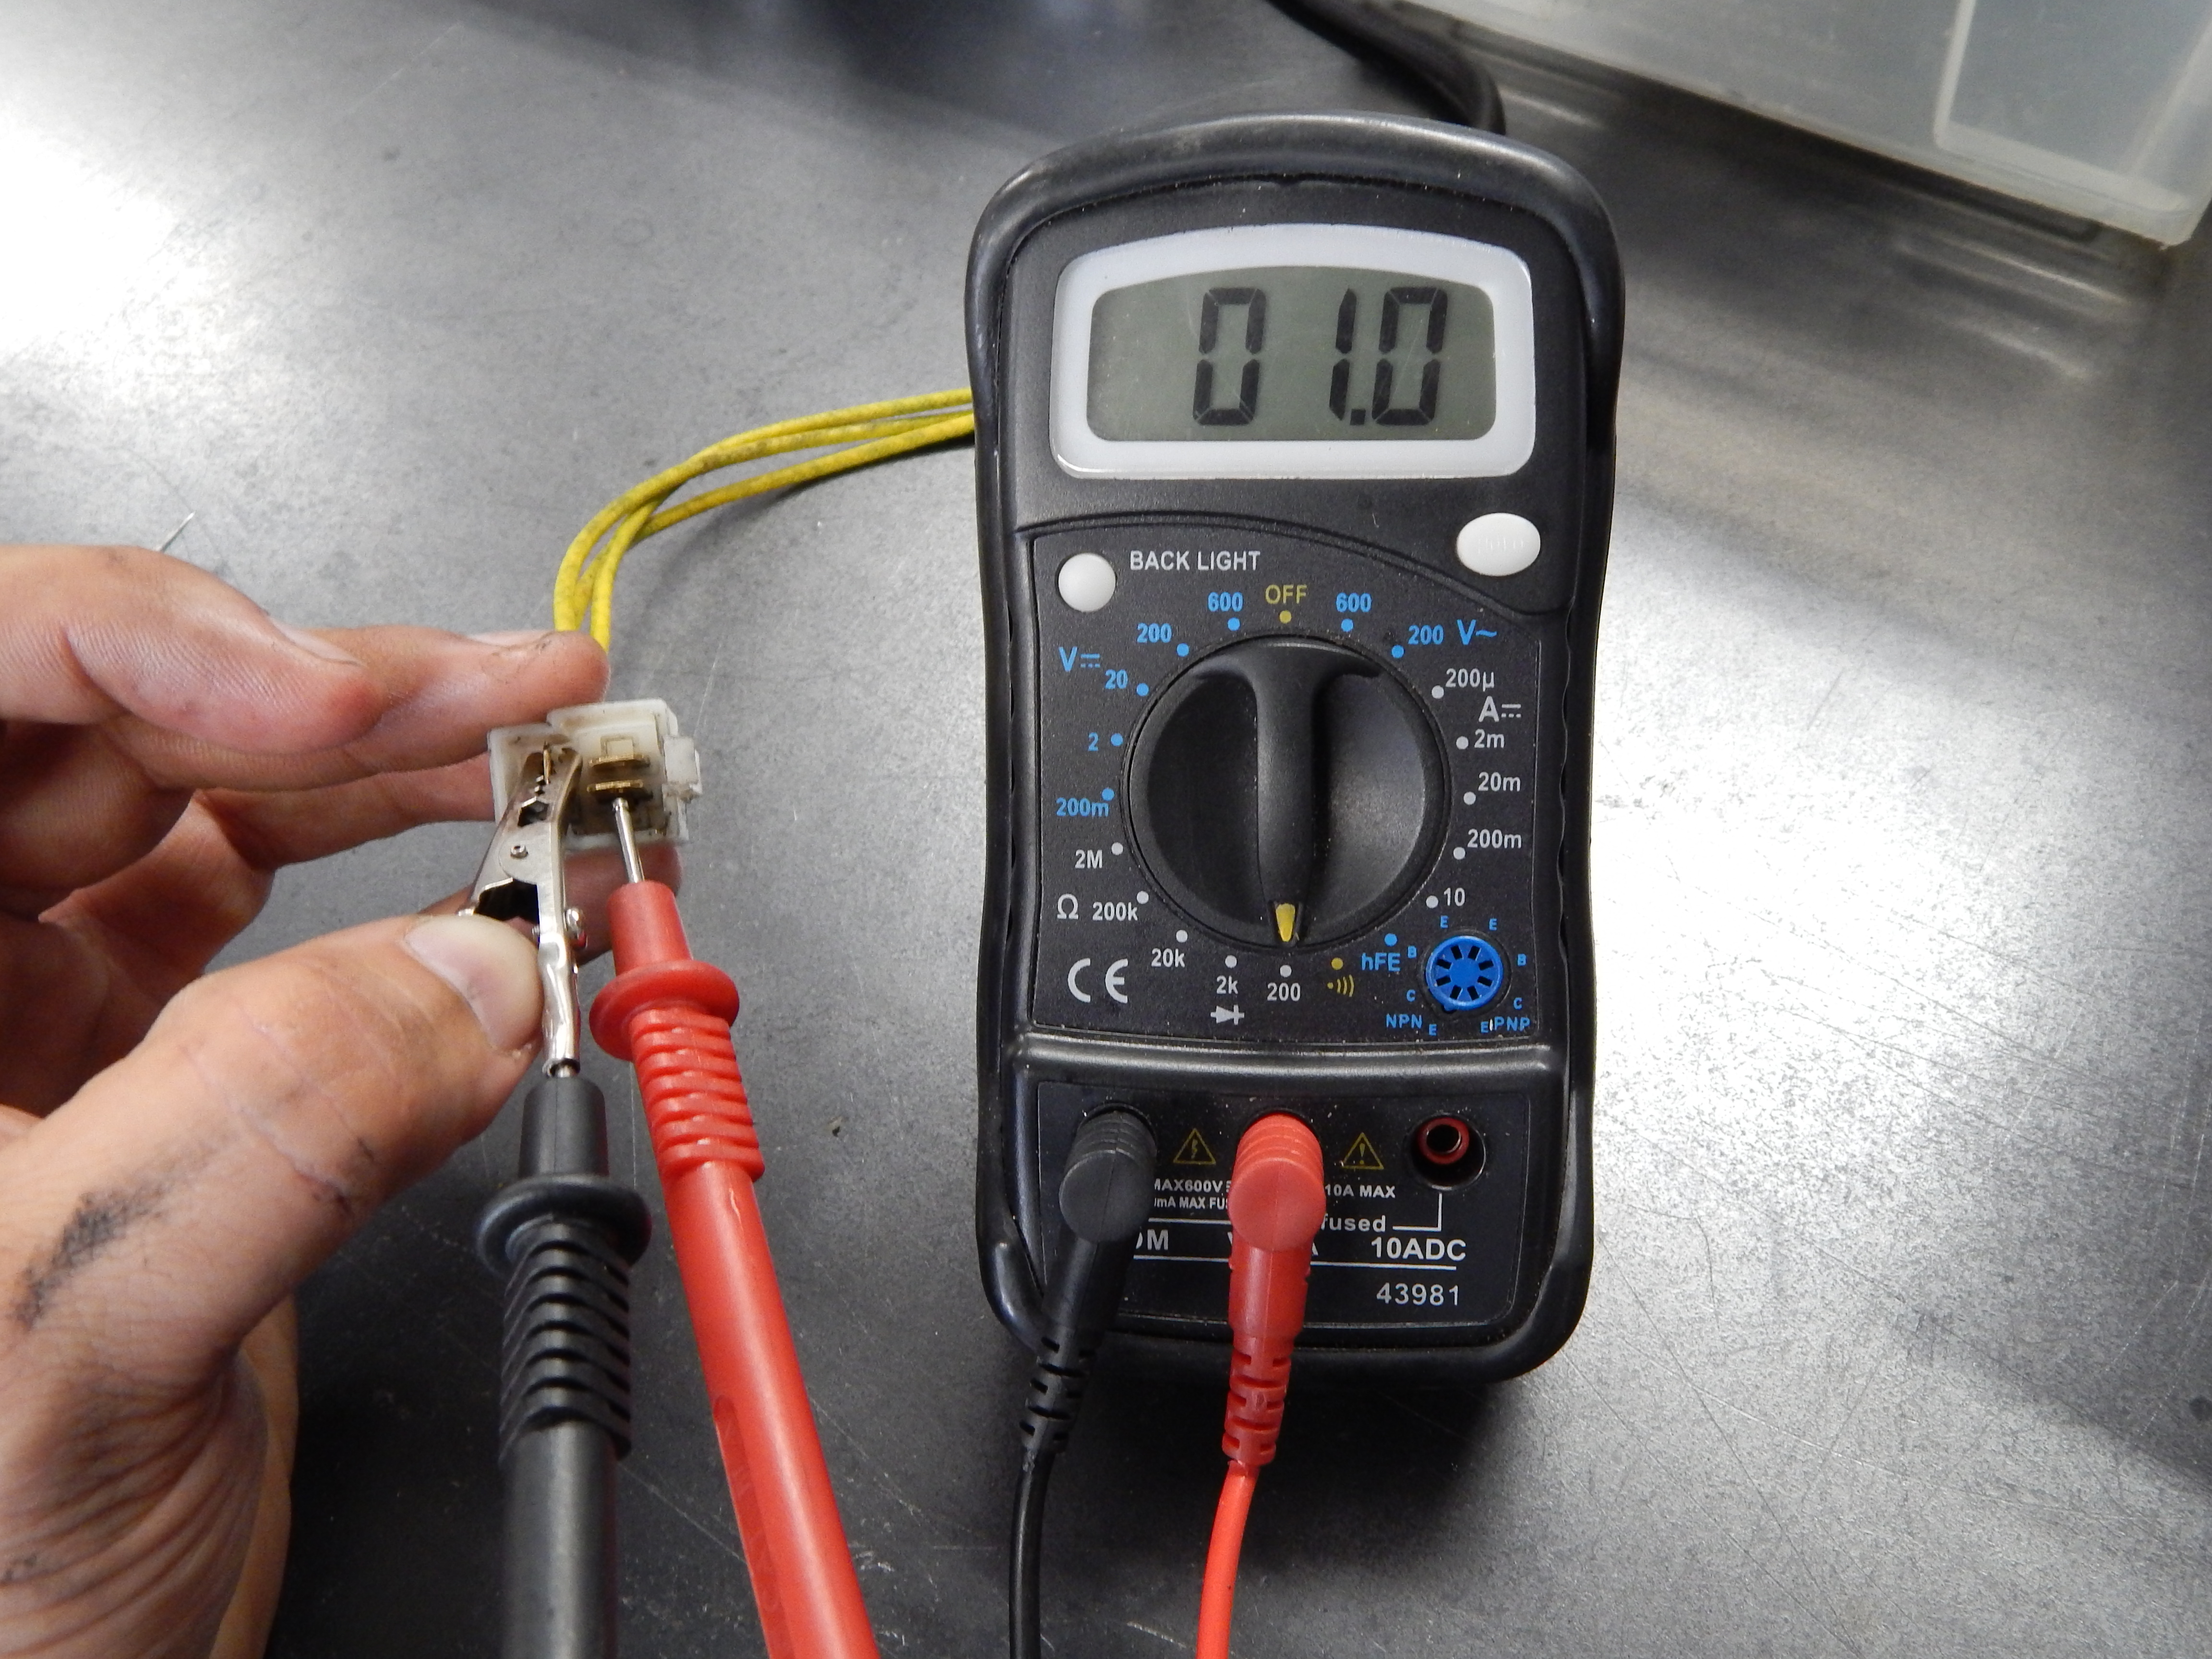
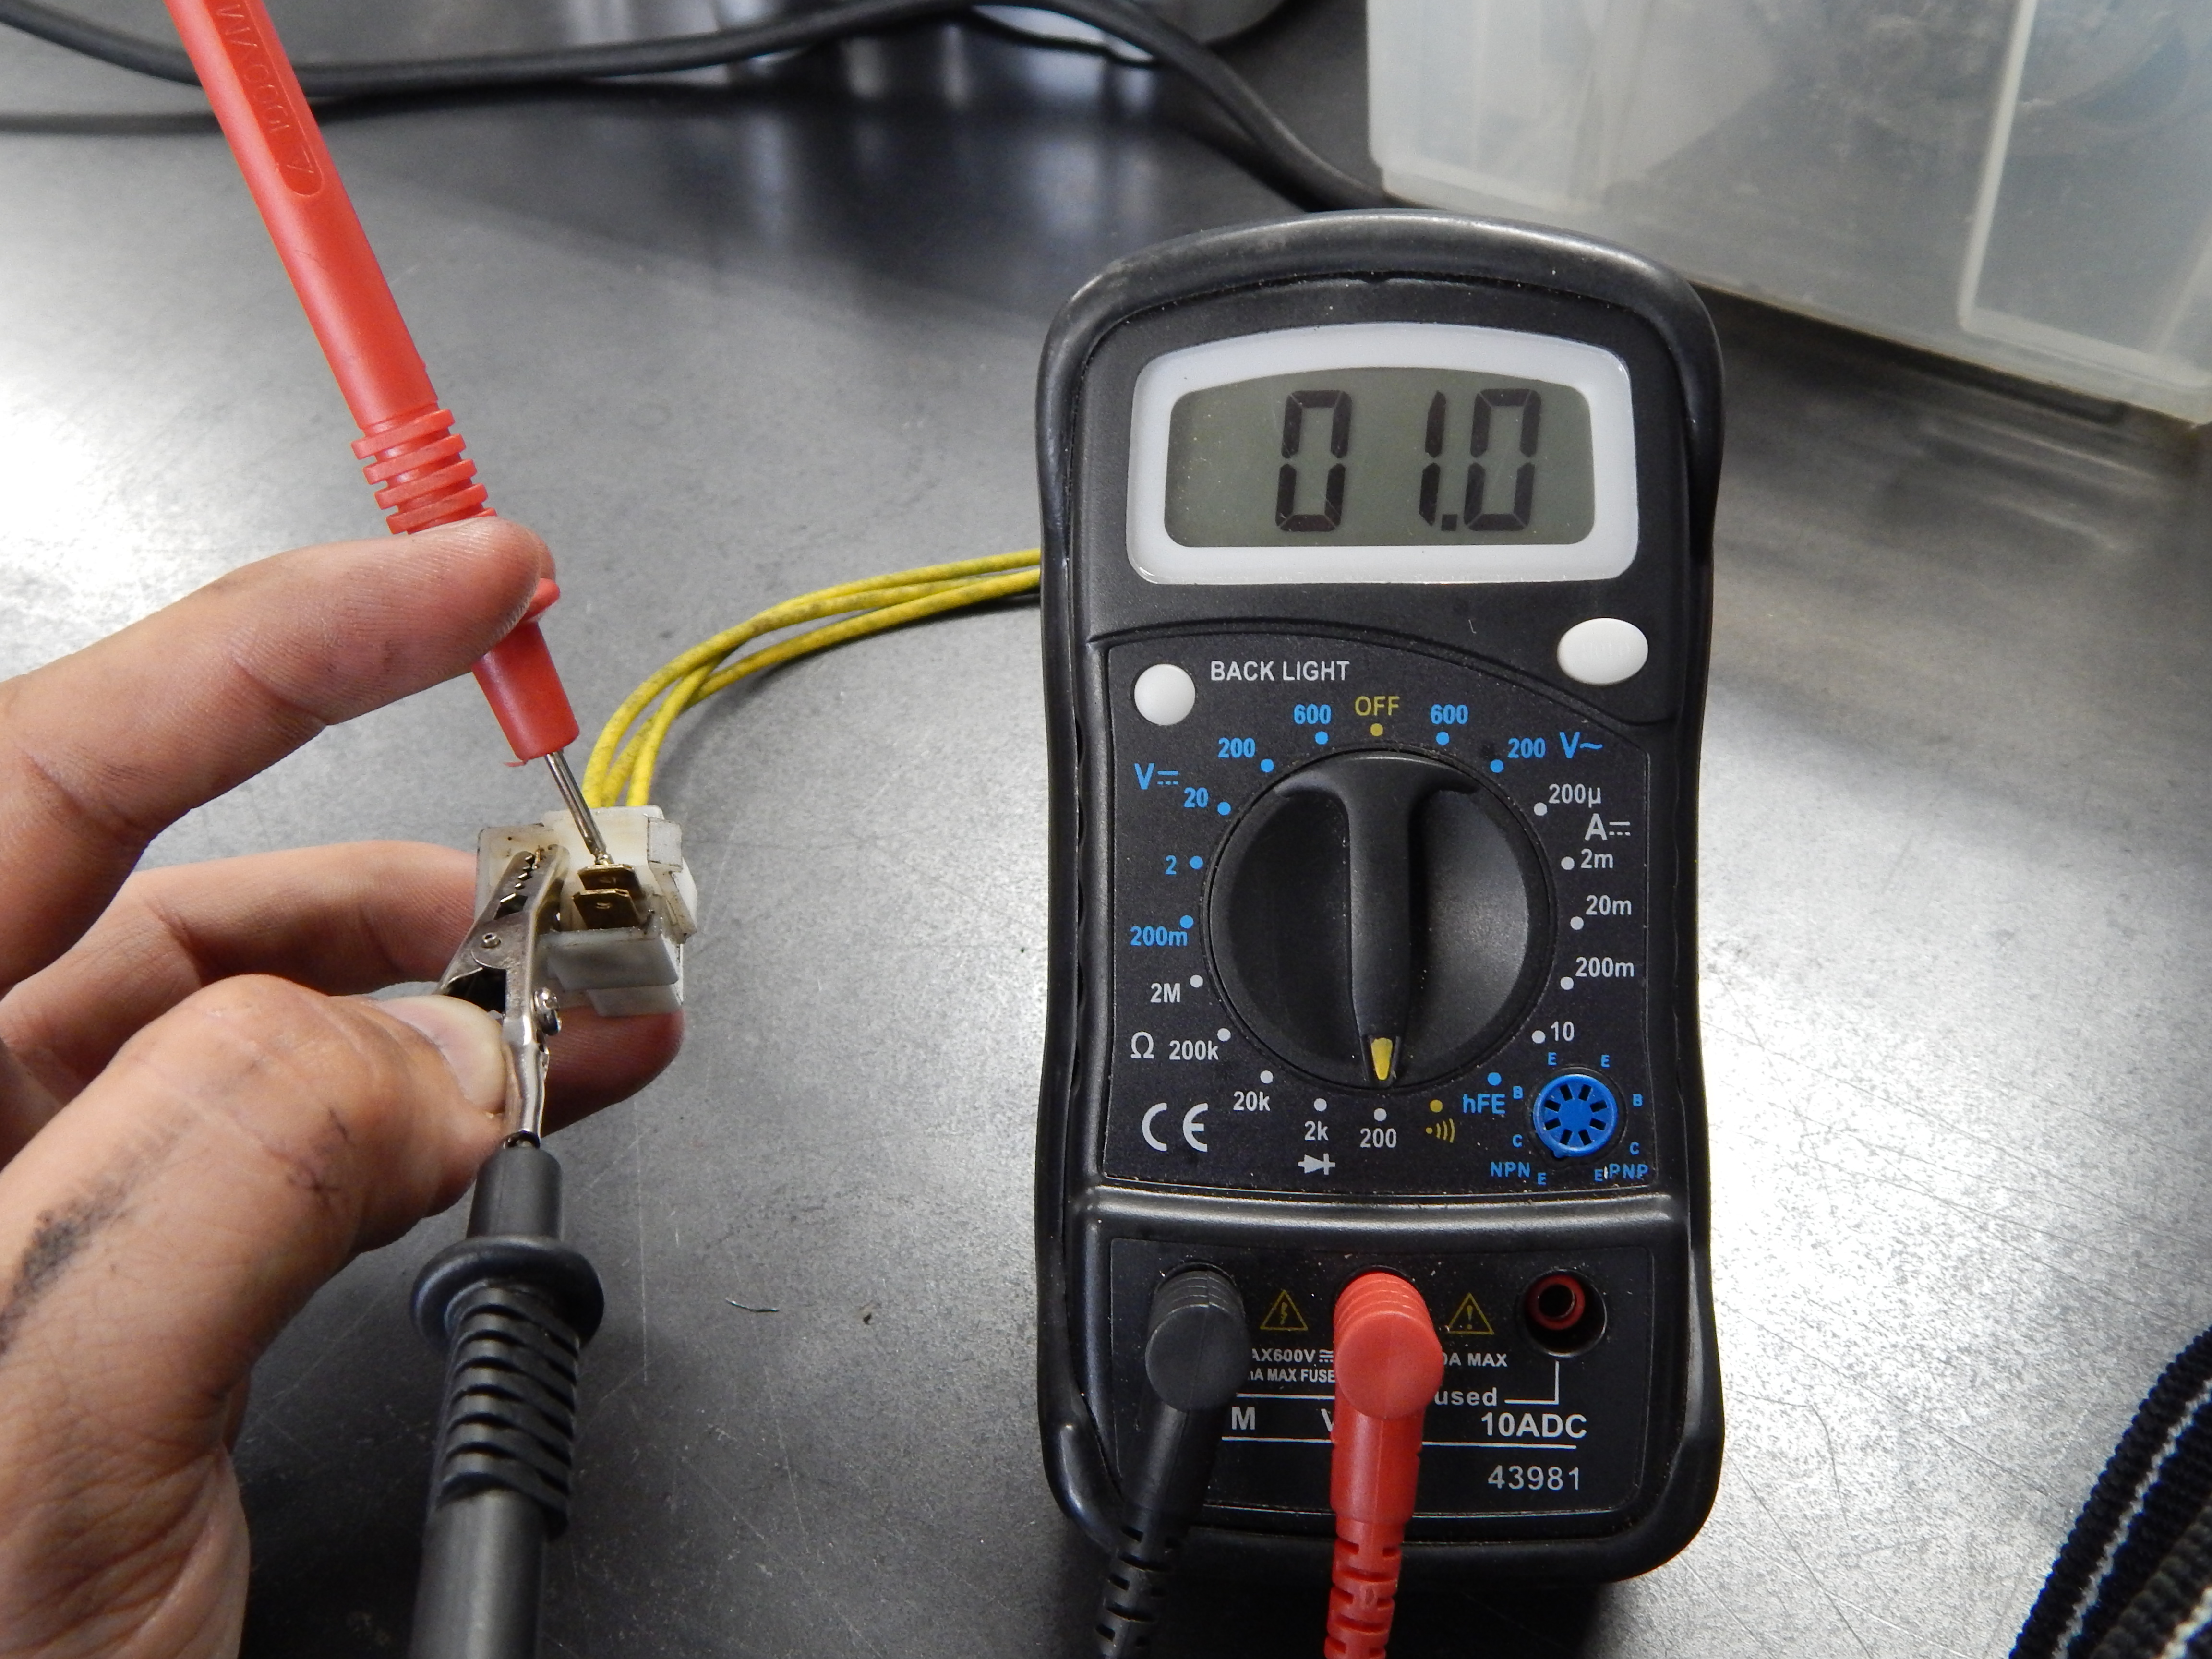
Remove the stator entirely, and get setup on your workbench with your voltmeter.
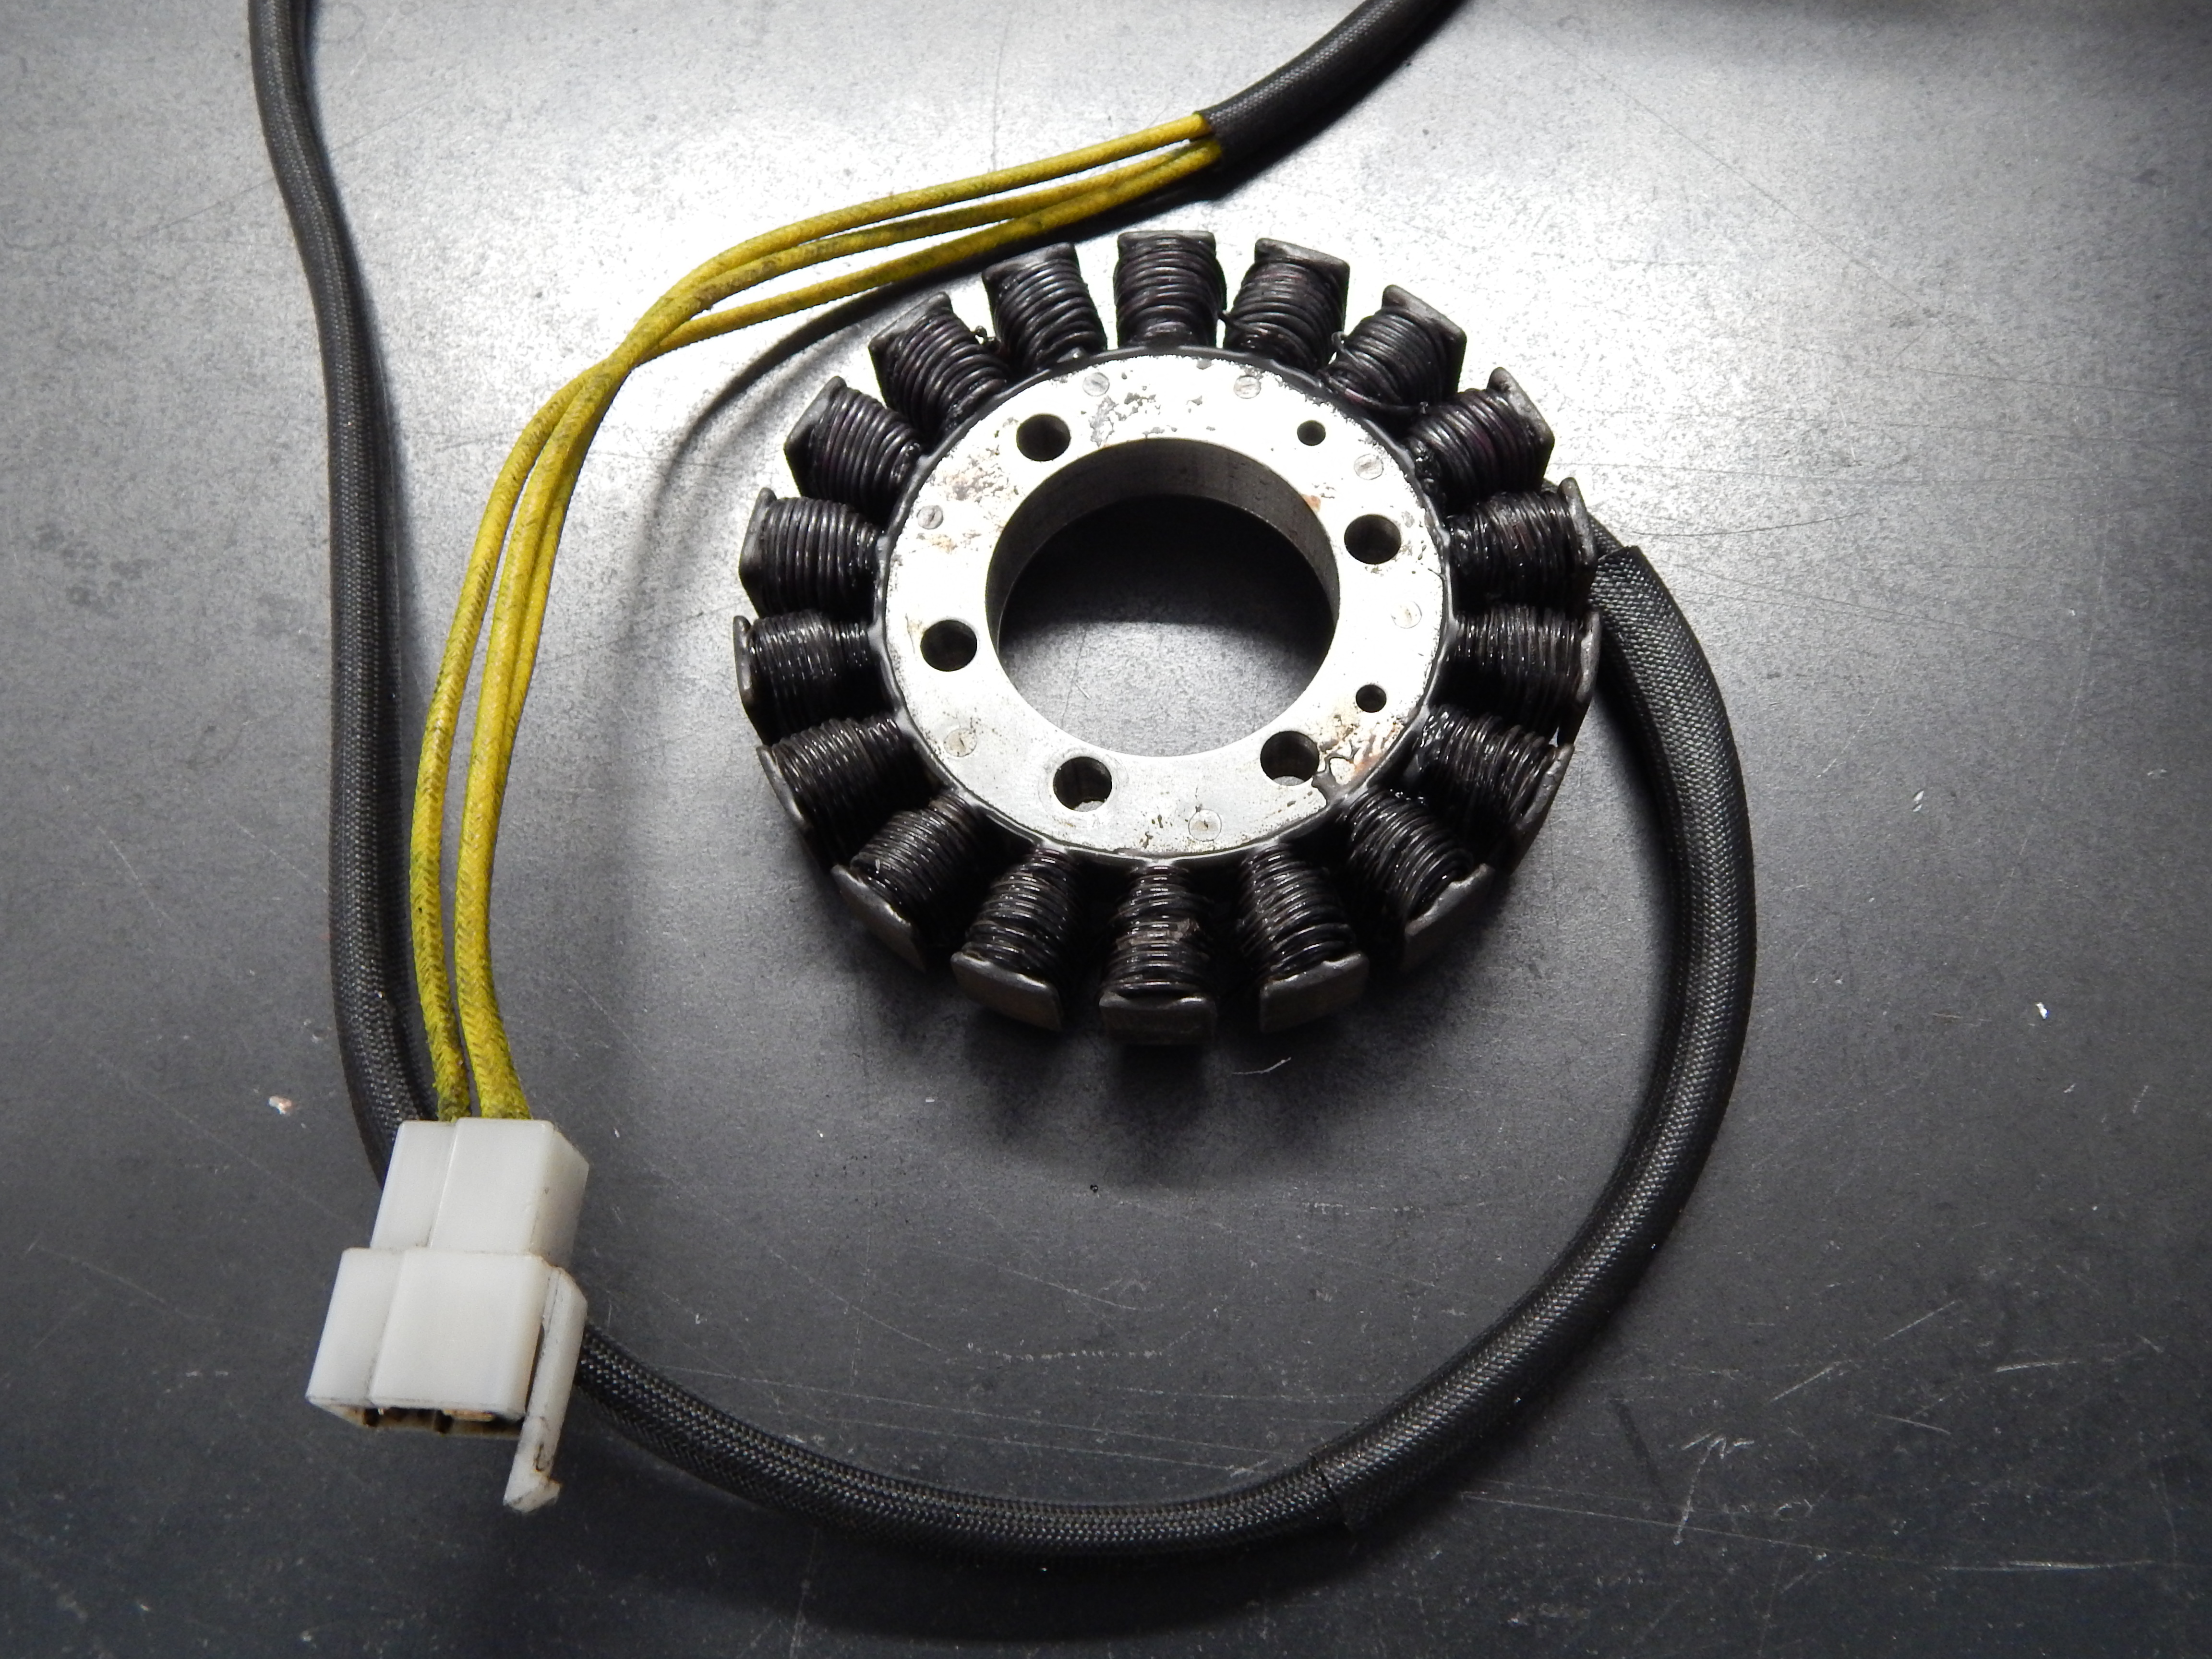
With the Voltmeter set to the lowest Ohms setting (mine is 200) you want to test between each leg (yellow wire) on the stator for somewhere between .7-1.0 Ohms. This stator actually tests good as you can see, but I did get an erratic reading on the voltmeter which makes me want to dig deeper.
Pull back the sheathing from the stator leads as you can see here. If you have heat shrink or otherwise, cut it back to expose the 3 connections.
Then uncover or remove the sheathing from the 3 individual leads – in this case, we did find our intermittent connectivity issue – poor connections can cause heat build up, which most likely cause the premature death of this stator.

As you can see, even though Tevan’s stator tested and worked just fine, there was obviously some heat build up somewhere. In his case, it was making intermittent connection between the stator windings and the yellow wires. That intermittent connection will cause a ton of heat, as power is still being generated by the stator when the engine is running, and it searches for a place for it to go (ground).
These connections are covered under warranty from Hugh’s HandBuilt (If you have an HHB PMA System of course) – and with the given visual damage we could see in the stator itself, and these corroded connections, this is a perfect case for a replacement. Now, if your stator doesn’t look cooked and burned to death like this one, you may find that the soldered connections came loose. We did at one point have a bad batch of solder, leading to failed connections. You are welcome to resolder these if you like, or you can mail it to us and we’ll handle it for you. We stand behind our products and our customers – we’ll give feedback as needed, but if any item is found to be defective, we’ll replace it for ya.
Tevan’s bike will definitely be getting a new Stator, his regulator was working properly (with the bike running, we were seeing between 12.9 and 14.5 volts at idle) and he is running a capacitor instead of a battery, which is also working quite well. We’ll clean up the flywheel and with those new parts, he should have a trouble free riding season (minus his affinity for tossing it in the ditch, but hey, who am I to judge a man’s riding style- ha)
REGULATORS….
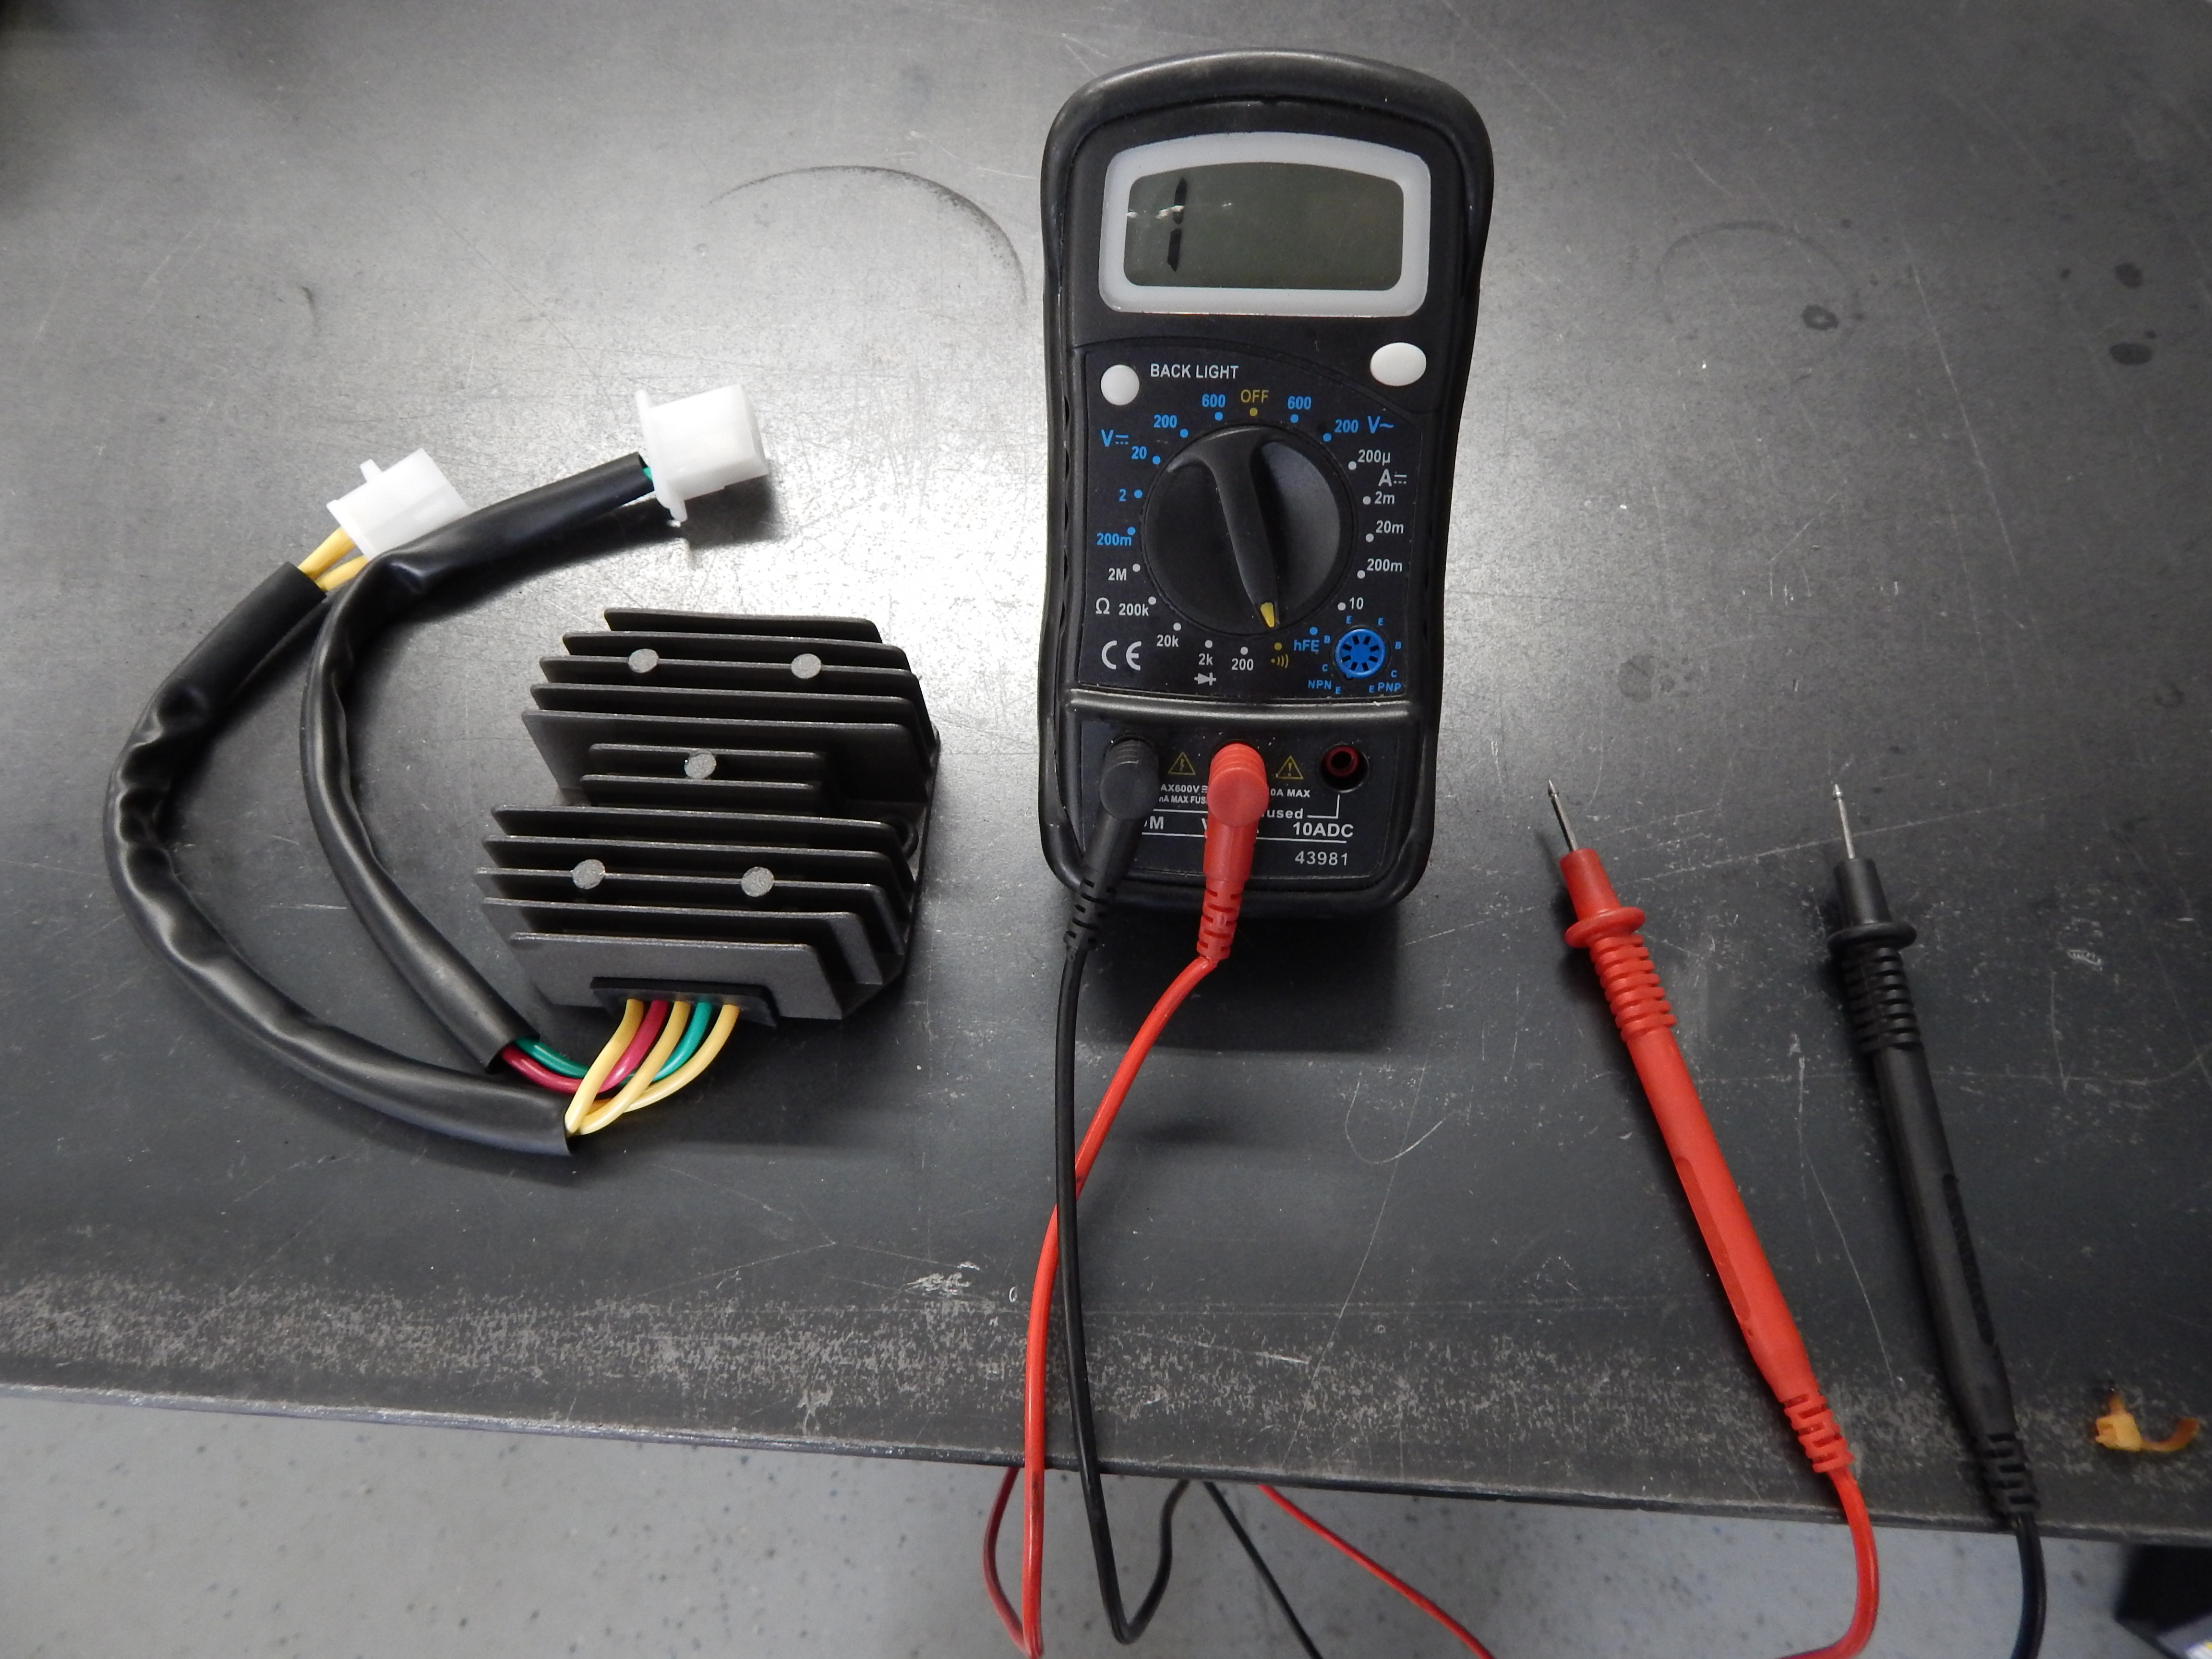
But, lets test a regulator just so you know how…
First, how have you mounted it? Is it hanging from the wires using a ziptie just inches from the ground? Is it stuffed in a box with no airflow? Did you use a hammer to break off all the fins so it would fit in your cool “faux oil tank”? Hey, you might be surprised, but at this point, we’ve seen it all, and I’m sure someone else will surprise me soon enough.
Seriously though, mount your regulator in an area that gets airflow, and away from moving parts or possible impacts. These things need airflow to dissipate heat in order to work properly, and should be mounted properly.
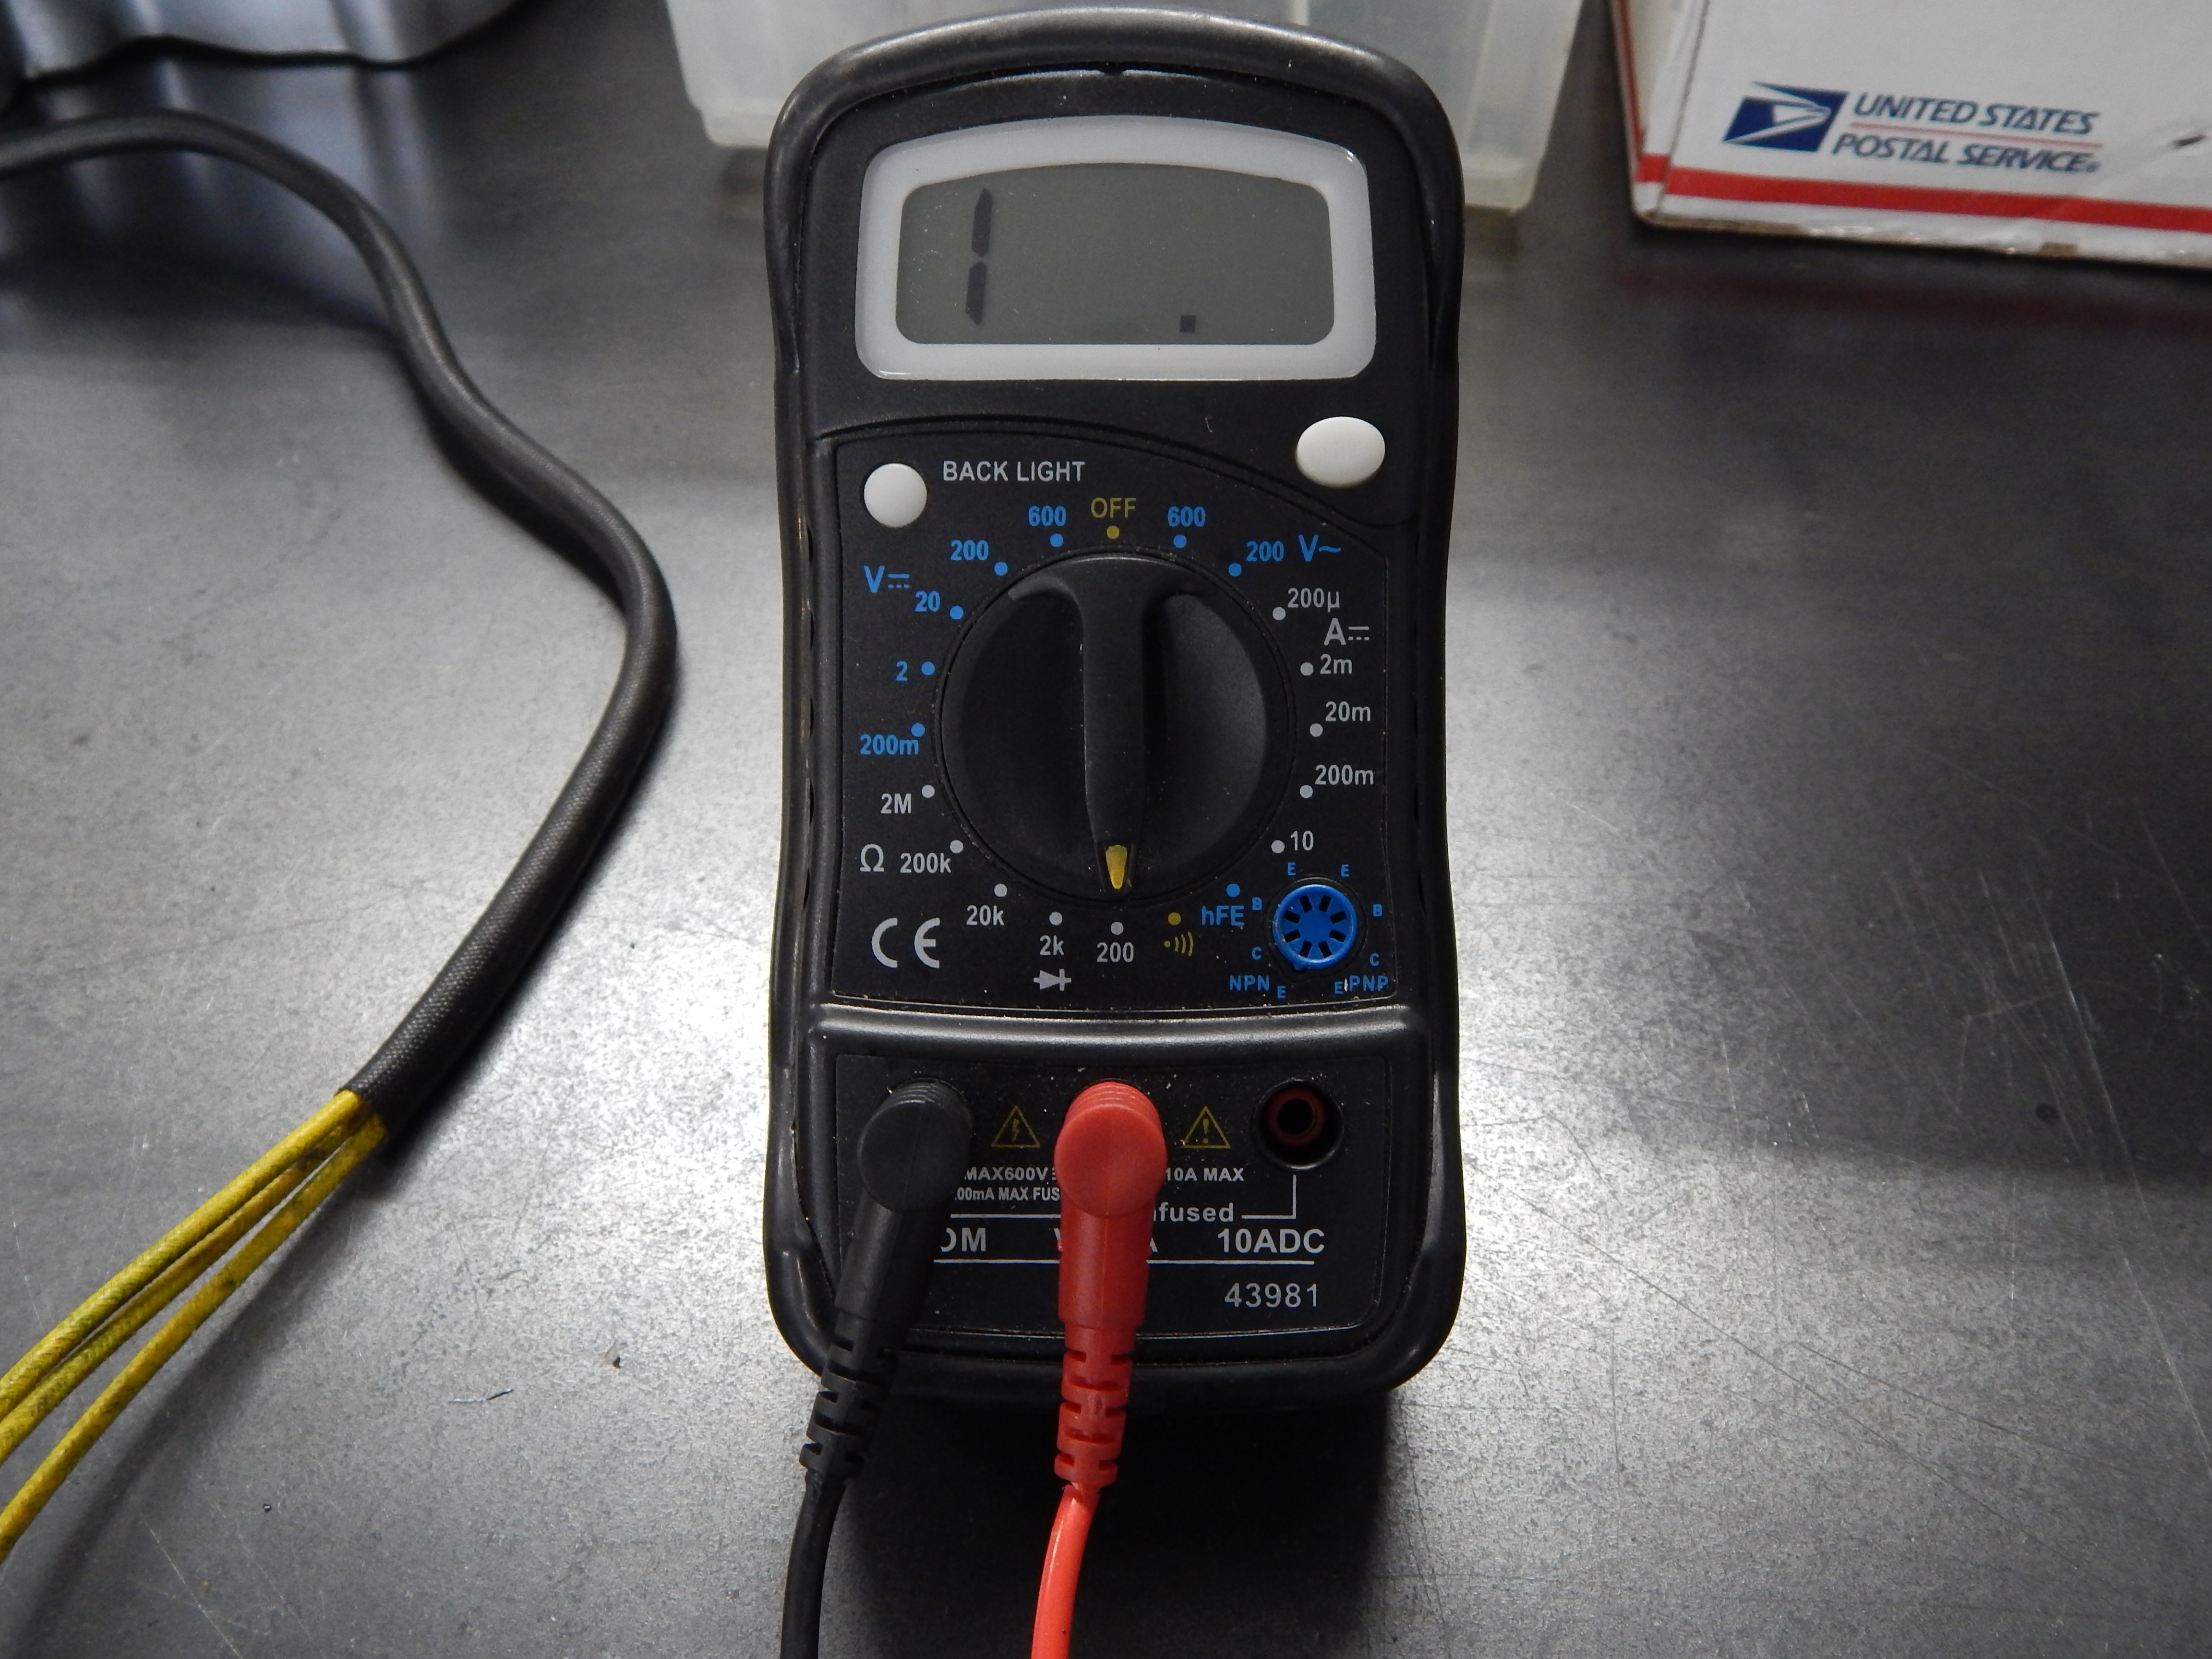
With your voltmeter set to the Diode setting as below… (I have a yellow mark on my meter dial, for reference)
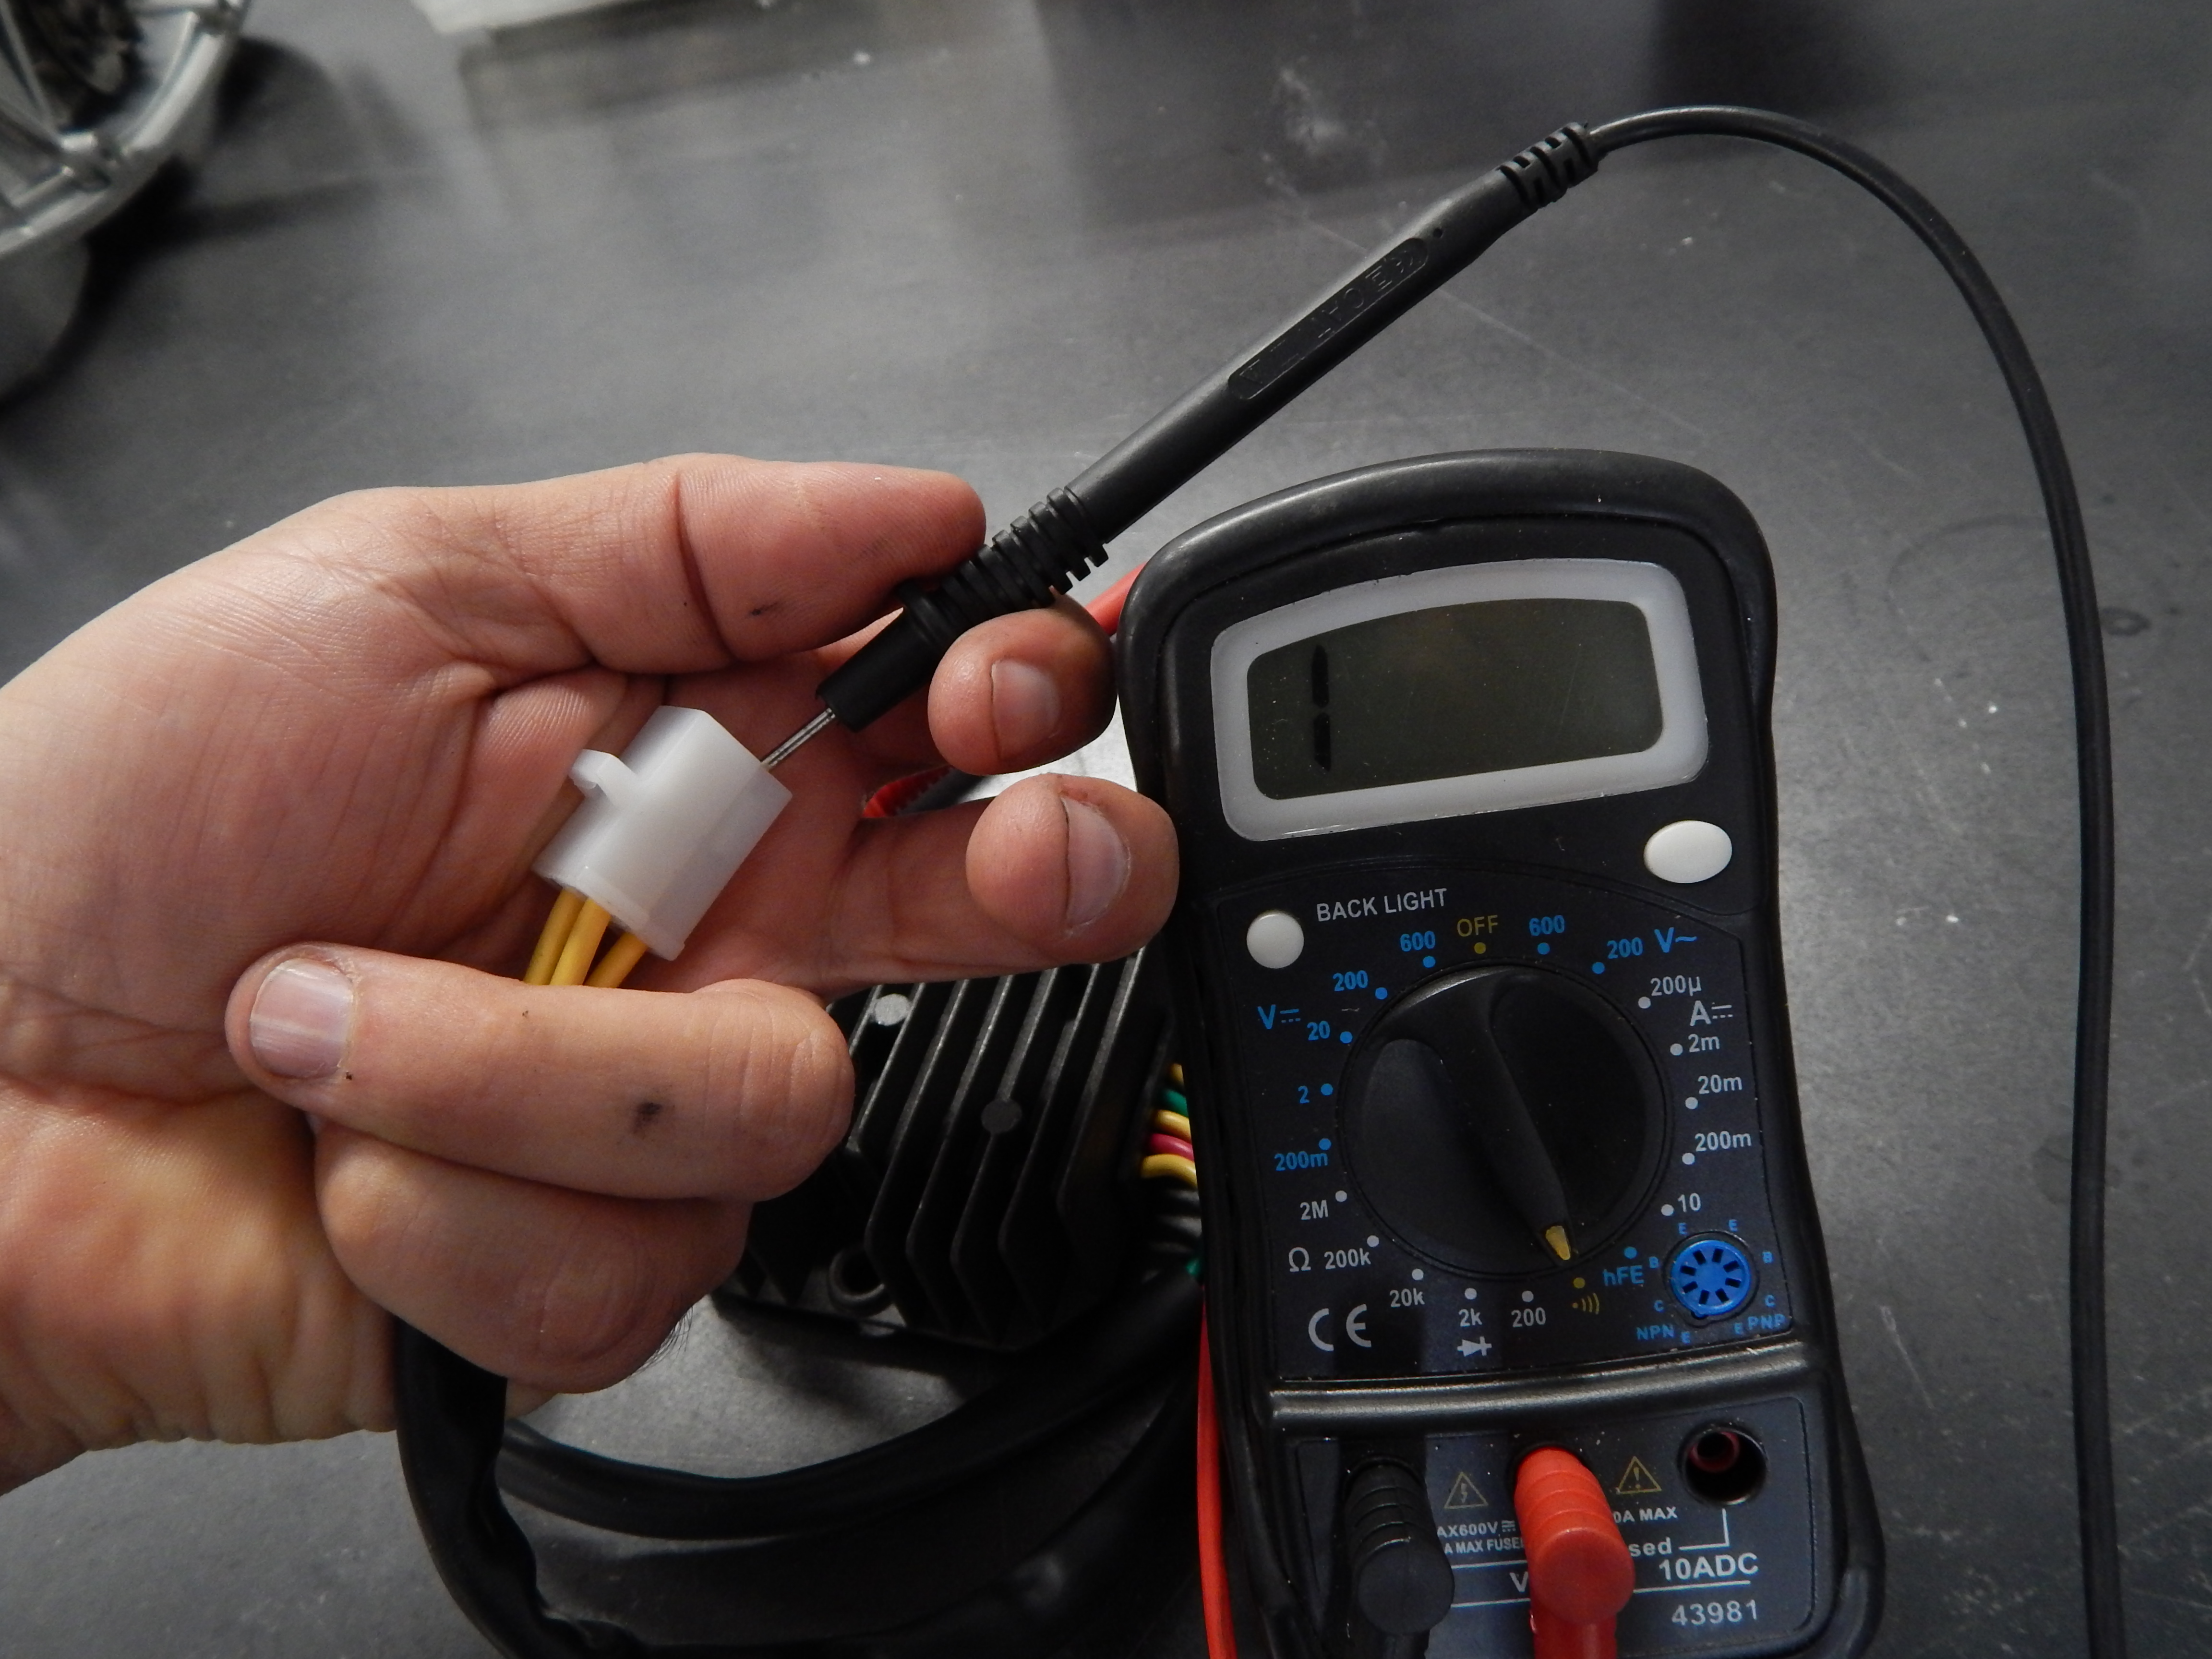
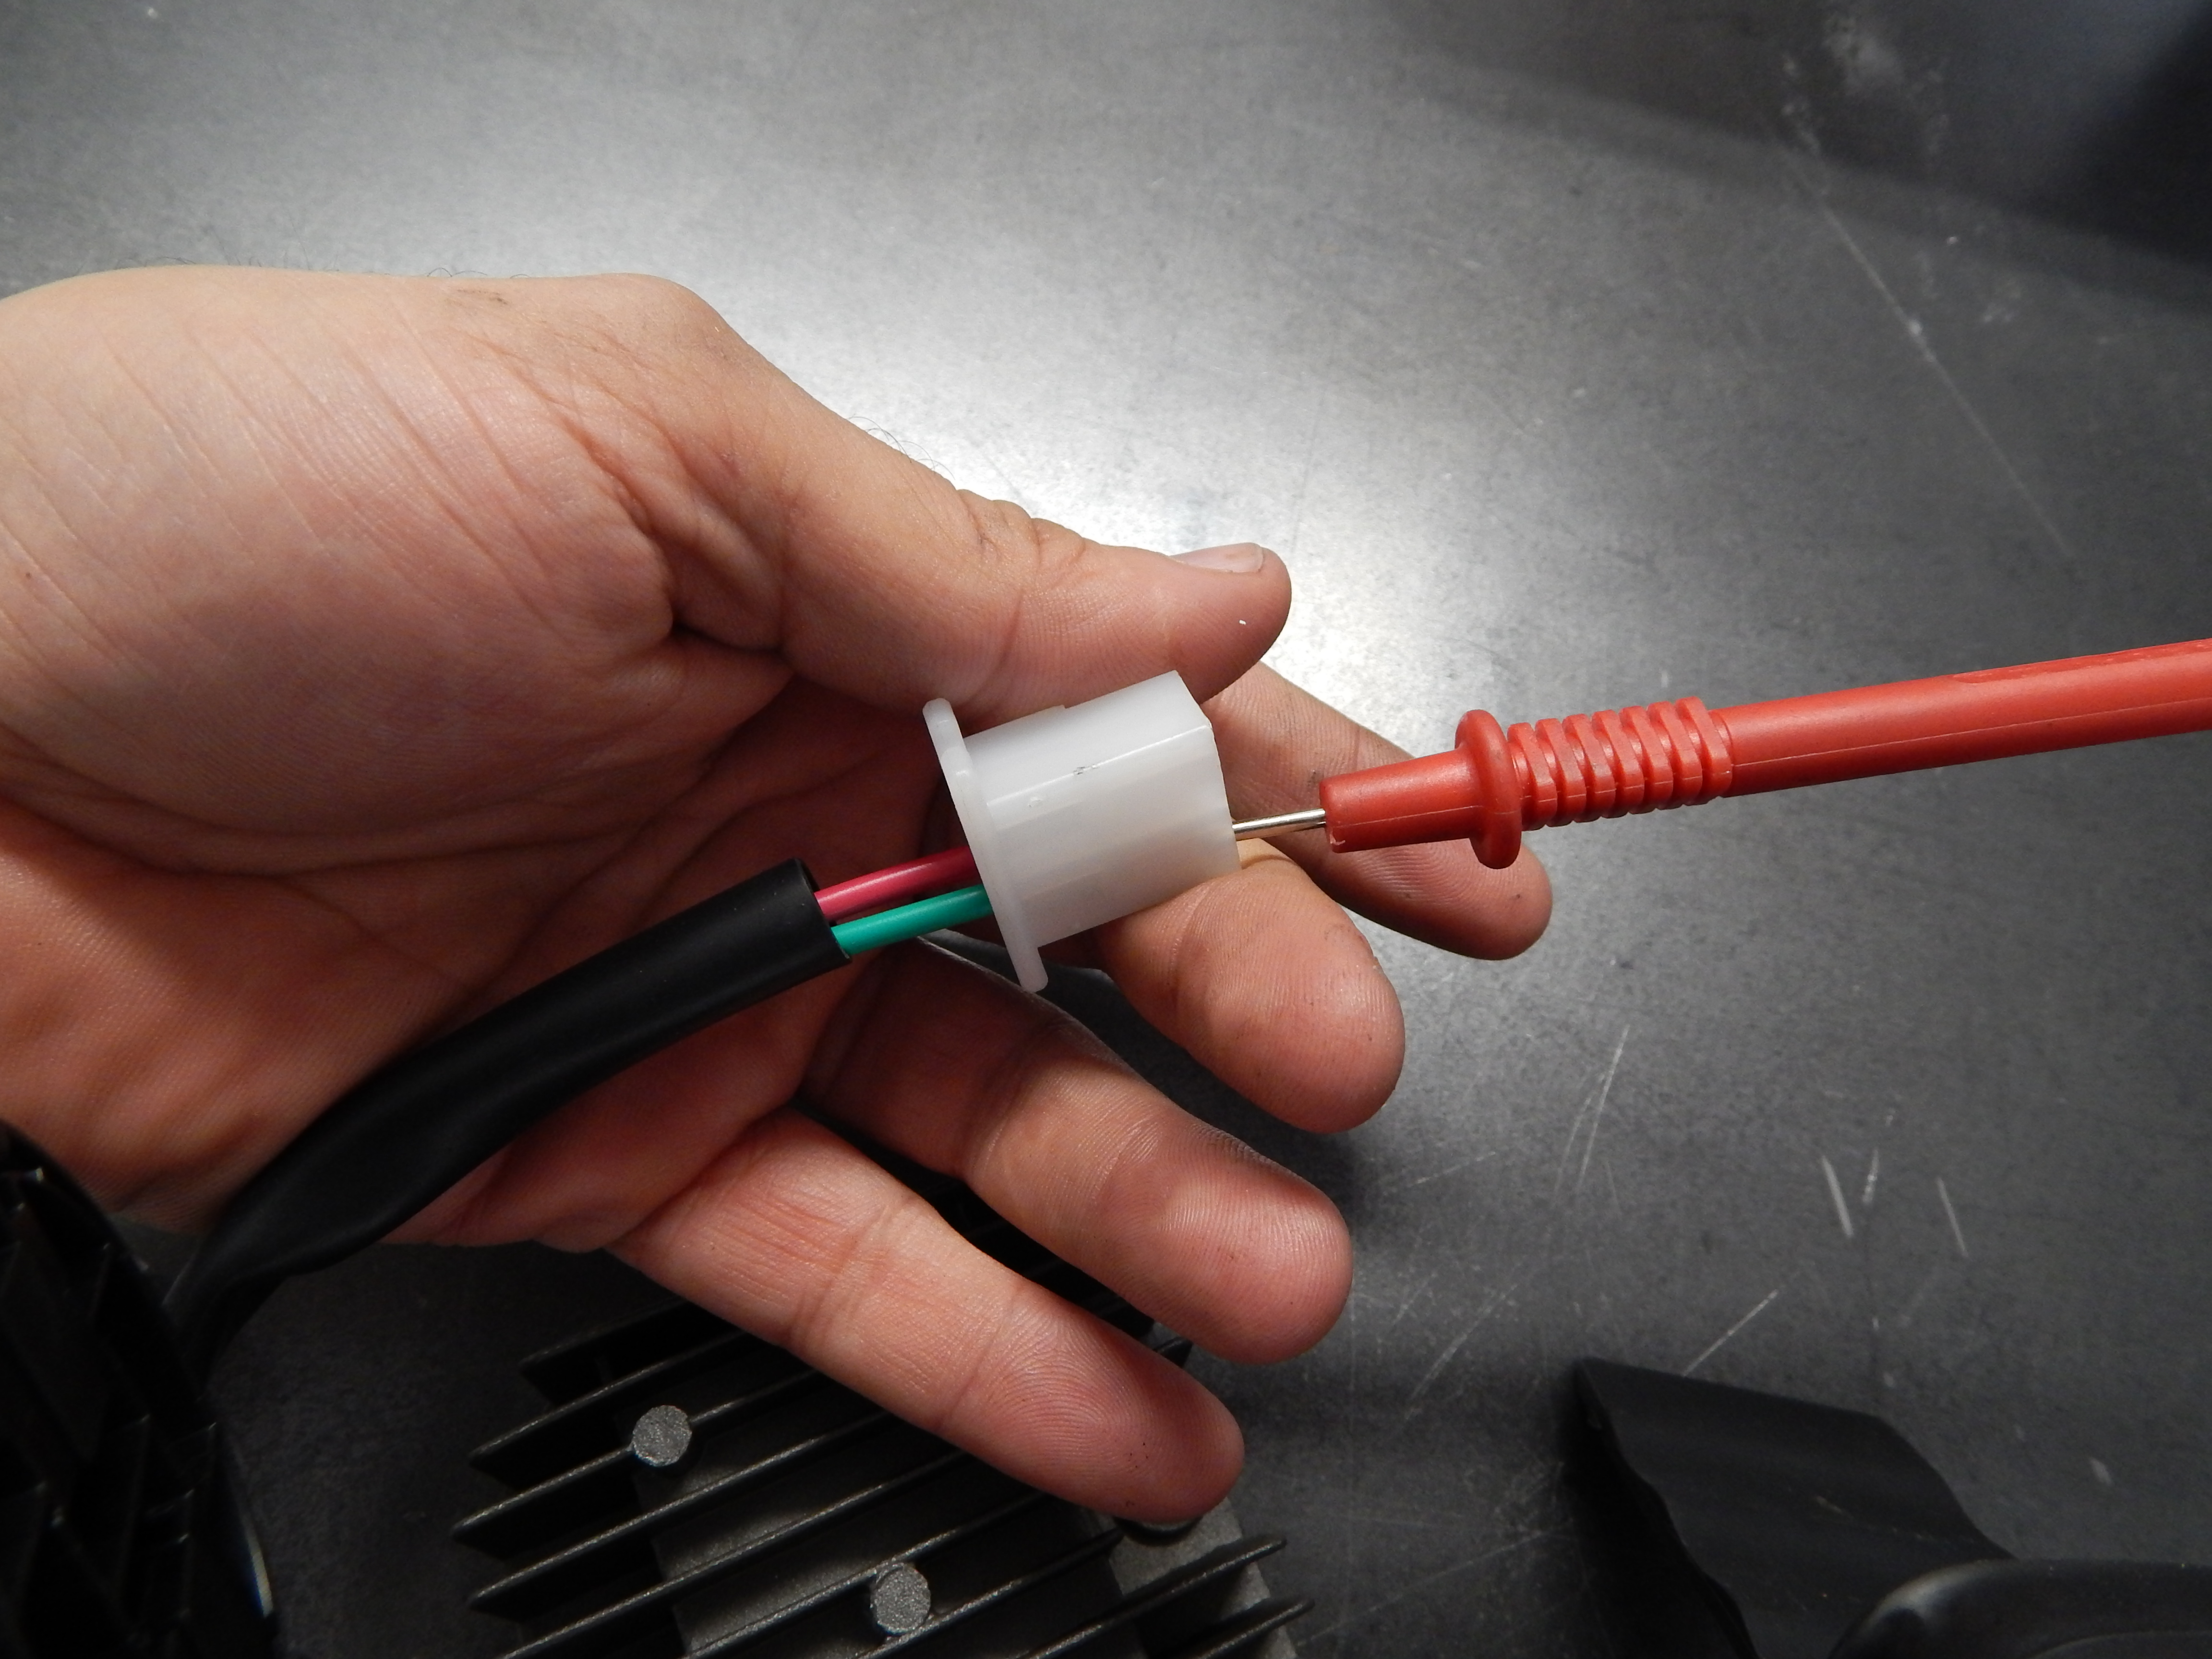
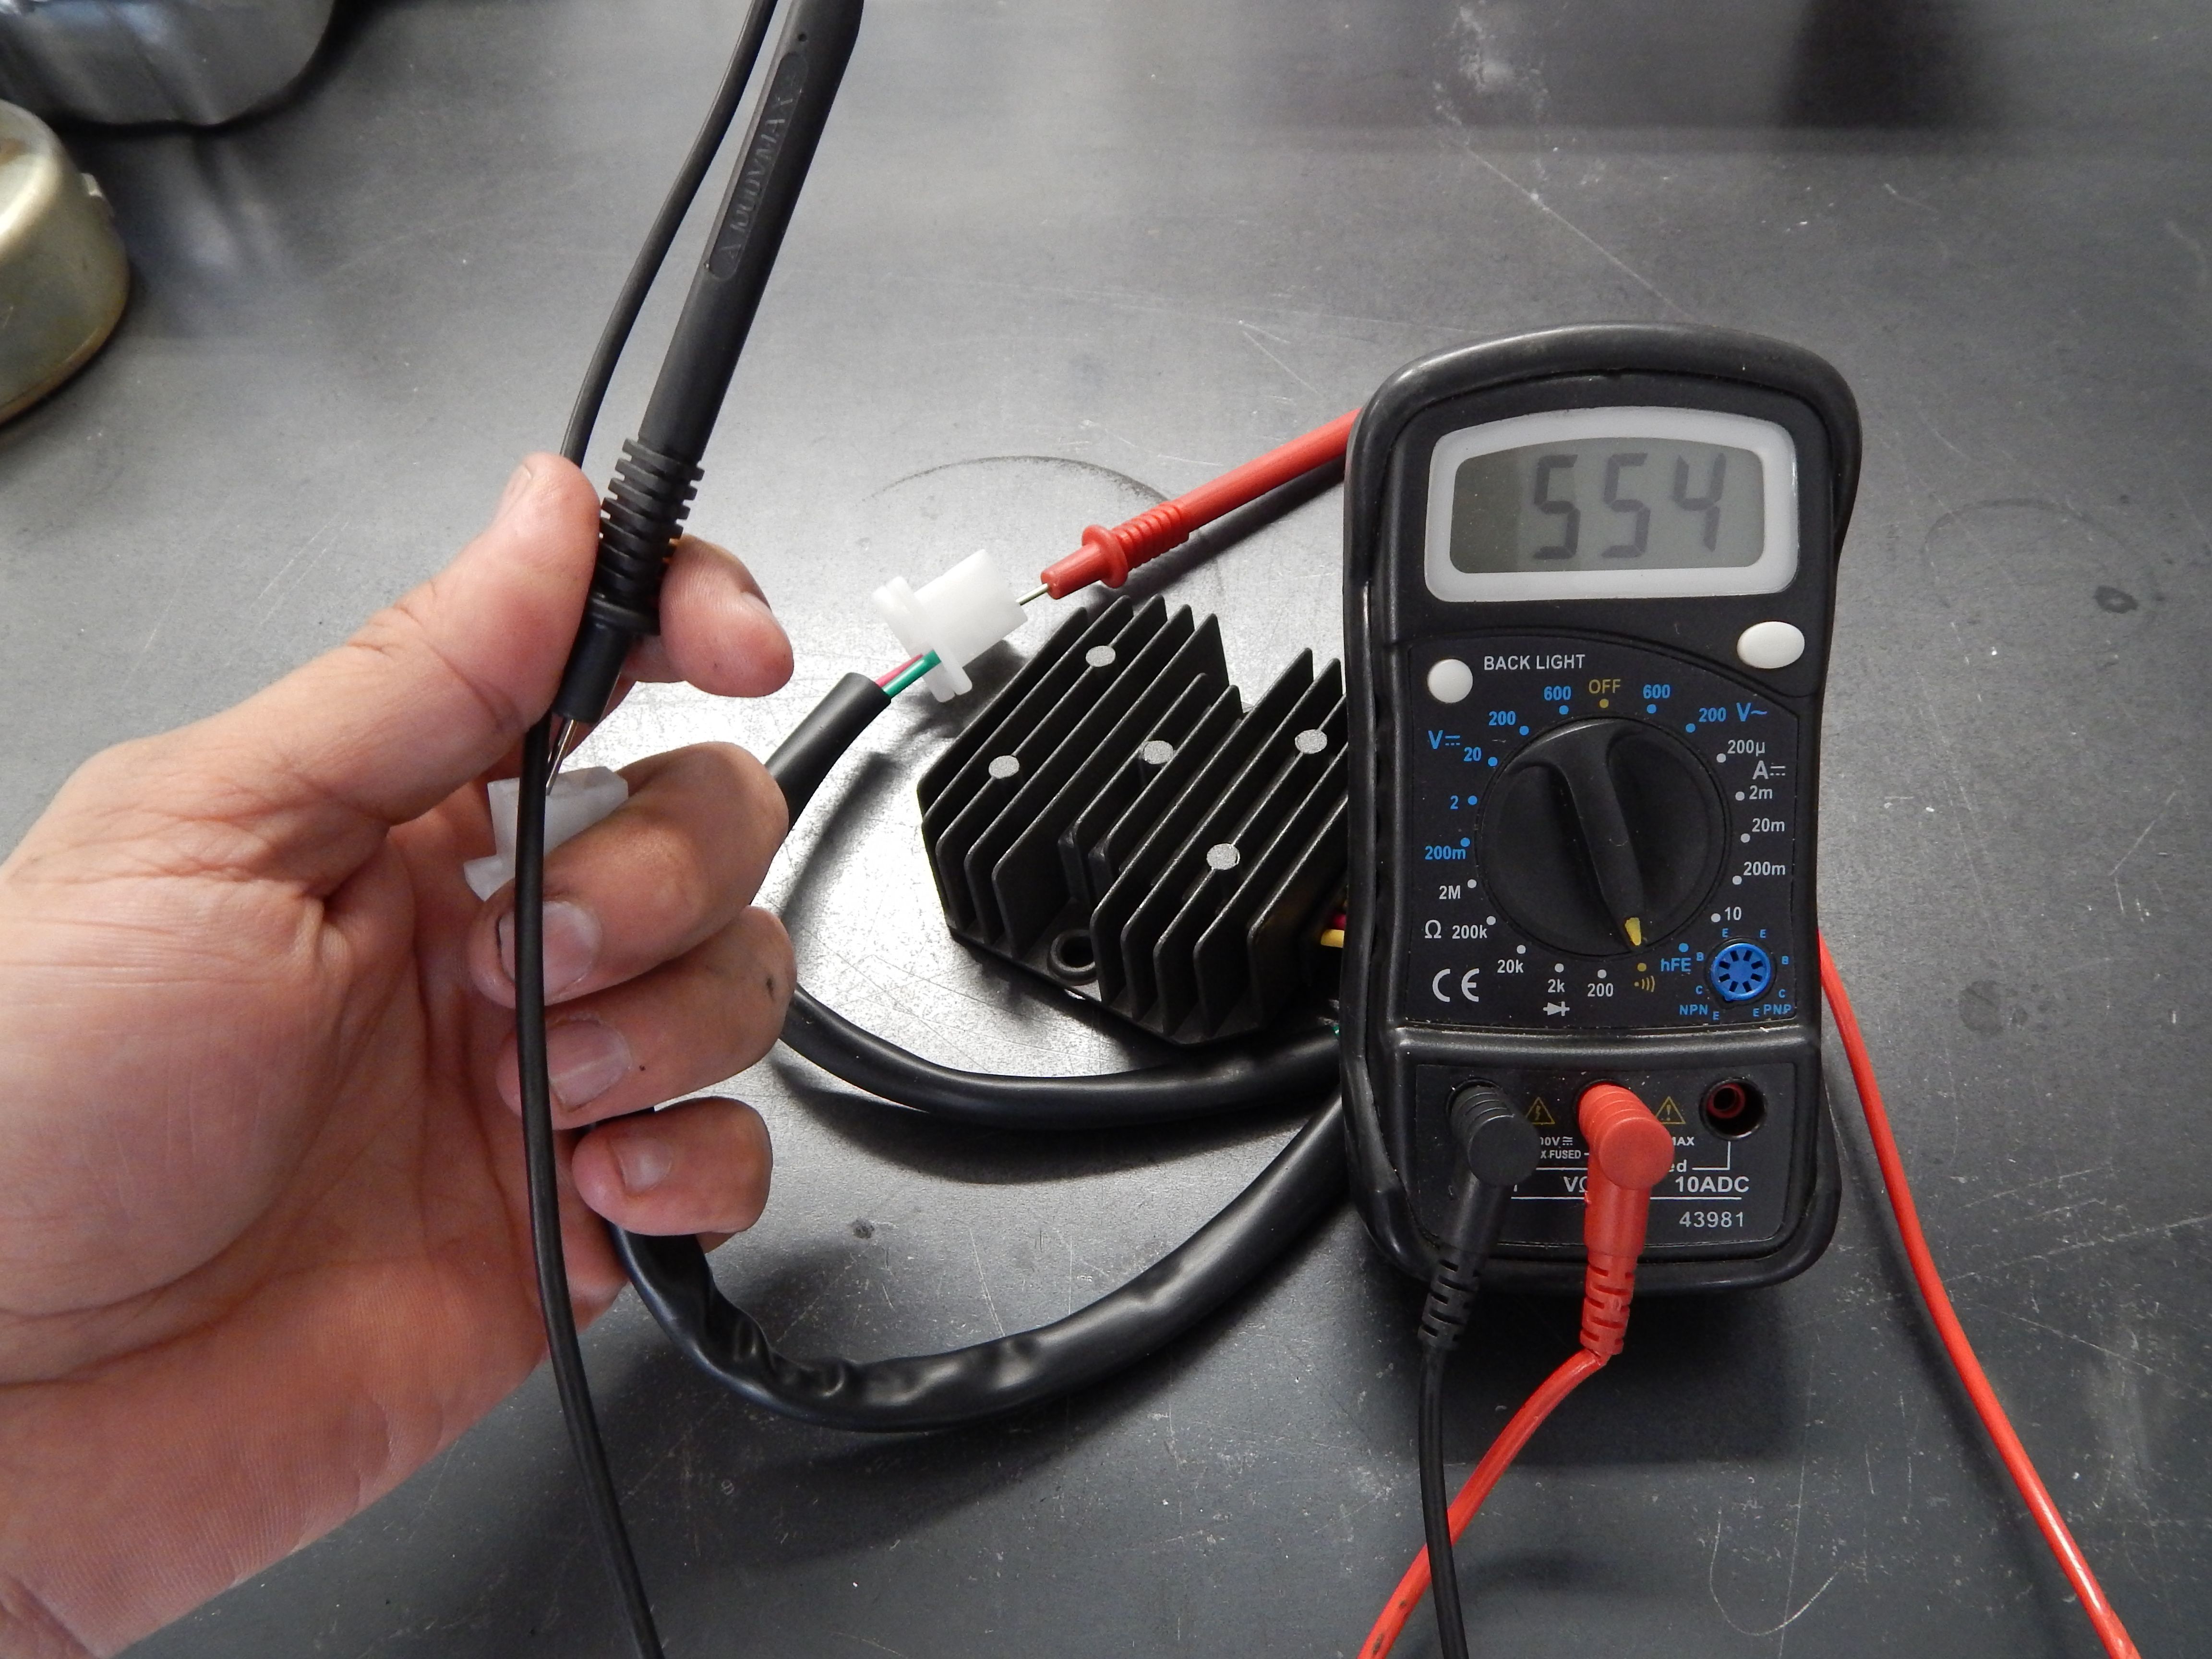
You will want to put the positive lead from the voltmeter into the Red (or + if from another manufacturer, colors can vary) plug from the regulator.

With the red lead from the voltmeter firmly secured to the (+) lead from the regulator, you can now use the black lead from the voltmeter to touch each individual terminal on the yellow wires/plug from the regulator. You should see no change in the display on your voltmeter. Mine stays at 1 as seen
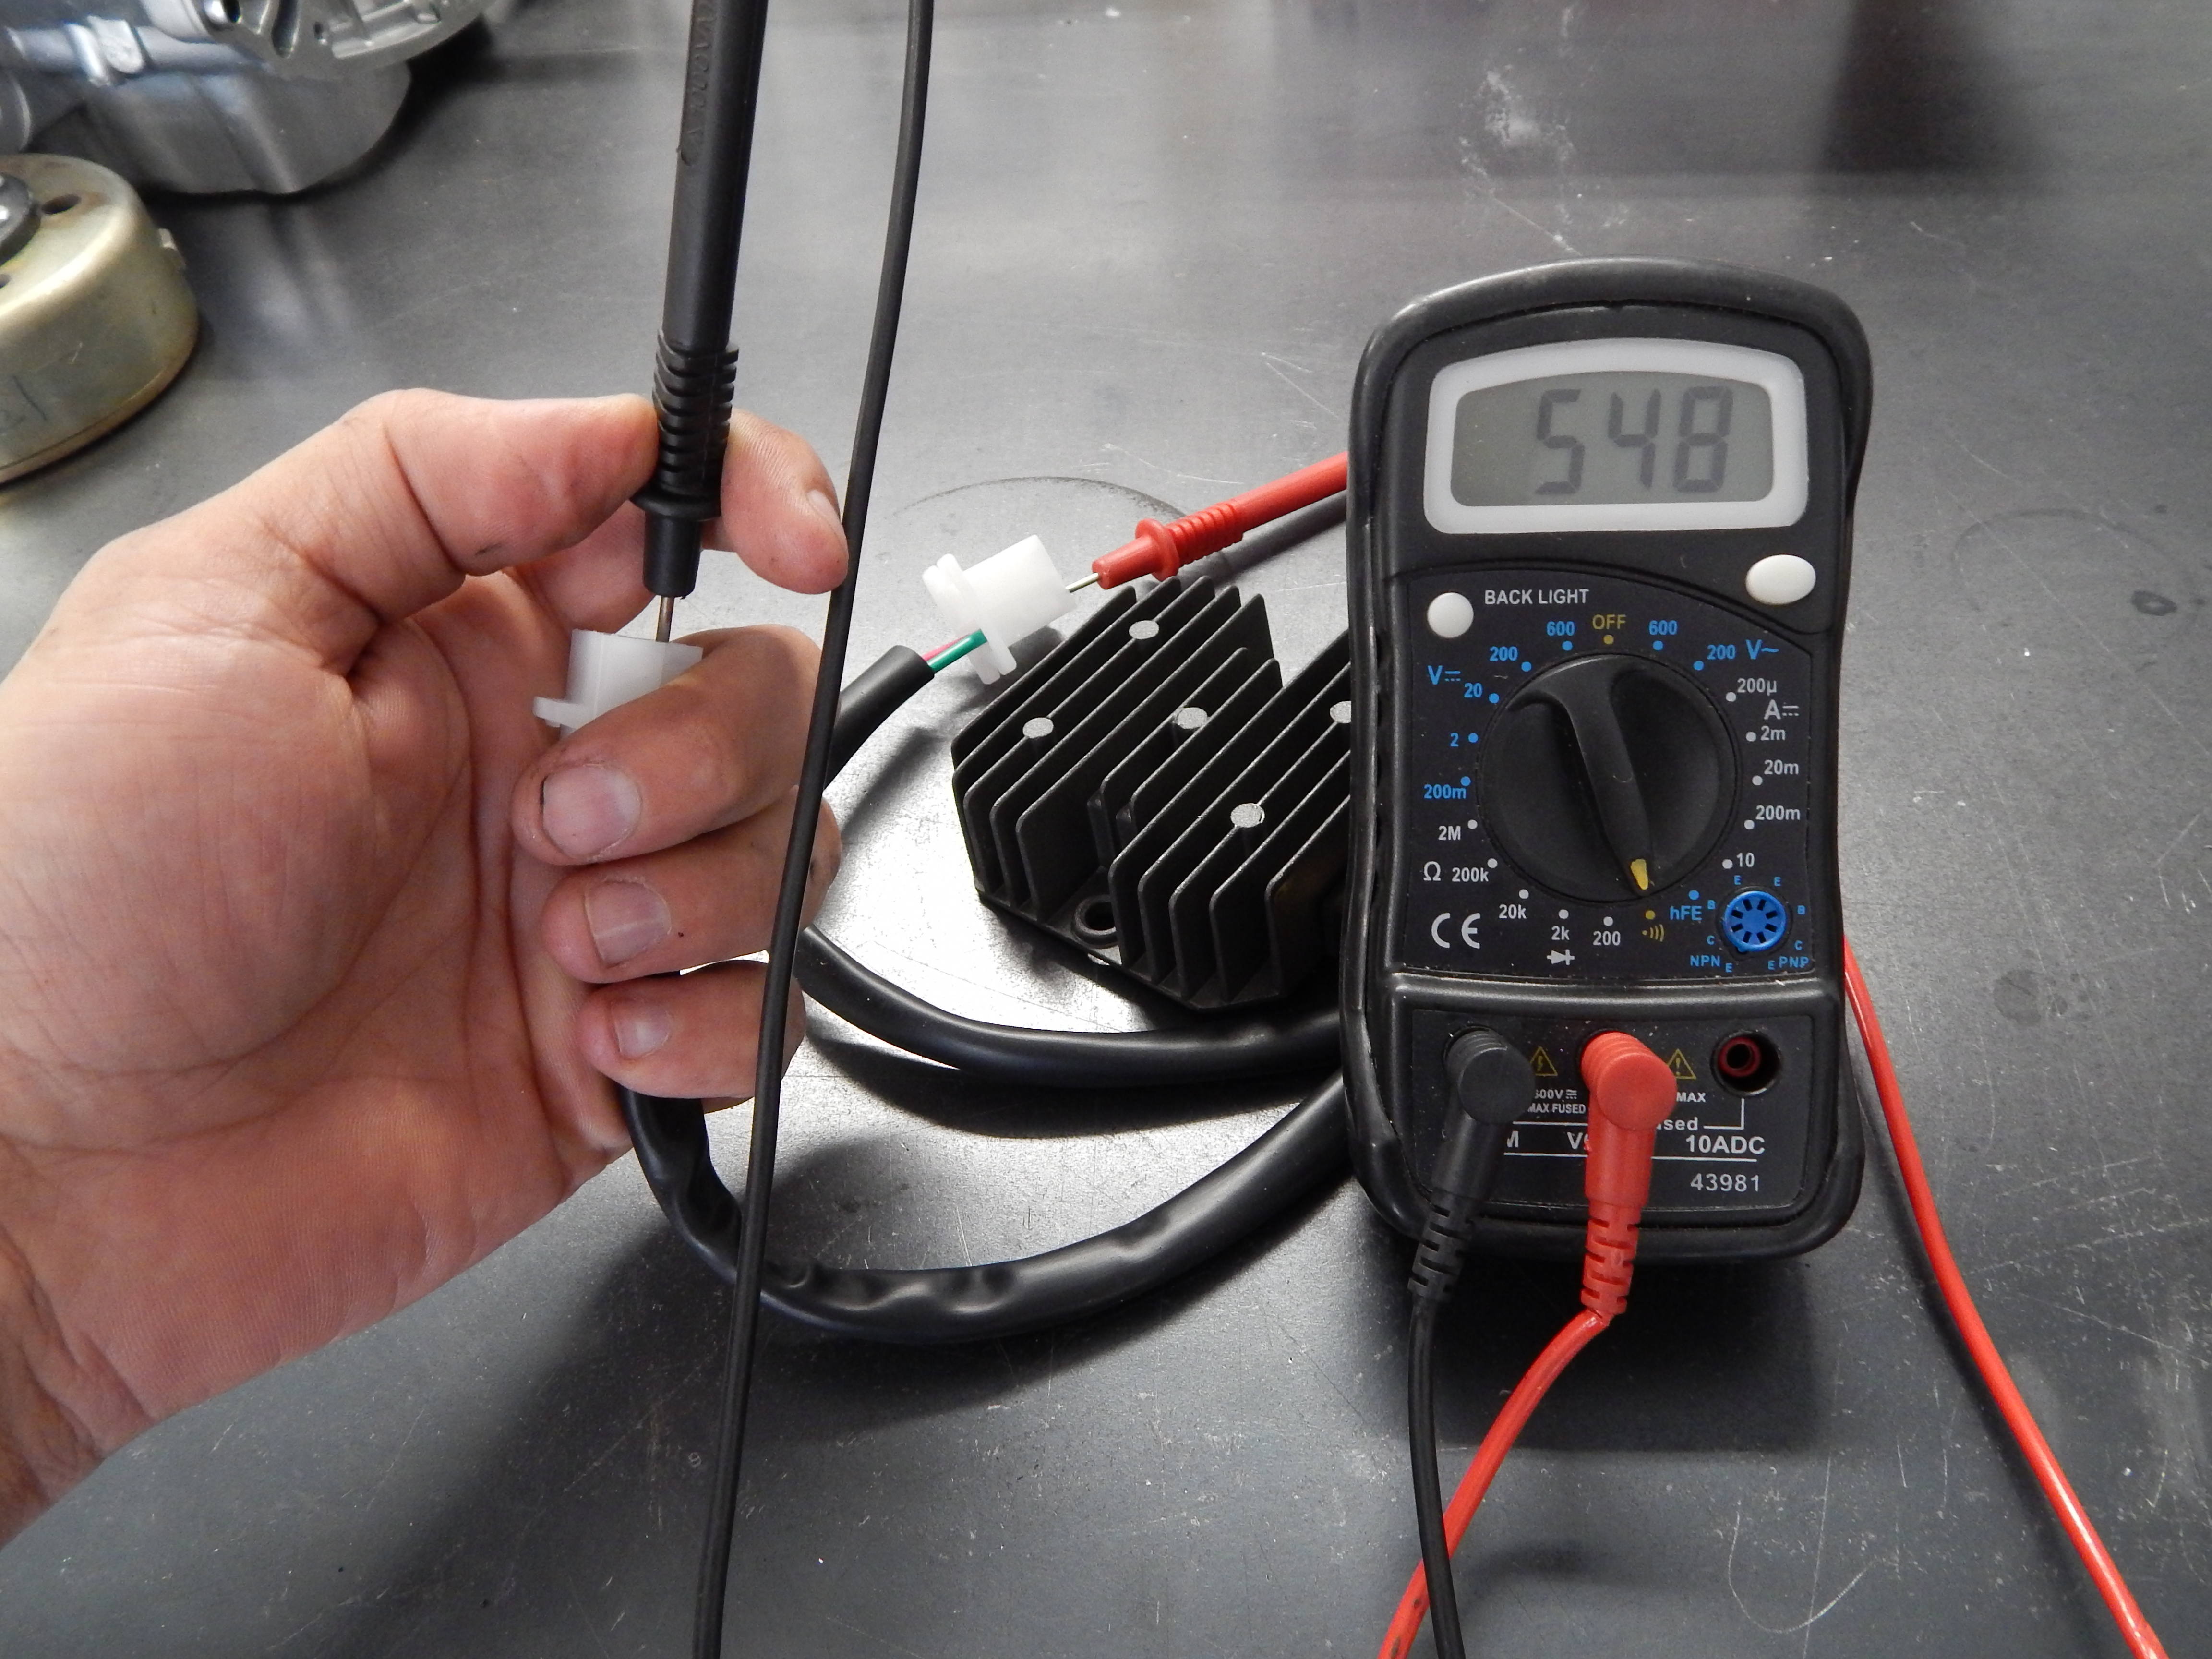
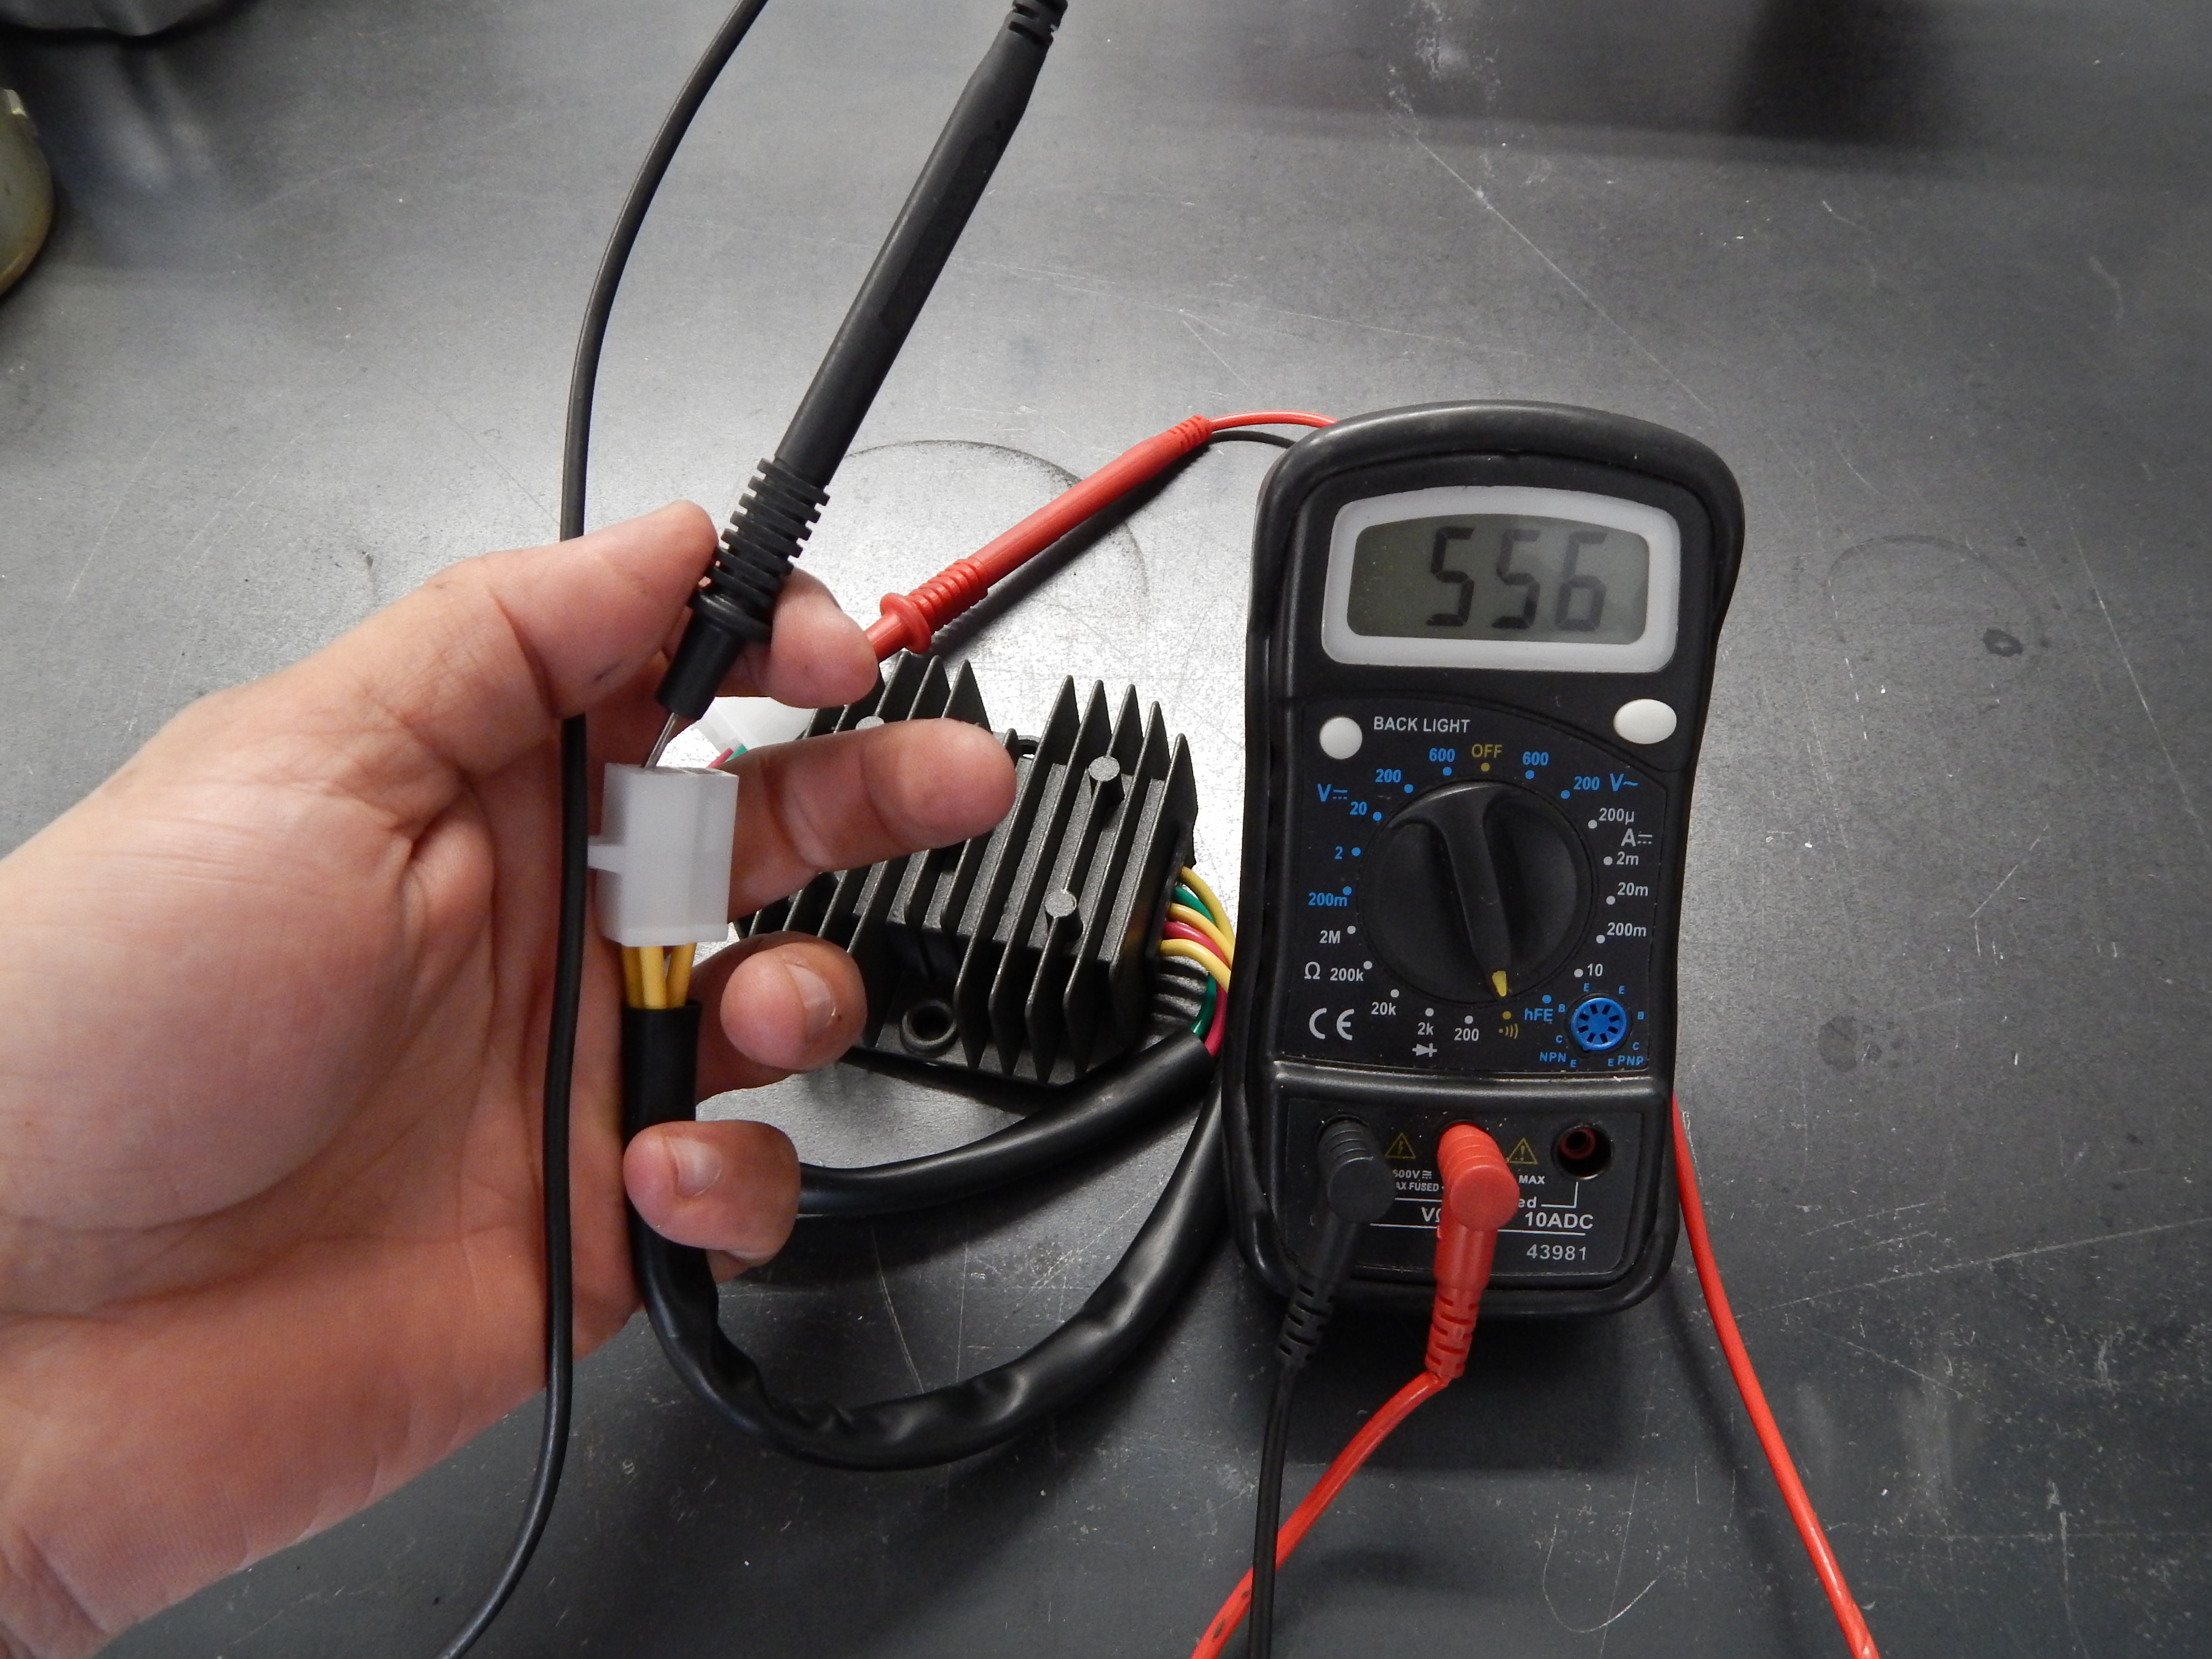
Then, swap the red lead from the Voltmeter to the Green (-) plug on the regulator. Repeat the test as above, touching each yellow wire on the plug of the regulator with the black lead from your voltmeter. You will want to see similar numbers across each lead (in my case, these were all within a few numbers from each other)
If you get any wild number variations, or something that differs dramatically from each other, you can expect to replace your regulator. These numbers can be anywhere on the chart, but what matters most is that they are all very close to each other.
BATTERIES….
Ok, onto batteries. I don’t use them on my XS650 builds, but that’s just me… If you do, more power to ya (see what I did there…)
I get emails all the time trying to help diag a charging issue, and it never fails that I see a comment something along these lines – “The battery is nearly new, and it has 12.9 volts, so it can’t be bad!”
I hate to be a heart breaker, but I’m good at it, so let’s go… First off, yes, your battery is new and holds a charge on the workbench, but it can still be bad…. What?!? Yep….
Lets’ do a load test…
With the battery removed from the bike, and with a full charge (you did charge it right?) – you should see 12.9-14 volts or so. A fully charged battery can be a bit higher, but anything more than that would be overcharged, and can cause some major issues – mainly frying your sensitive 12V components on your bike… If the voltage is low, or drops really fast without a load on it – then it’s bad, no matter how new it is – its bad… Sorry homie…

Ok, back to that load test…
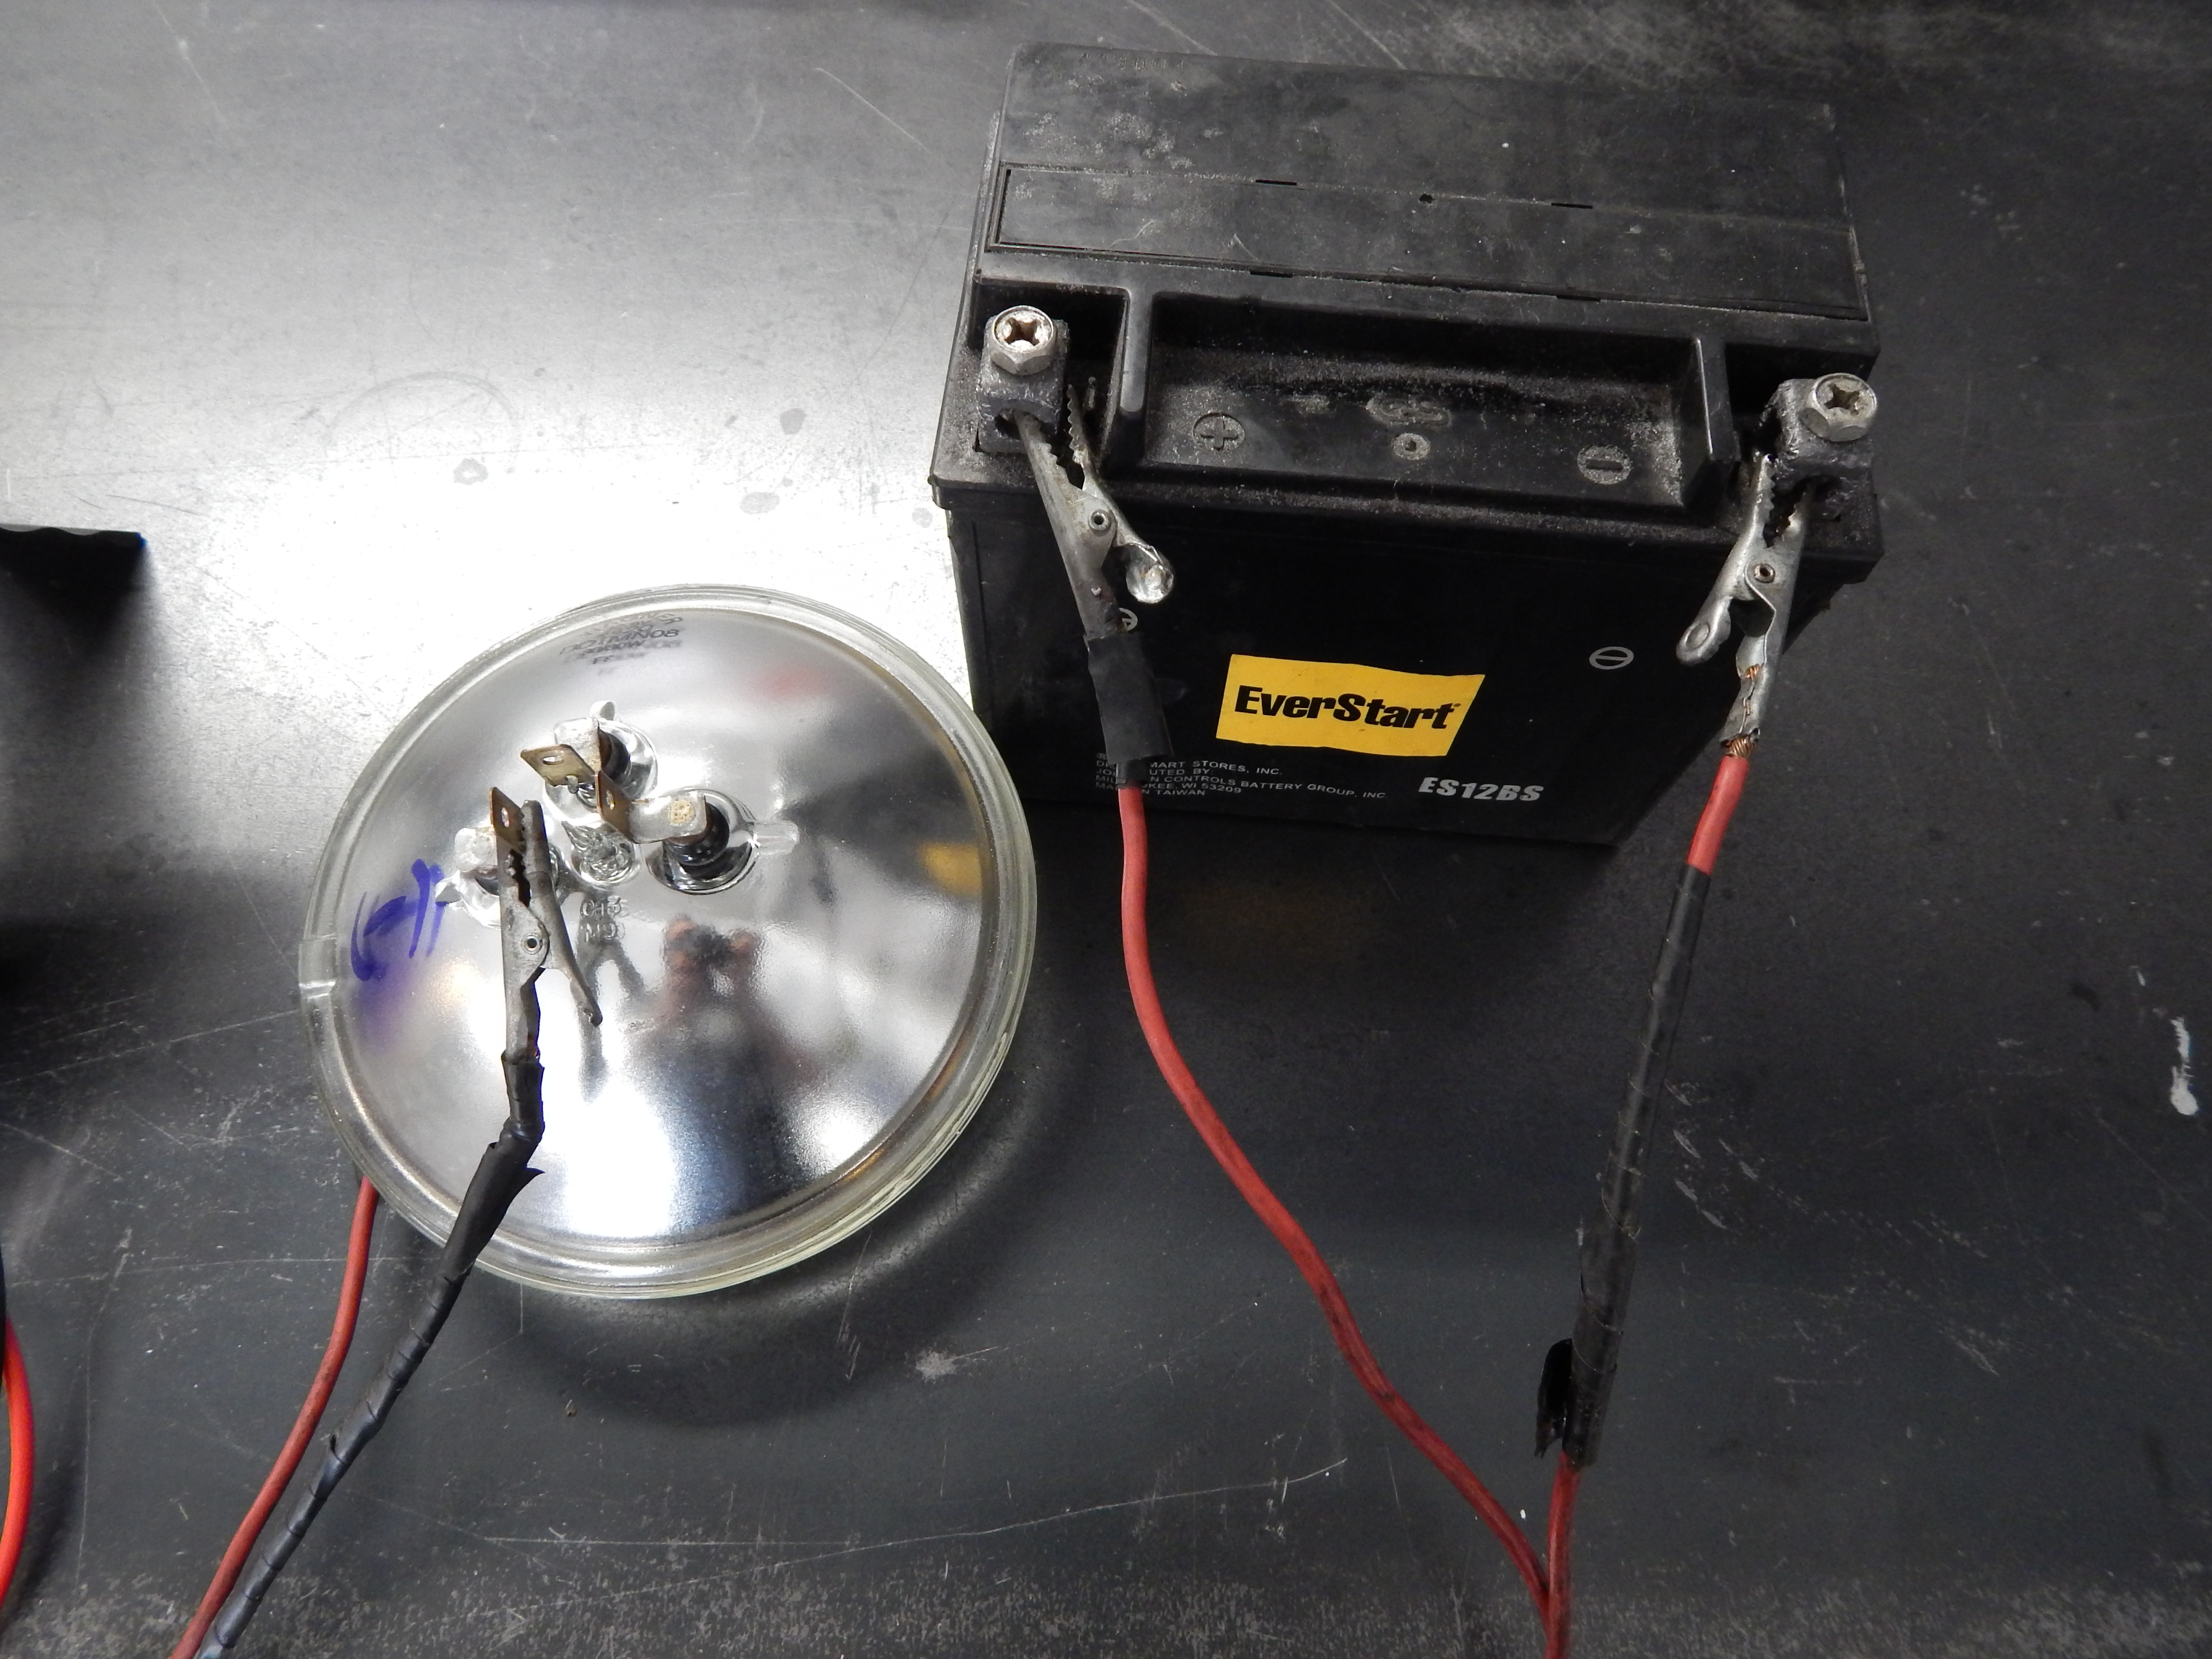
Make up some leads, you’ll need a hot and a ground (incidentally, I made these in a walmart parking lot, about 8 years ago riding my XS650 with a failed stock charging system, so I could ride connected to my buddy and get home – yes, we rode two bikes sharing one battery, it was awesome!)
With your “fully charged battery” reading 12.9 volts or more, grab a working headlight (it’s a simple test, and most folks will have a headlight they can use, you can also do this on the bike if you like, by hooking up the leads from your voltmeter to the battery and flipping on the light) and make sure that you use the proper ground terminal (left on this image) and after hooking up the light, see if the voltage drops on the battery – it shouldn’t drop that much, or that fast.
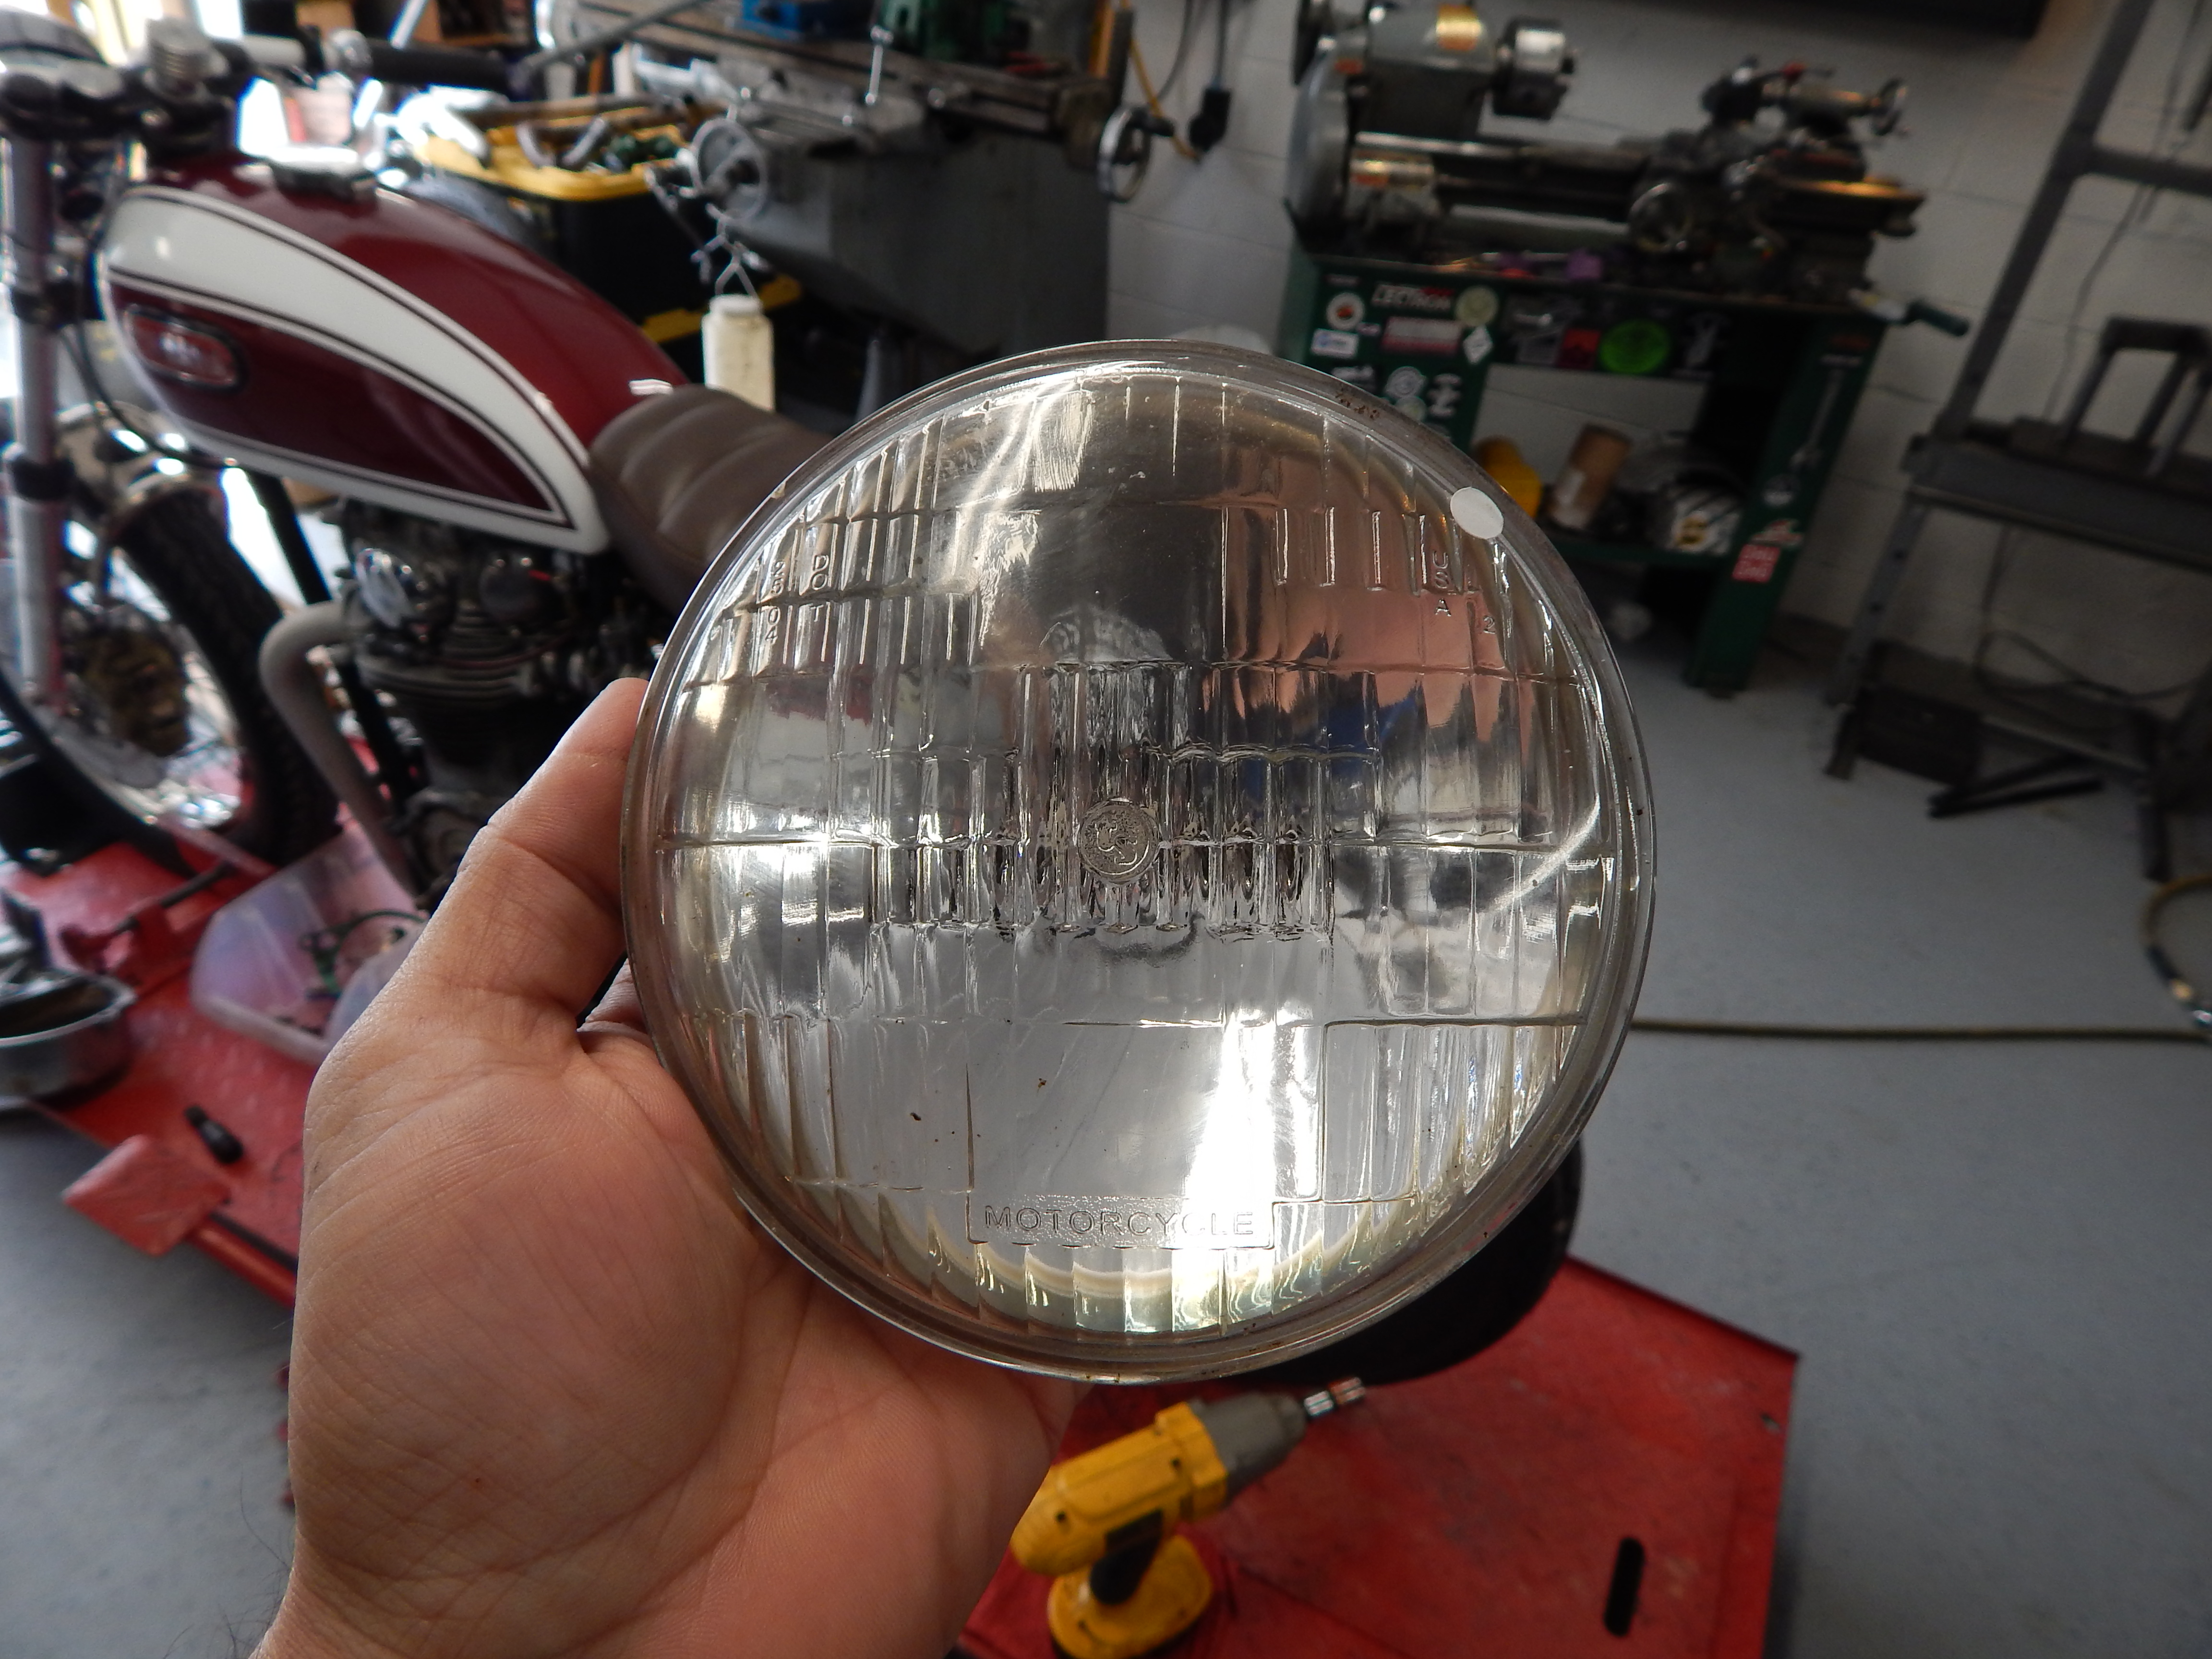
Make sure you know which terminal is (-) on your headlight, most are this one labeled below – also a common mistake when wiring headlights…

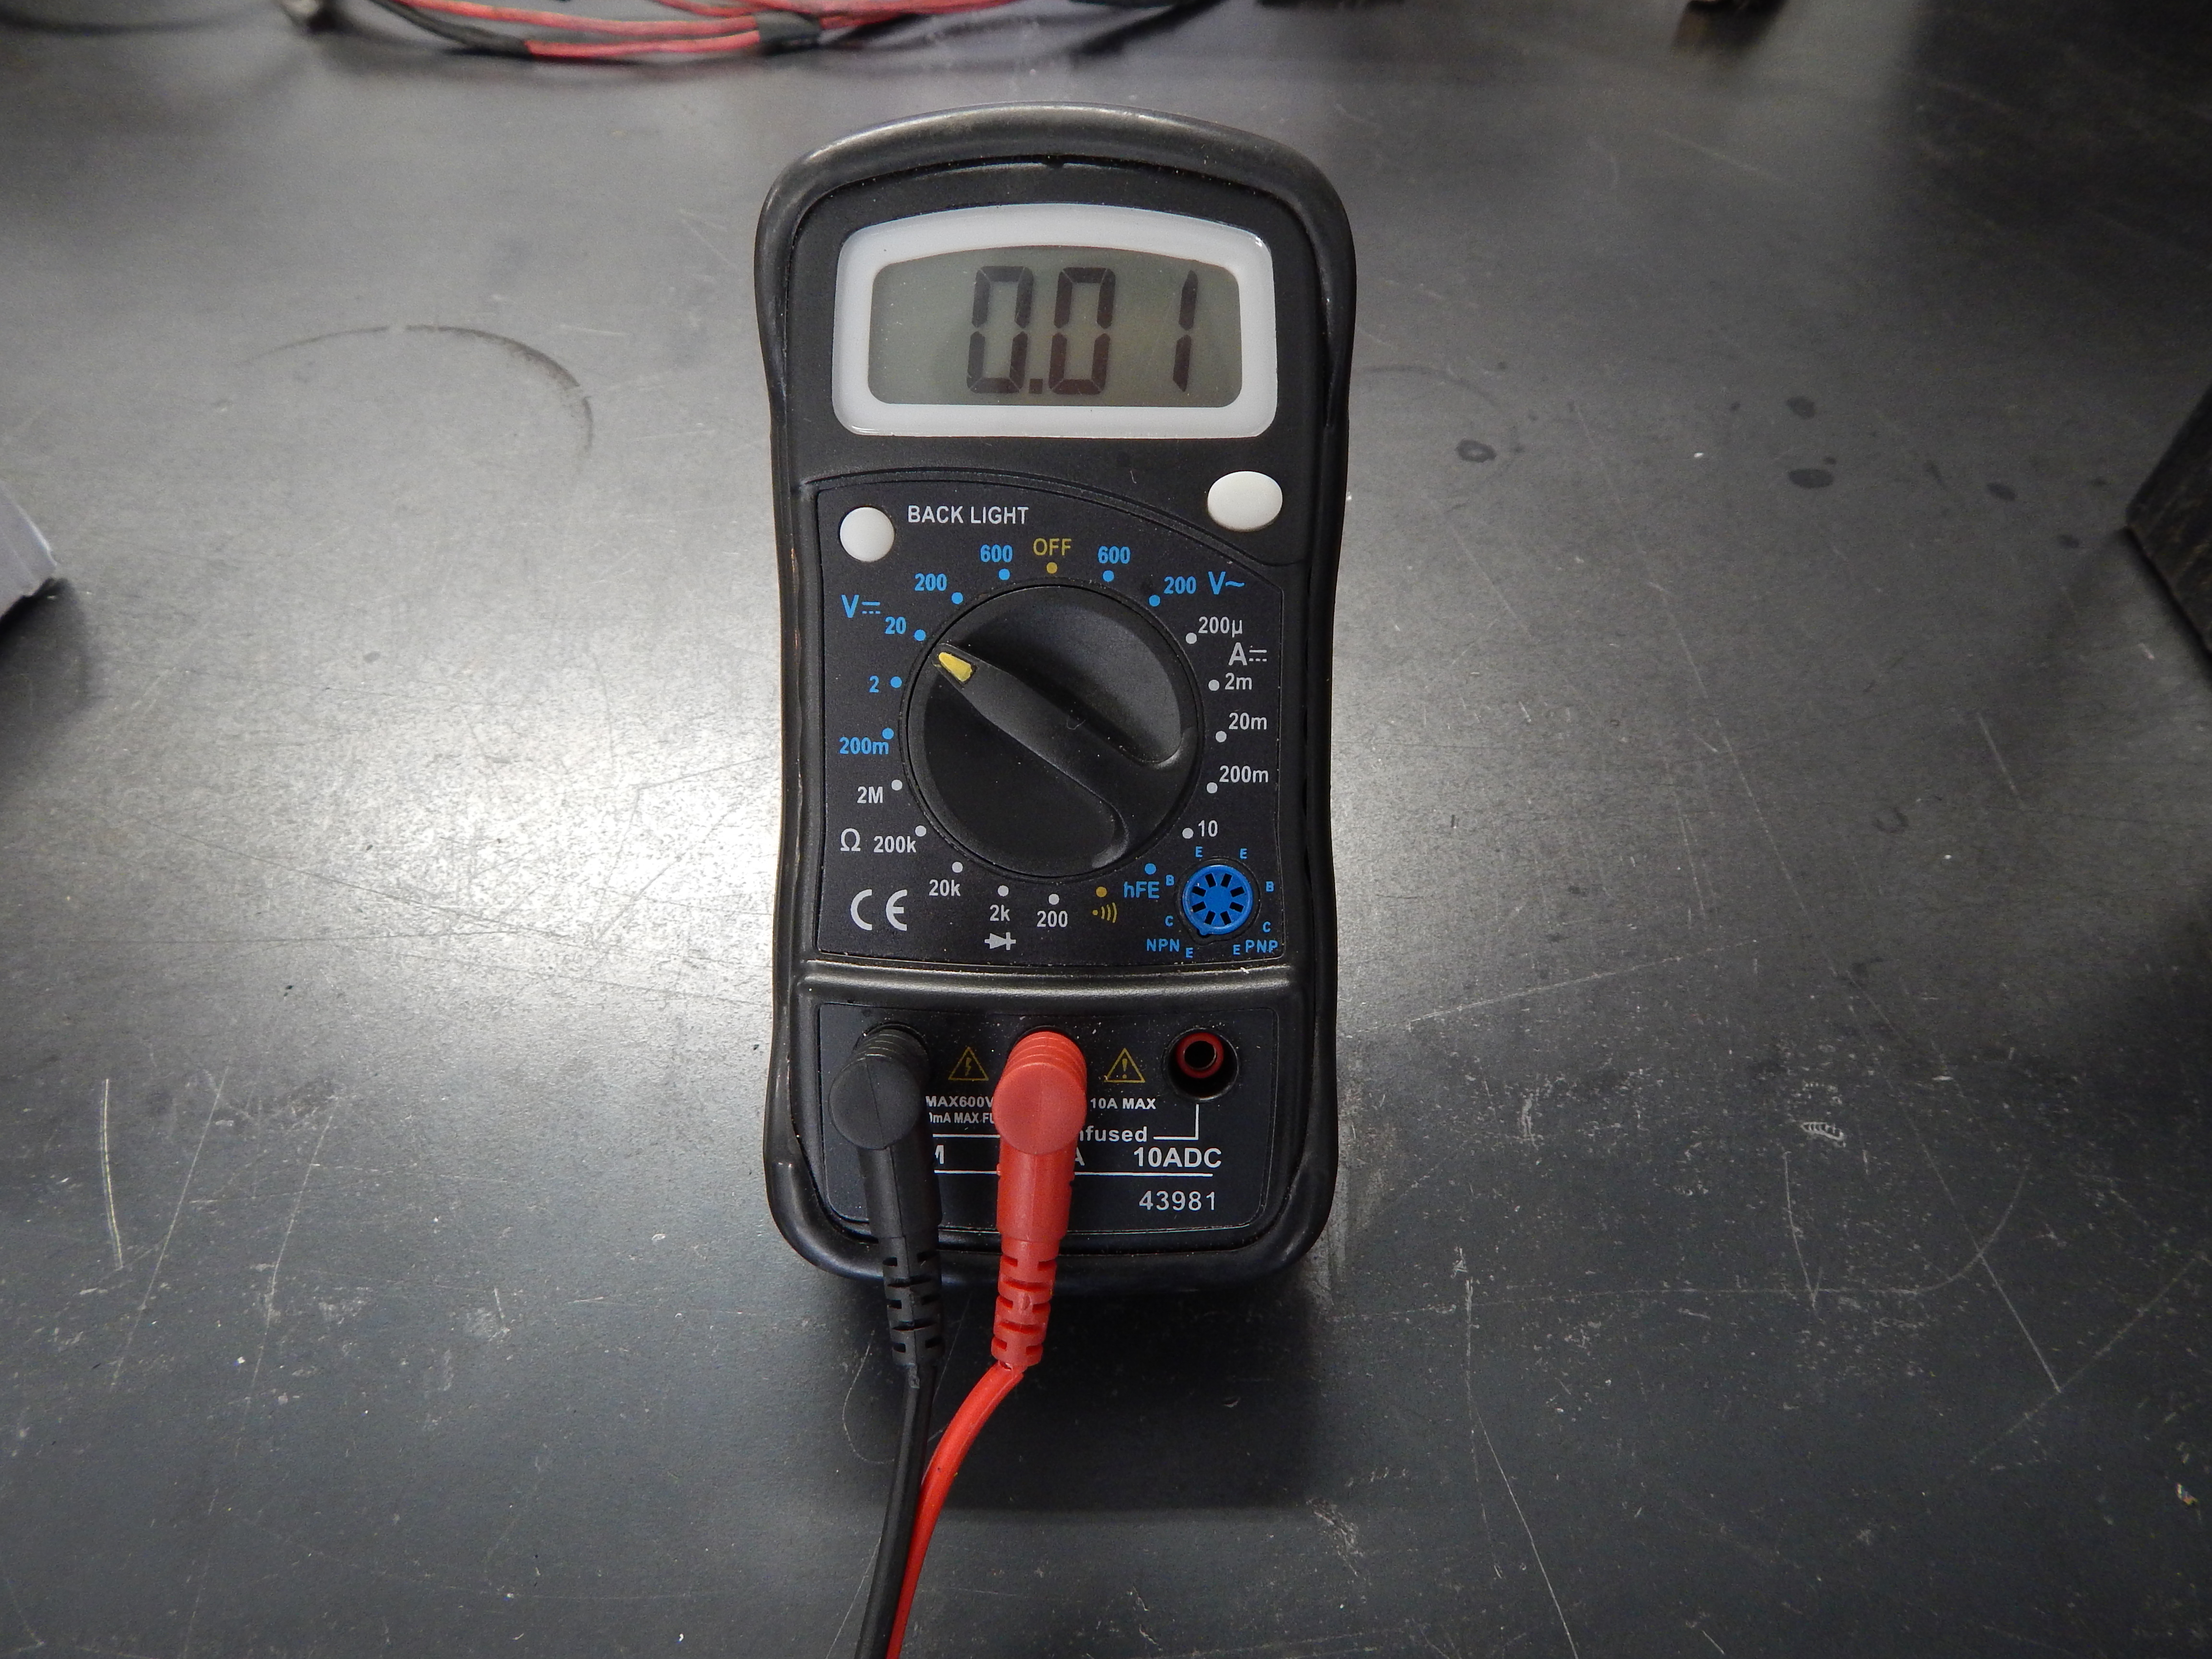
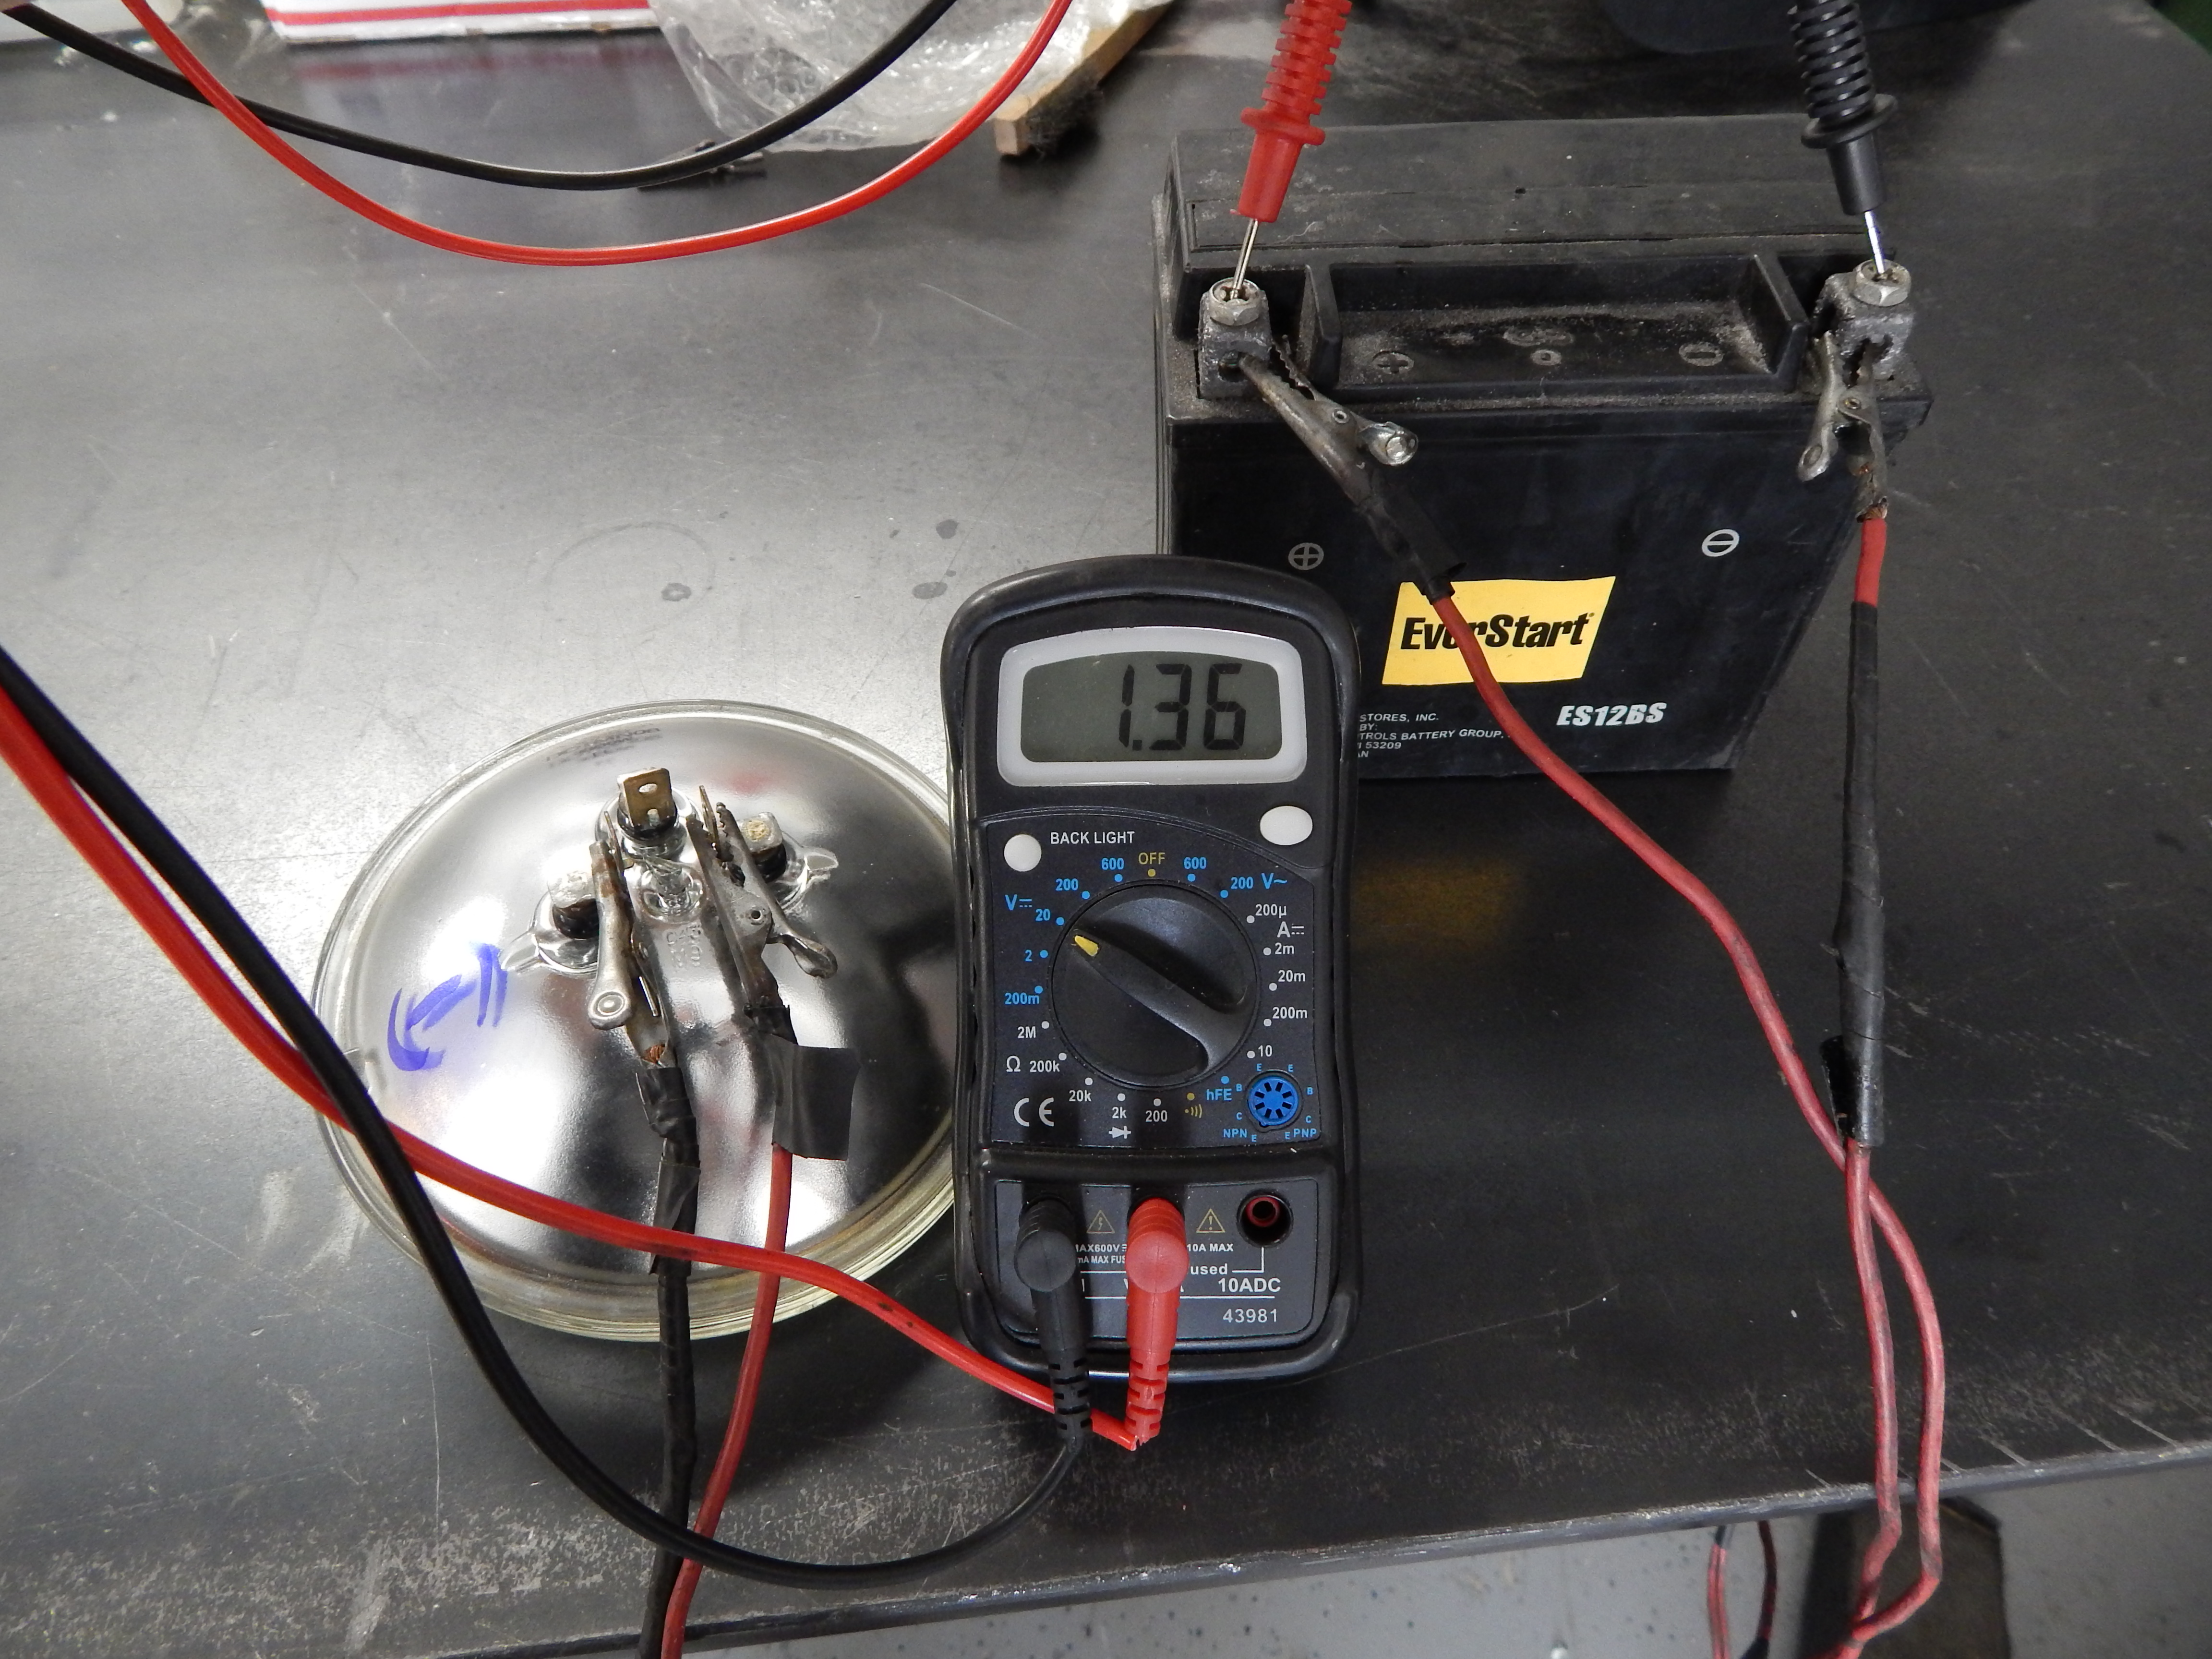
Set your voltmeter to 20V (or whatever is closest on your meter)
Hook up the battery to the headlight using your made up test leads.
This “good” battery from a customers bike dropped to less than 2 volts within the short time it took me to hook up the voltmeter. Bad Battery…
Let’s go ahead and talk batteries. They are a sensitive bunch. They really really really really do not like being rigid mounted, so if you are running a battery on your bike, give the mounting some thought. Foam, rubber mounted battery boxes, etc.. will all help your battery live a much longer life… Especially on a hardtail bike with poorly tuned carbs, all those vibes are being put into your battery. No, I’m not doing a carb tuning tech article, there is already a few good ones out there – mainly the “XS650 Carb Tuning Guide” – google those exact words, good stuff!
CAPACITORS…
Ok, so you have a good Stator, your Regulator tests good, but you are running a capacitor. How to test it?
The easiest test I have, is to jump a known good 12V battery to the Capacitor and start the bike. Does it run? If yes, disconnect the battery… Still running? If yes, you have a good capacitor. If it dies, then (assuming you have already tested for 12.9-14.5 volts at idle and with a bit of throttle prior to getting this far) you probably need a new capacitor.
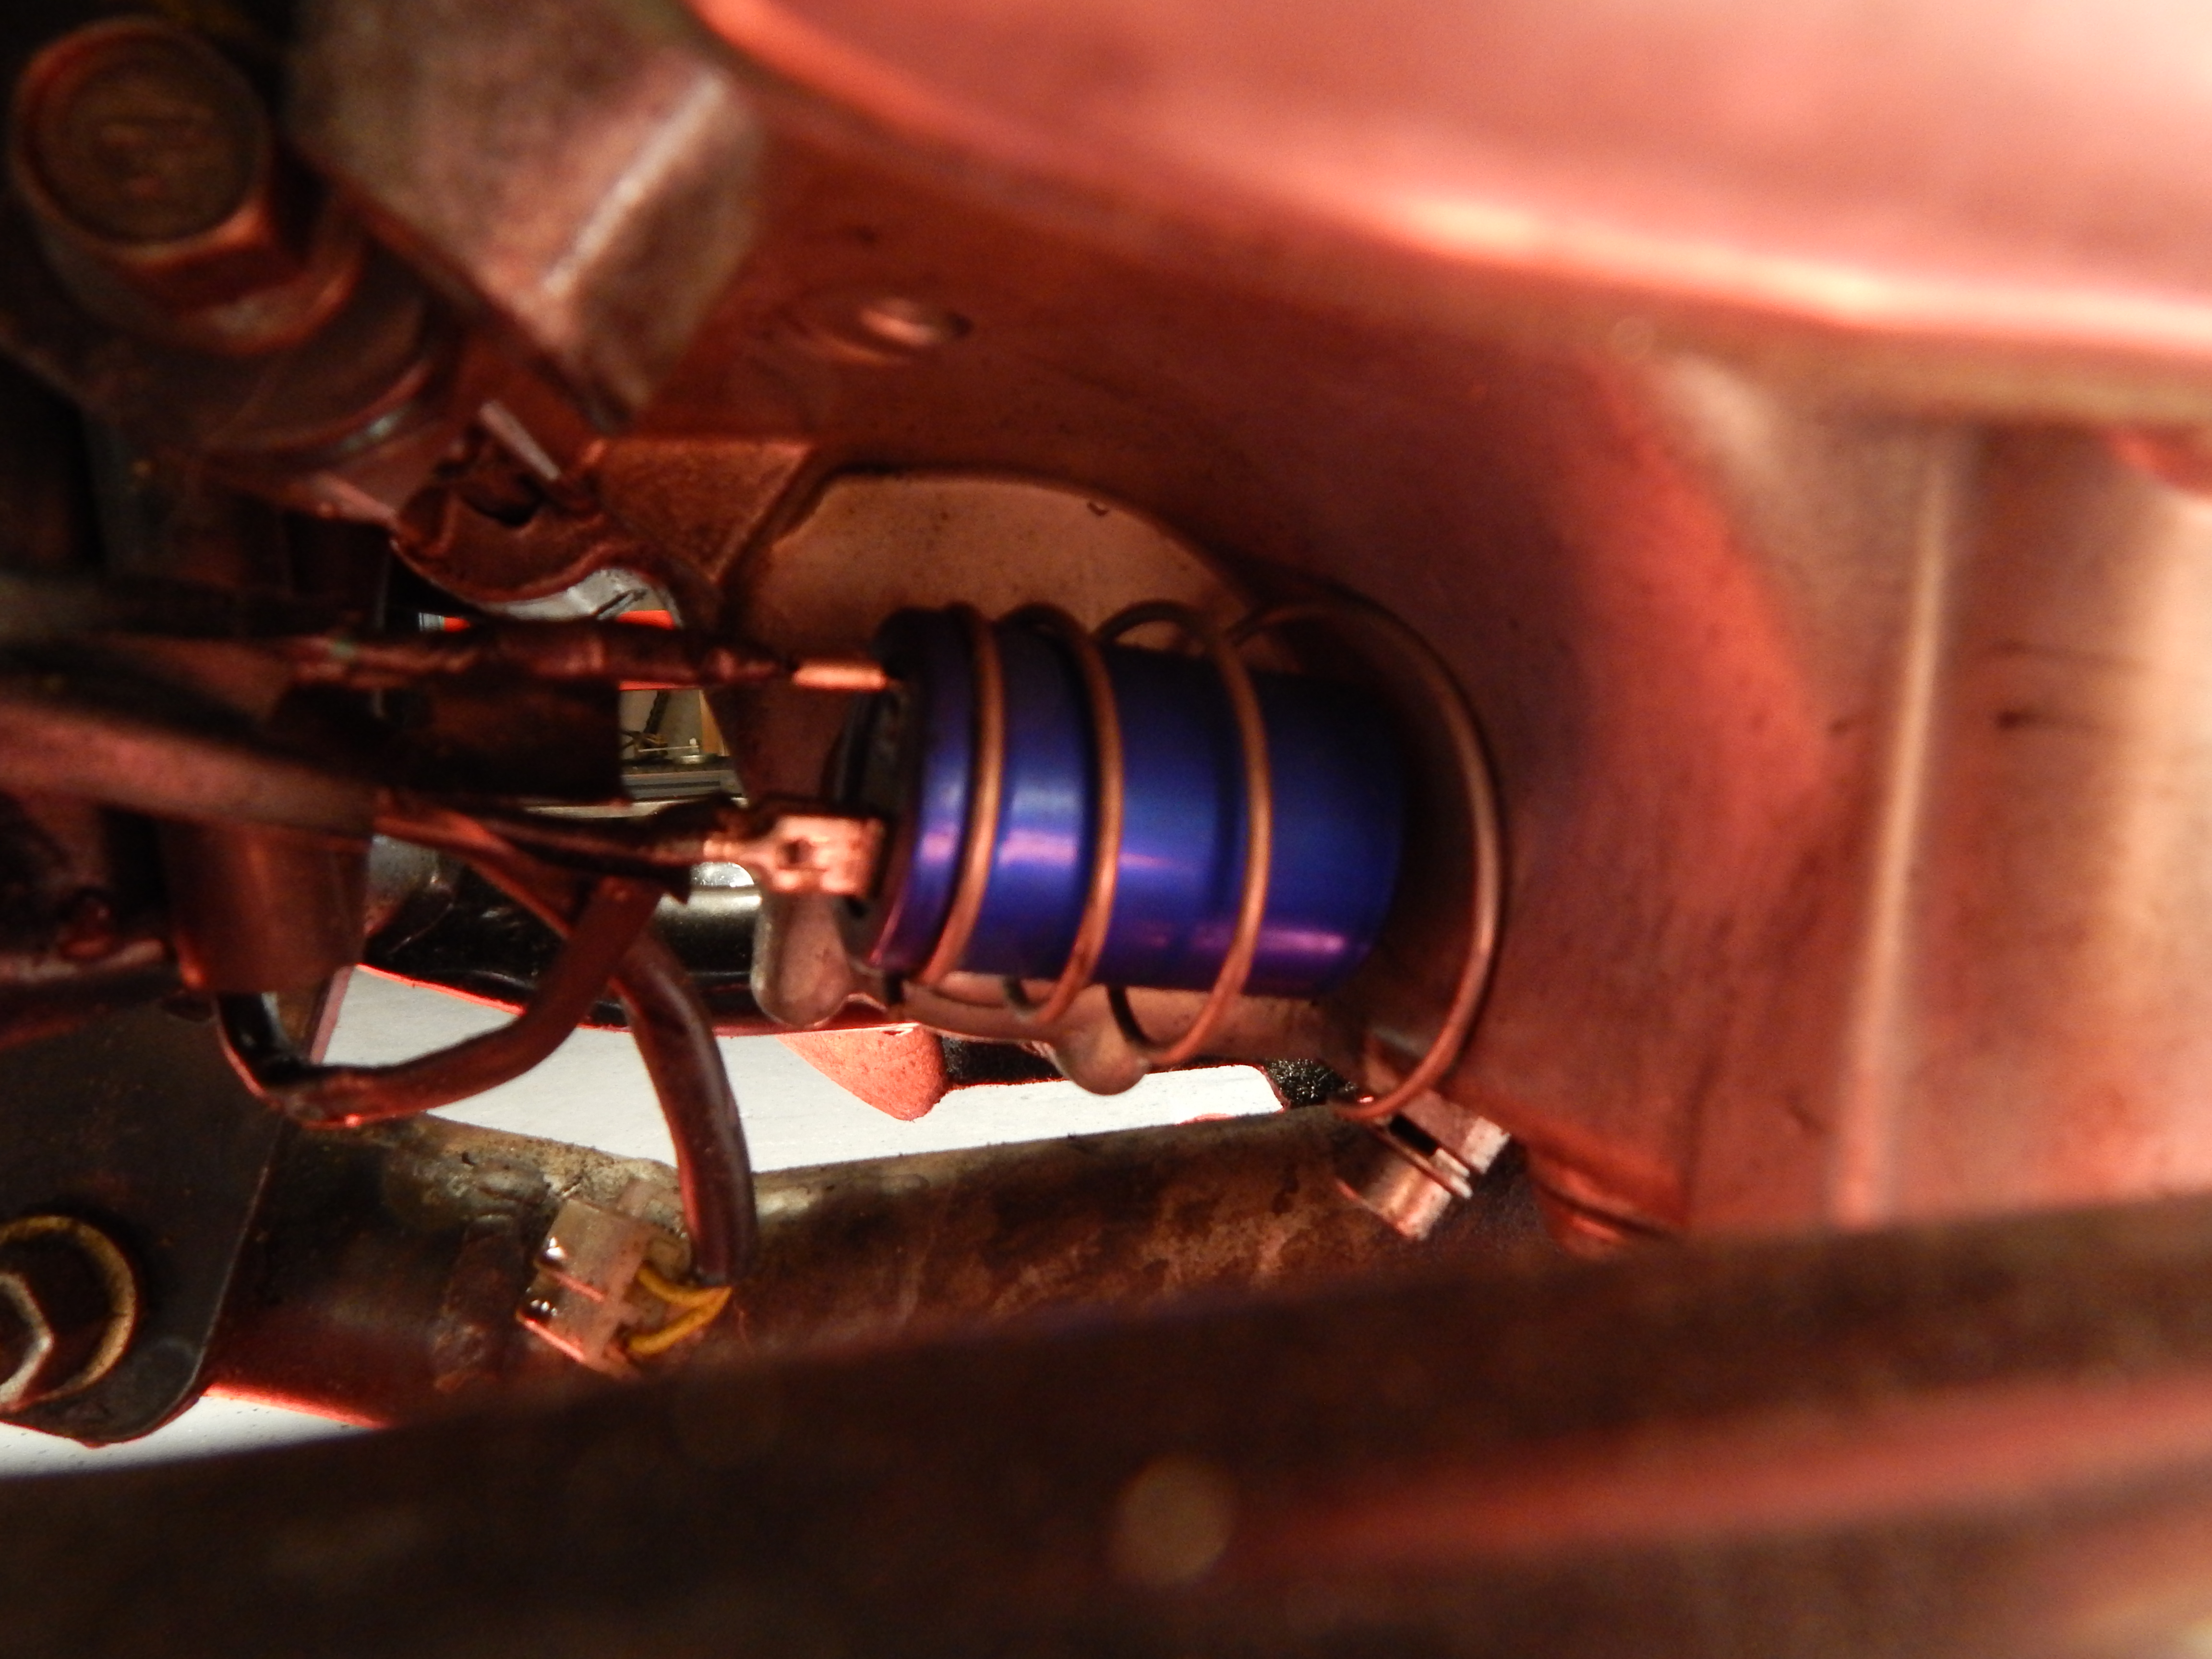
See that spring? Yeah, it’s rad – keep it… Same as the battery, the capacitors do not live a long life being solid mounted. Do yourself a favor and make sure your capacitor is free moving on it’s spring mount.. Tevan mounted his where the old starter mount was, and hasn’t had a failure in the 3-4 years that this location has been used. Now his oil leaks? That’s another story – haha..

If that isn’t in depth enough for the capacitor test, there are a TON of good youtube videos out there. Always feel free to supplement my How-To’s with your own research, and by all means if you find something amiss in my articles, let me know…
Do I have to use a Battery or a Capacitor???
Now, a word about Capacitors and Batteries. Yes, you can use one or the other – but with a PMA system, you MUST use as least on of them. I can’t count how many folks have emailed me wondering why their “Batteryless System” isn’t working properly, only to find out they aren’t using a capacitor in place of the battery. Hey, it happens…
And YES, you can use both a battery and a capacitor if you like, I have seen several bikes setup with both. Just wire hot to hot, ground to ground and should one ever fail, the other should at least get you home.
Everything Tested Good, What Now?
After reinstalling the PMA system following our Tech Article to a “T” – Give your bike a bath, adjust the valves, check the camshain tension, change the oil, clean/sync the carbs and top it off with some new spark plugs, because riding season is here and trouble free miles are the best kind! Remember, these ol’ bikes need a little more love than modern machines. They’ll give you warning signs of any impending issues and most times you can catch them fairly soon with a little extra attention from time to time.
You took the time to check over your machine, all is well in the world, and you are ready to go for a spin!
Hugh, What is Covered by Warranty and what isnt?
So long as you followed our install instructions – which are linked here – then we will work with you the best we can. IF you ignored the install instructions, and it’s obvious, we’ll still work with you and include some ridicule and shame along the way – haha.. Don’t be bashful though, at the end of the day, we want as many running/riding XS650’s on the road as possible. That’s what matters the most!
Whats covered?
- Corroded or Loose Soldered Connections Between the Stator Windings and the Yellow Wires
- Overcharging or Undercharging Systems (when installed properly)
- Defects in Materials
- Return Shipping on Replacement items (in the US, overseas may incur a small charge)
- Tech Support via Email – I’m here for you!
Whats not Covered?
- Oil Soaked Stators – check that crank seal!
- Damage due to improper installation, lack of locktite, etc..
- Modified Connections/wiring other than supplied by HHB.
- Removal of flywheel using the wrong puller.
- Damage due to impact (accidents, flying shop hammers, ex-girlfriends (or so too be), drunken brawls with a soldering iron, etc..)
- Regulators mounted without the ability to “breath” – sorry folks, that electronics tank is cool, but not cool enough for your Regulator.
- Shipping to us for testing/replacement. We require parts in hand before we send out replacements, so we can verify your potential issues.
- Dead Batteries or Capacitors. If we don’t sell it, we don’t cover it.
- Labor – thats a gimme, but we will help you through it with our tech install article
- Poorly made connections, take a read here: We can’t warranty connections made with a hammer and some hot solder.
Whats in the “Grey Area” of coverage?
- Loyal and repeat customers, we will take care of you for sure. Thats what we are here for.
- Shipping replacement components on our dime – unless you are mean to us, then we’ll ship it on our dime but through the USPS and it may take a month… Haha, I kid… Kinda… They are slow as molasses though.
- Even if you bummed it up yourself – we may at our option offer you replacement components at cost. Again, at the end of the day, we want happy customers on rad XS650’s going down the road.
- Seriously folks, we are here for the long haul – and stand behind our Products AND our Customers. Thank you so much for your support.
How do I get ahold of you folks for a question or warranty claim?
Hit up our “Contacts Page” on the site – if you are mailing us any components to test/replace/warranty/etc – just shoot us an email with a heads up so we can look for it.


Very helpful and excellent testing and instructions! Having just gone through this, the detail is right on!
Fabulous comprehensive guide Hugh . I don’t have a PMA as my alternator is stock but I just gave a link to a fellow owner who is having issues on the XS650.com forum. When I read through this I was blown away . Thank you